Update #15Apr 17, 2025
Final Submission
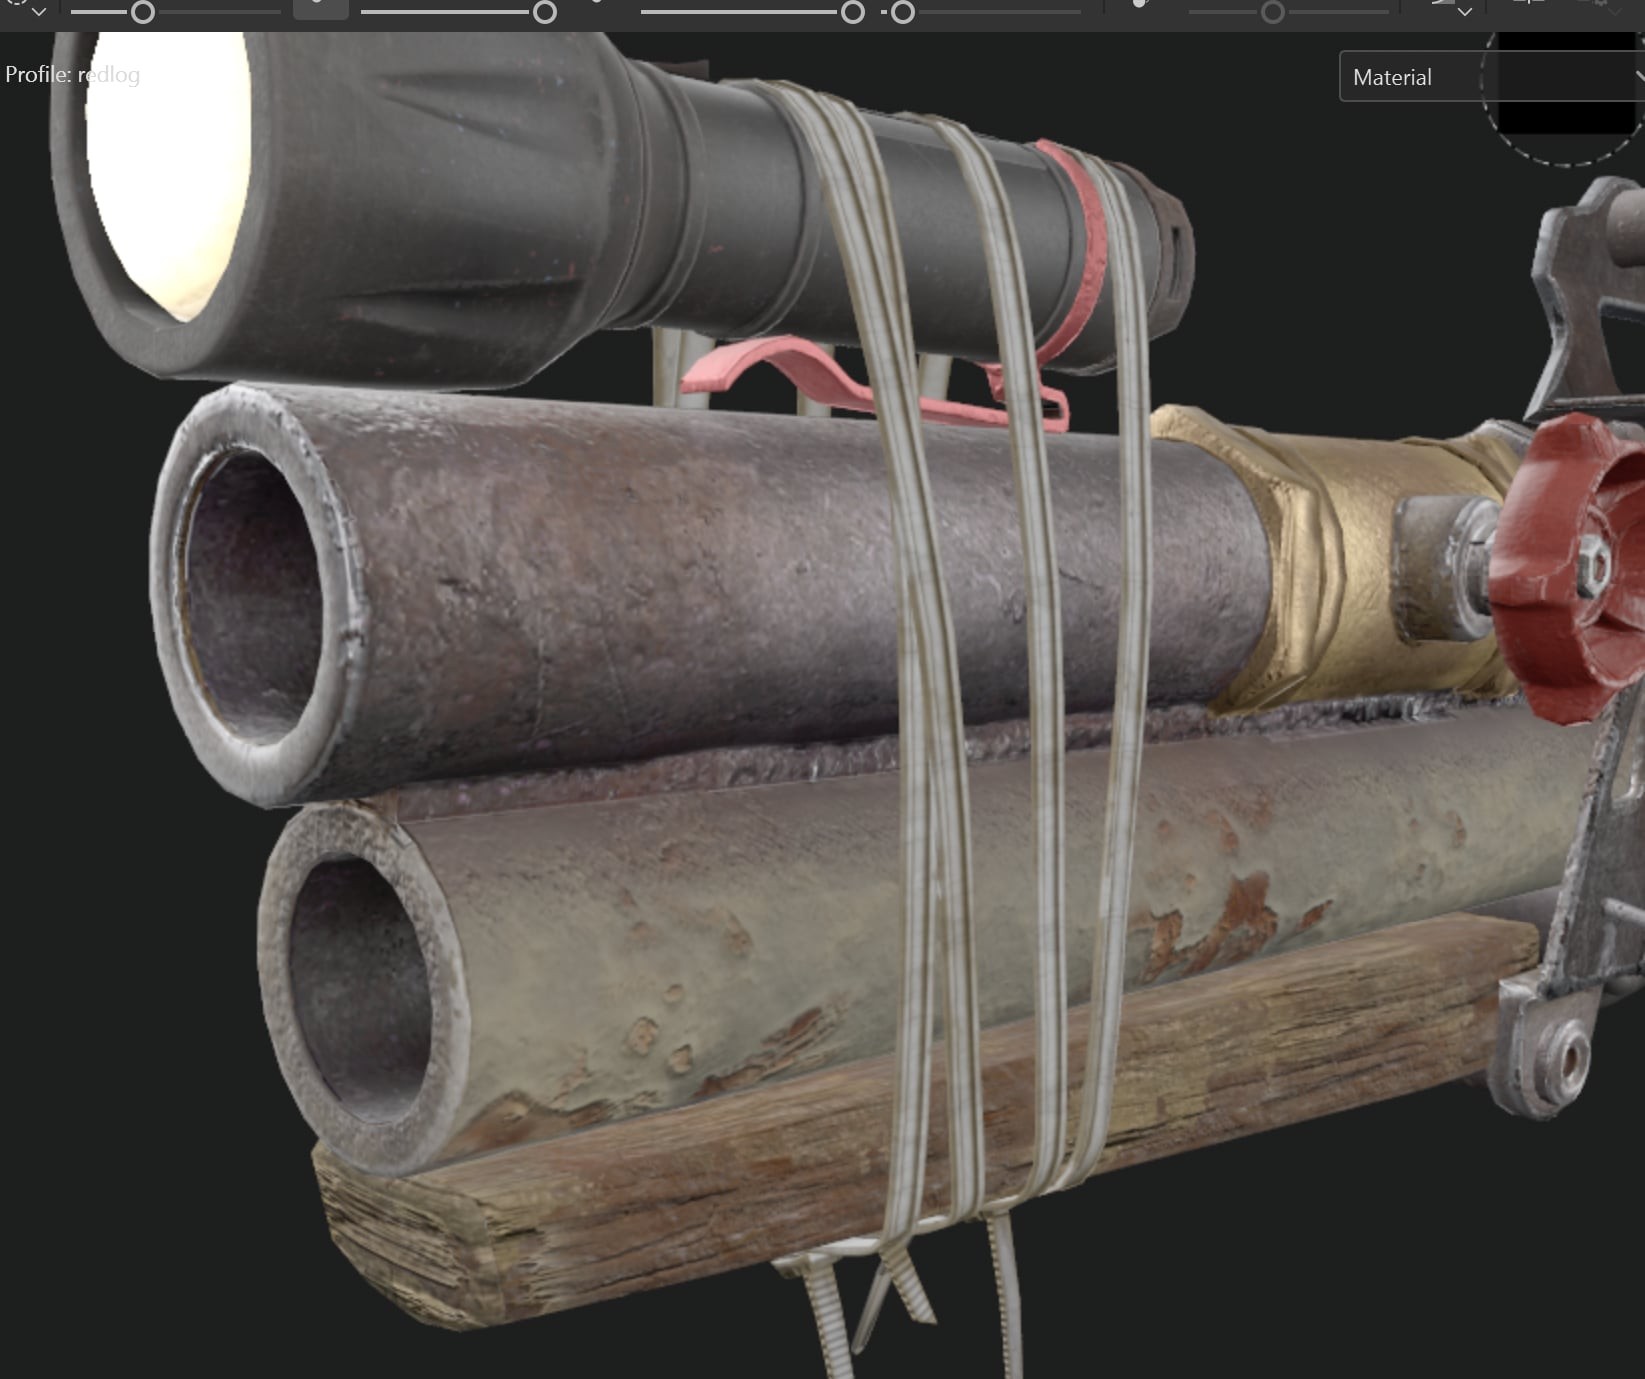
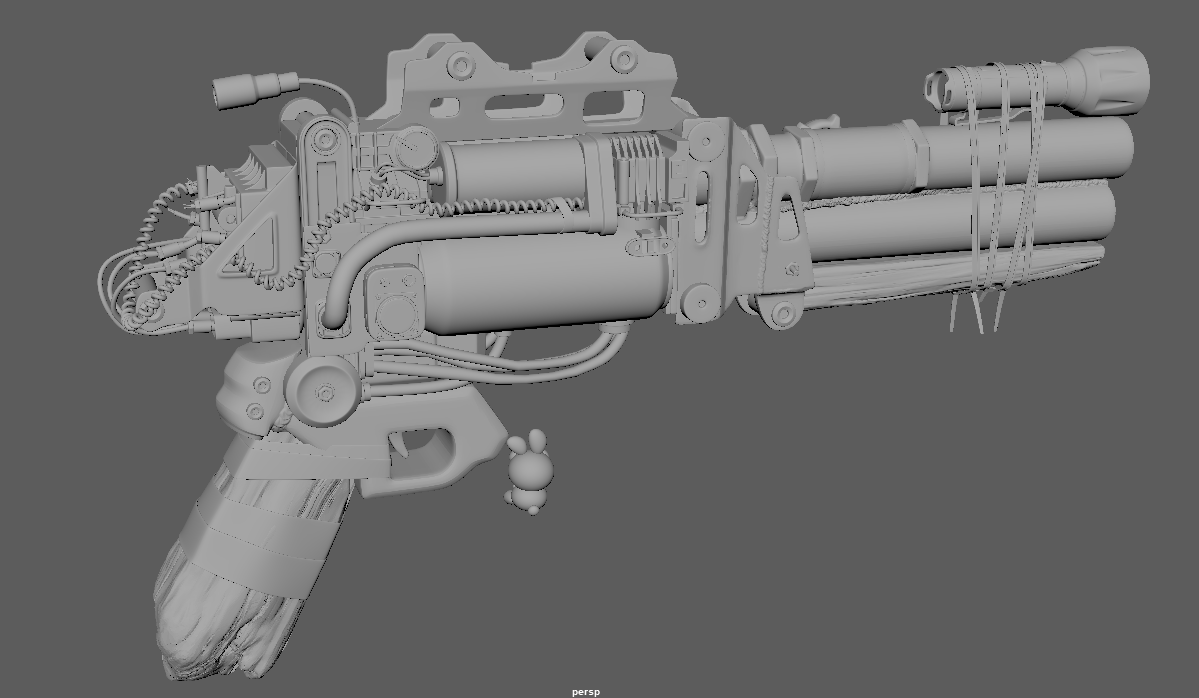
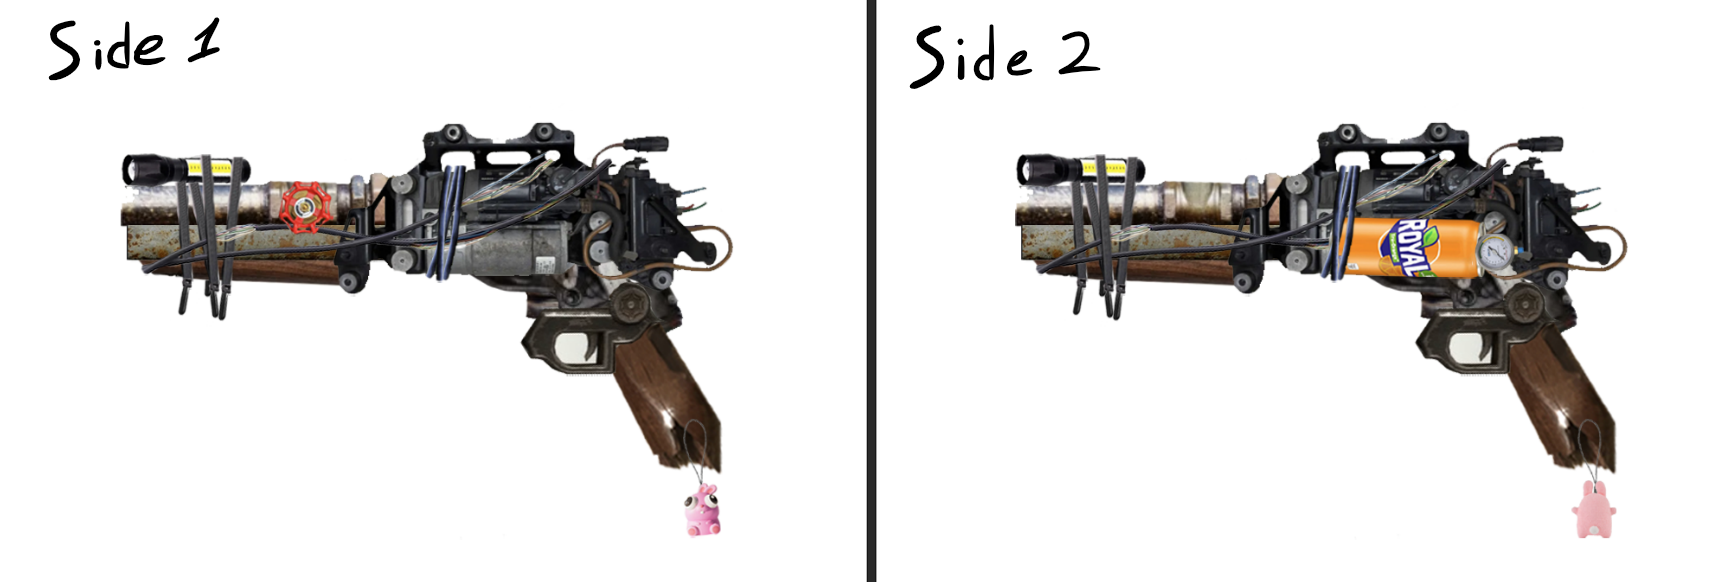
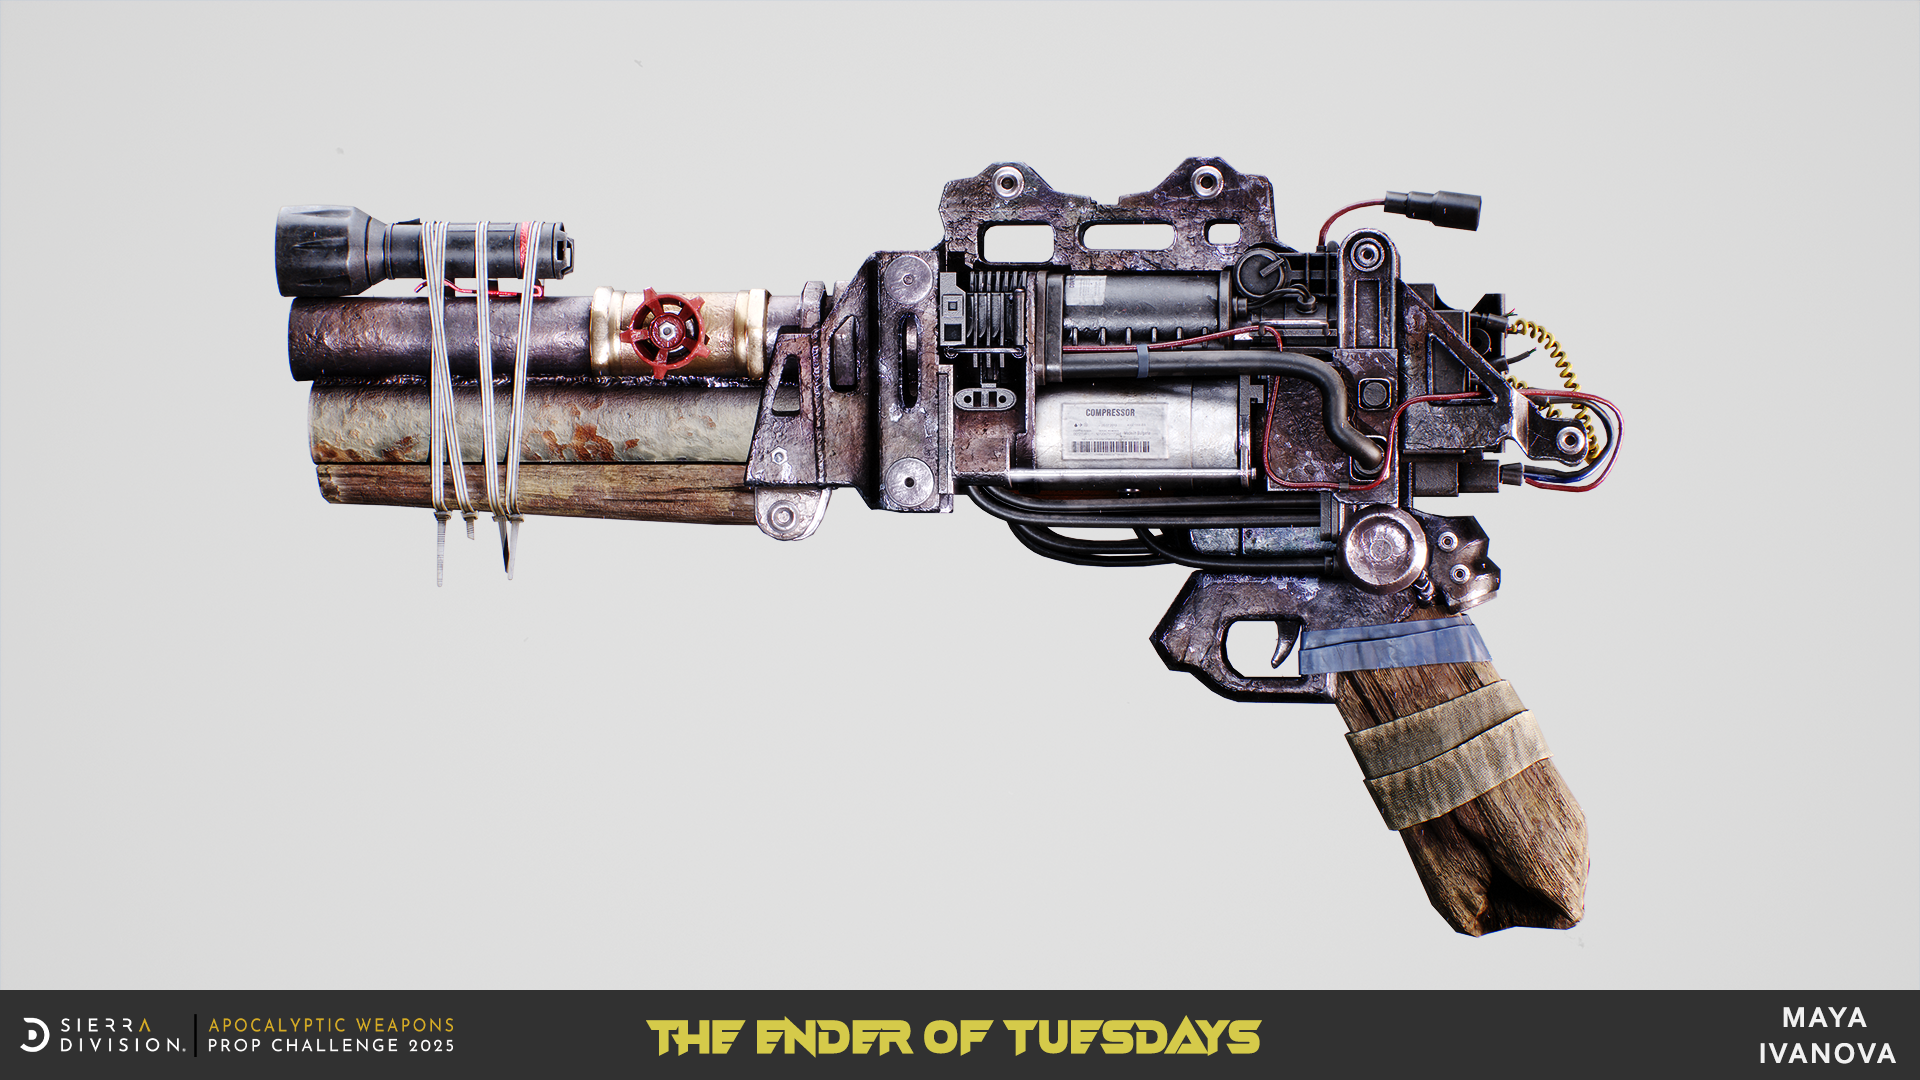
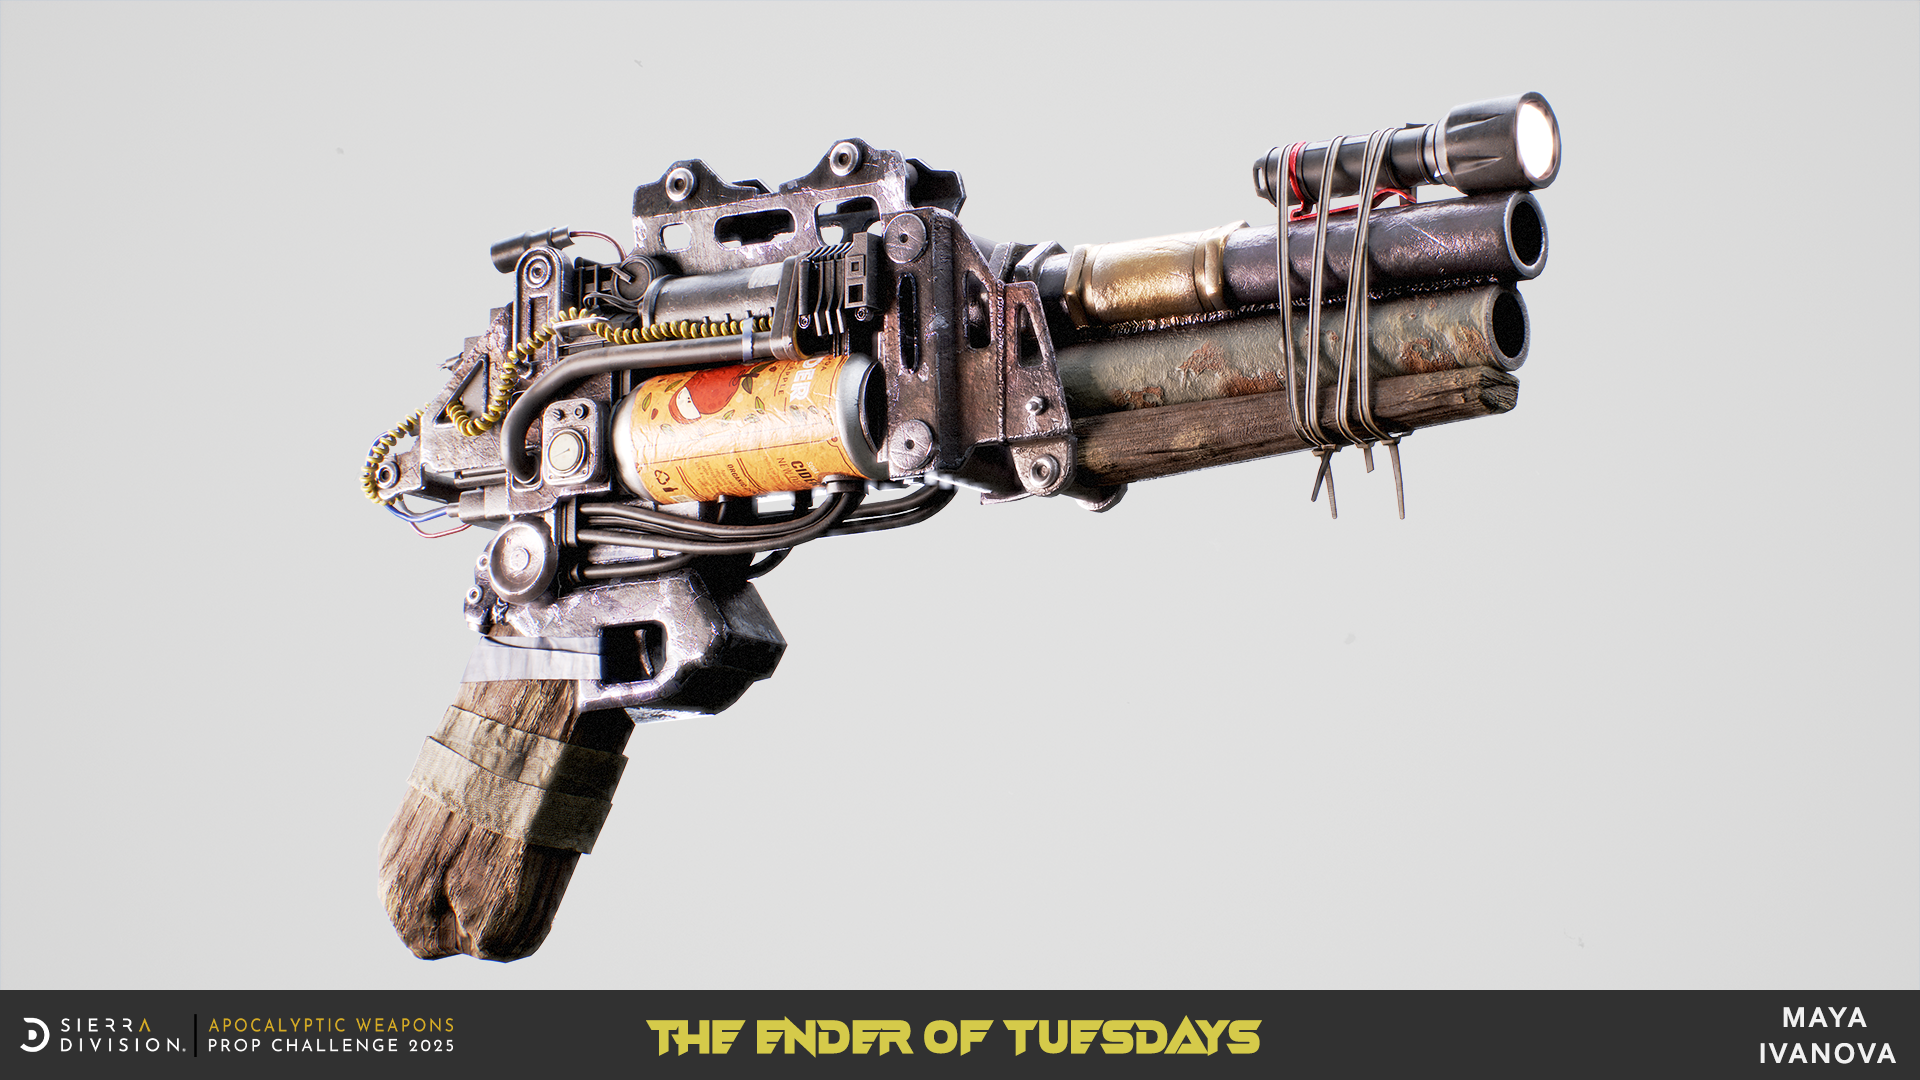
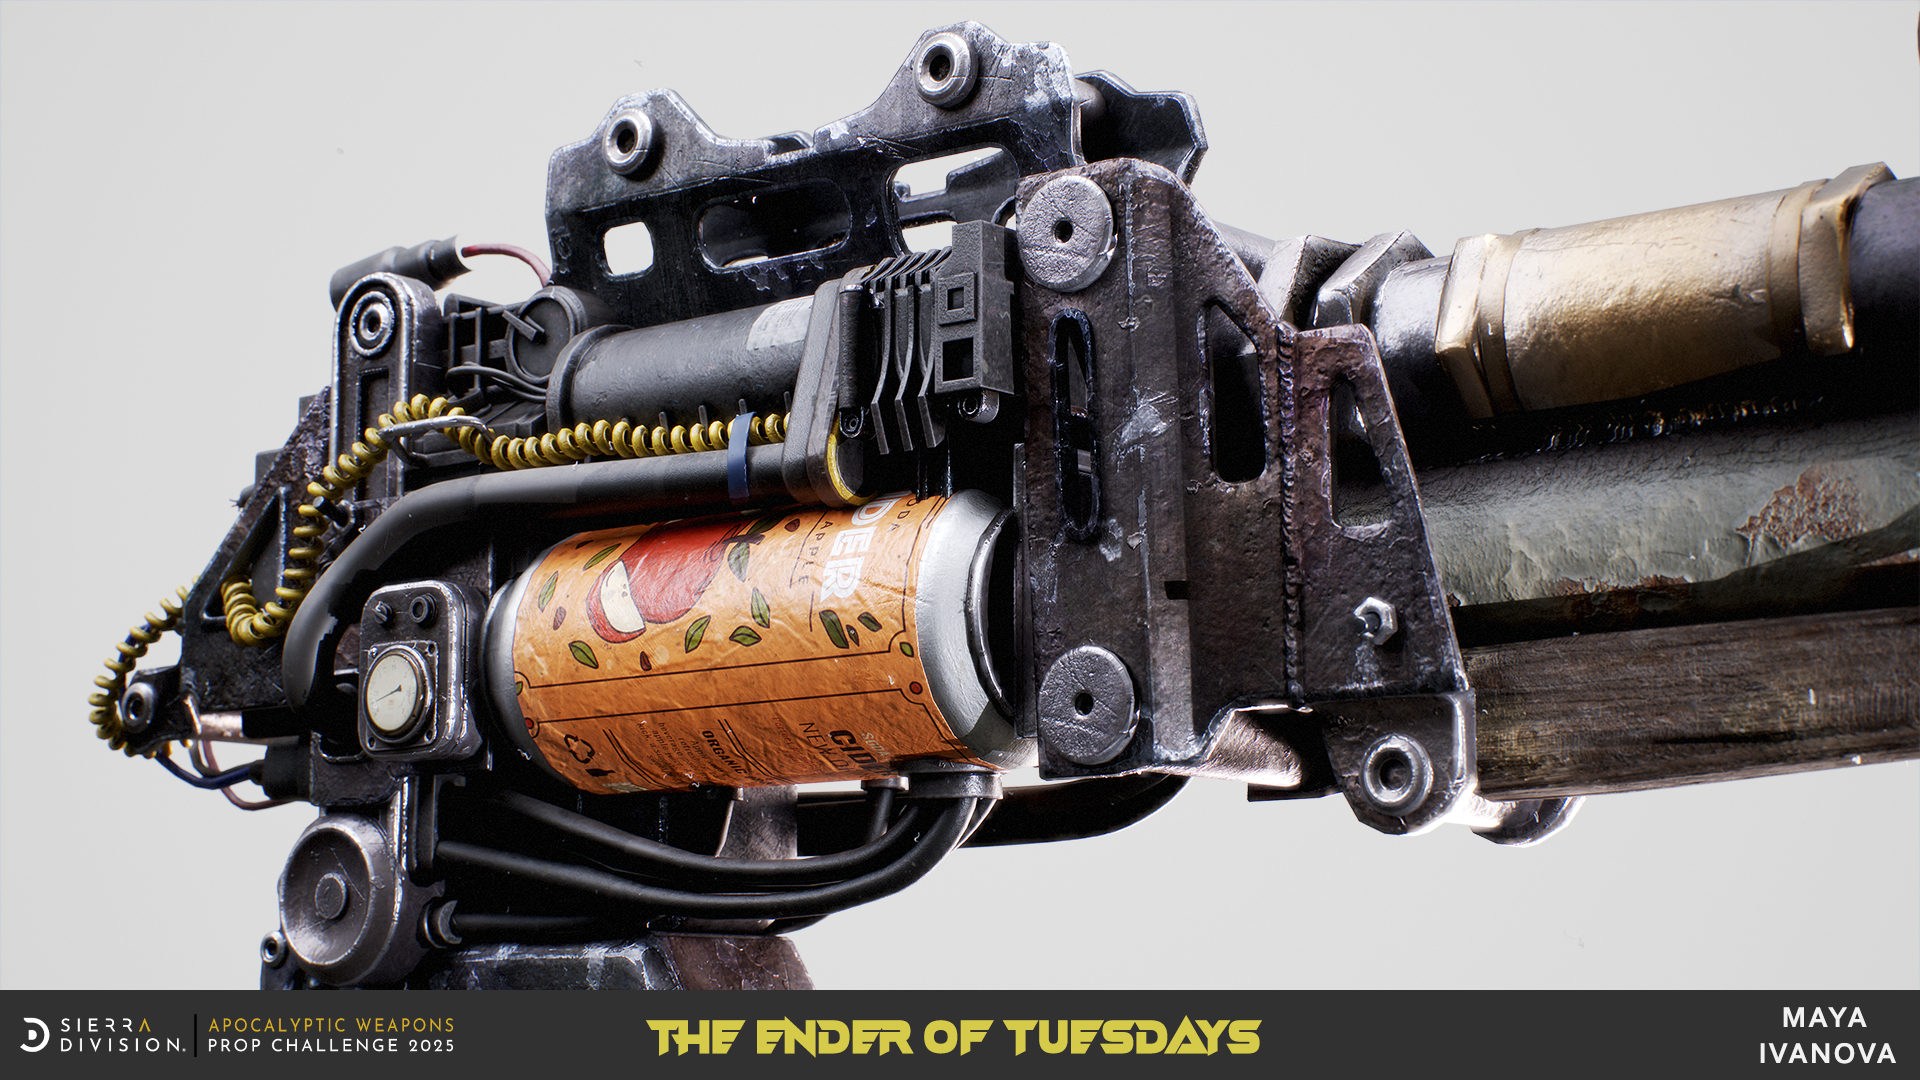
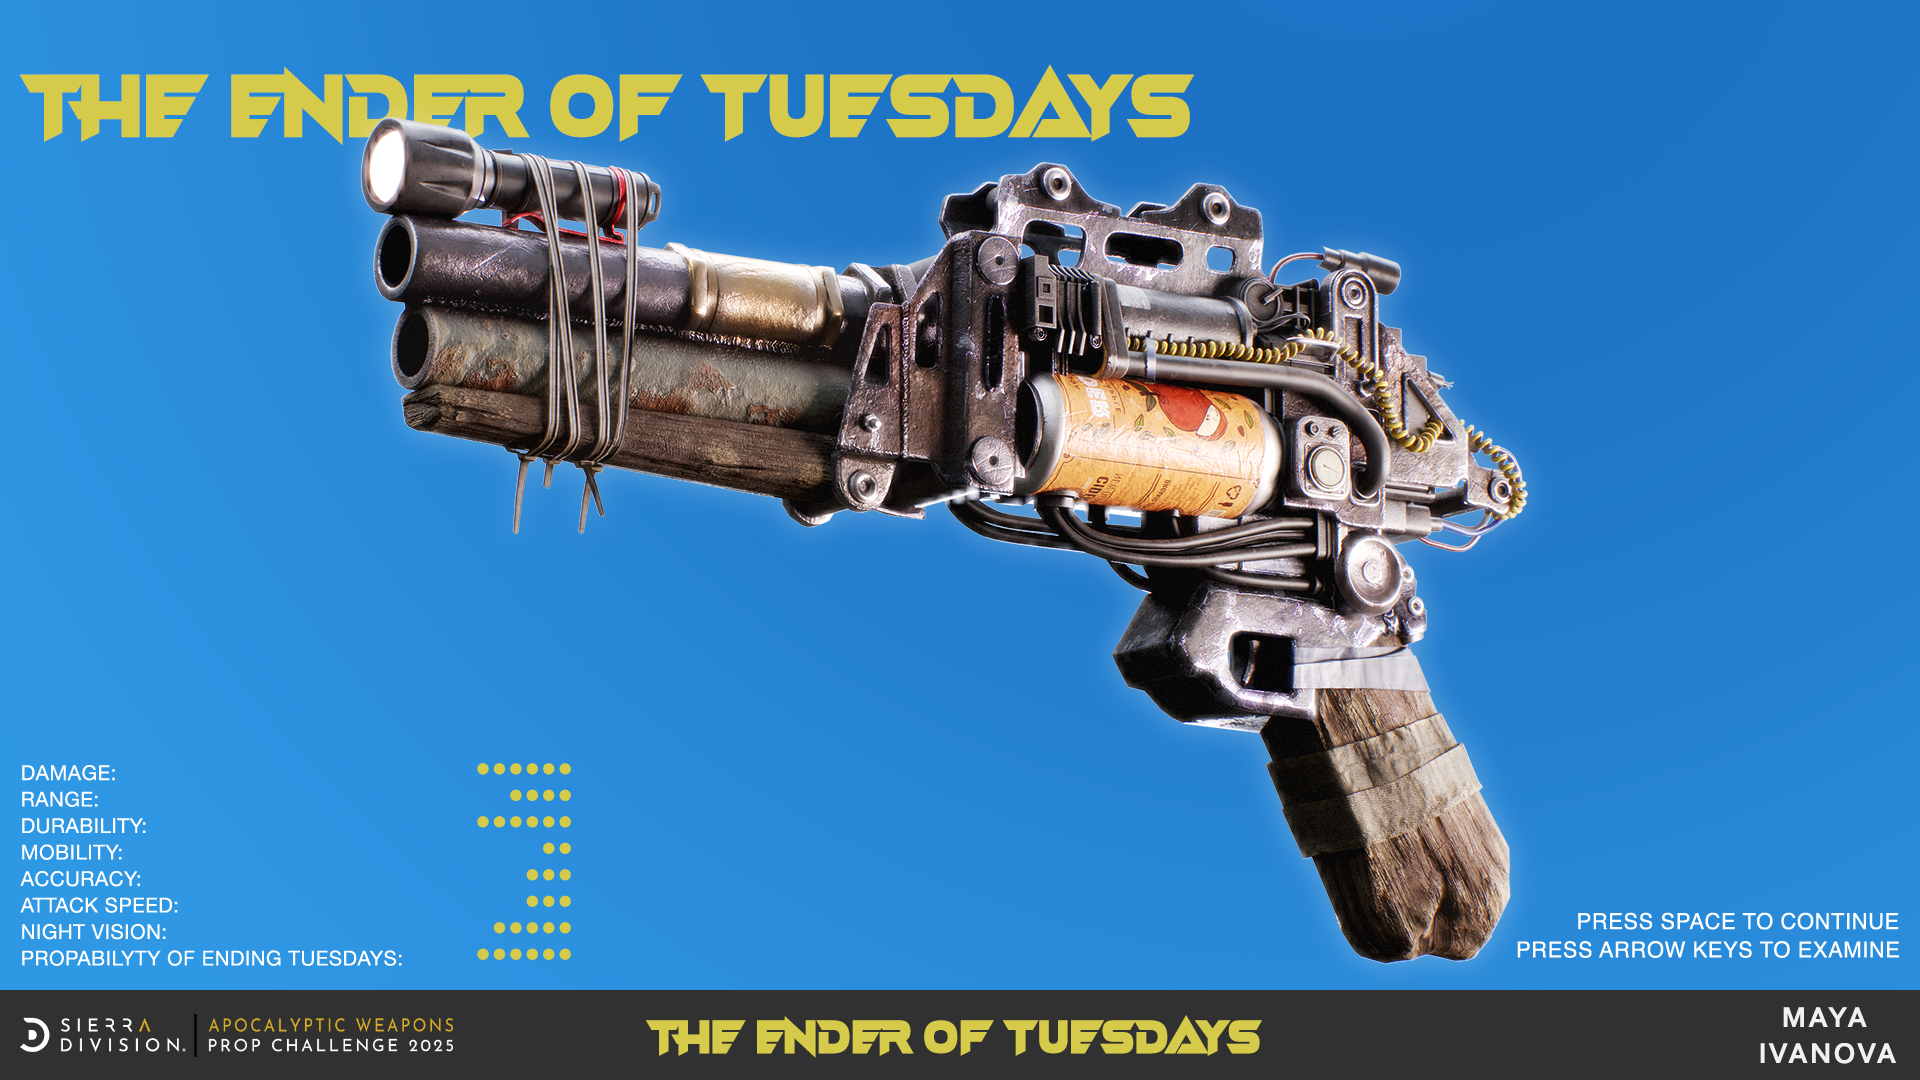
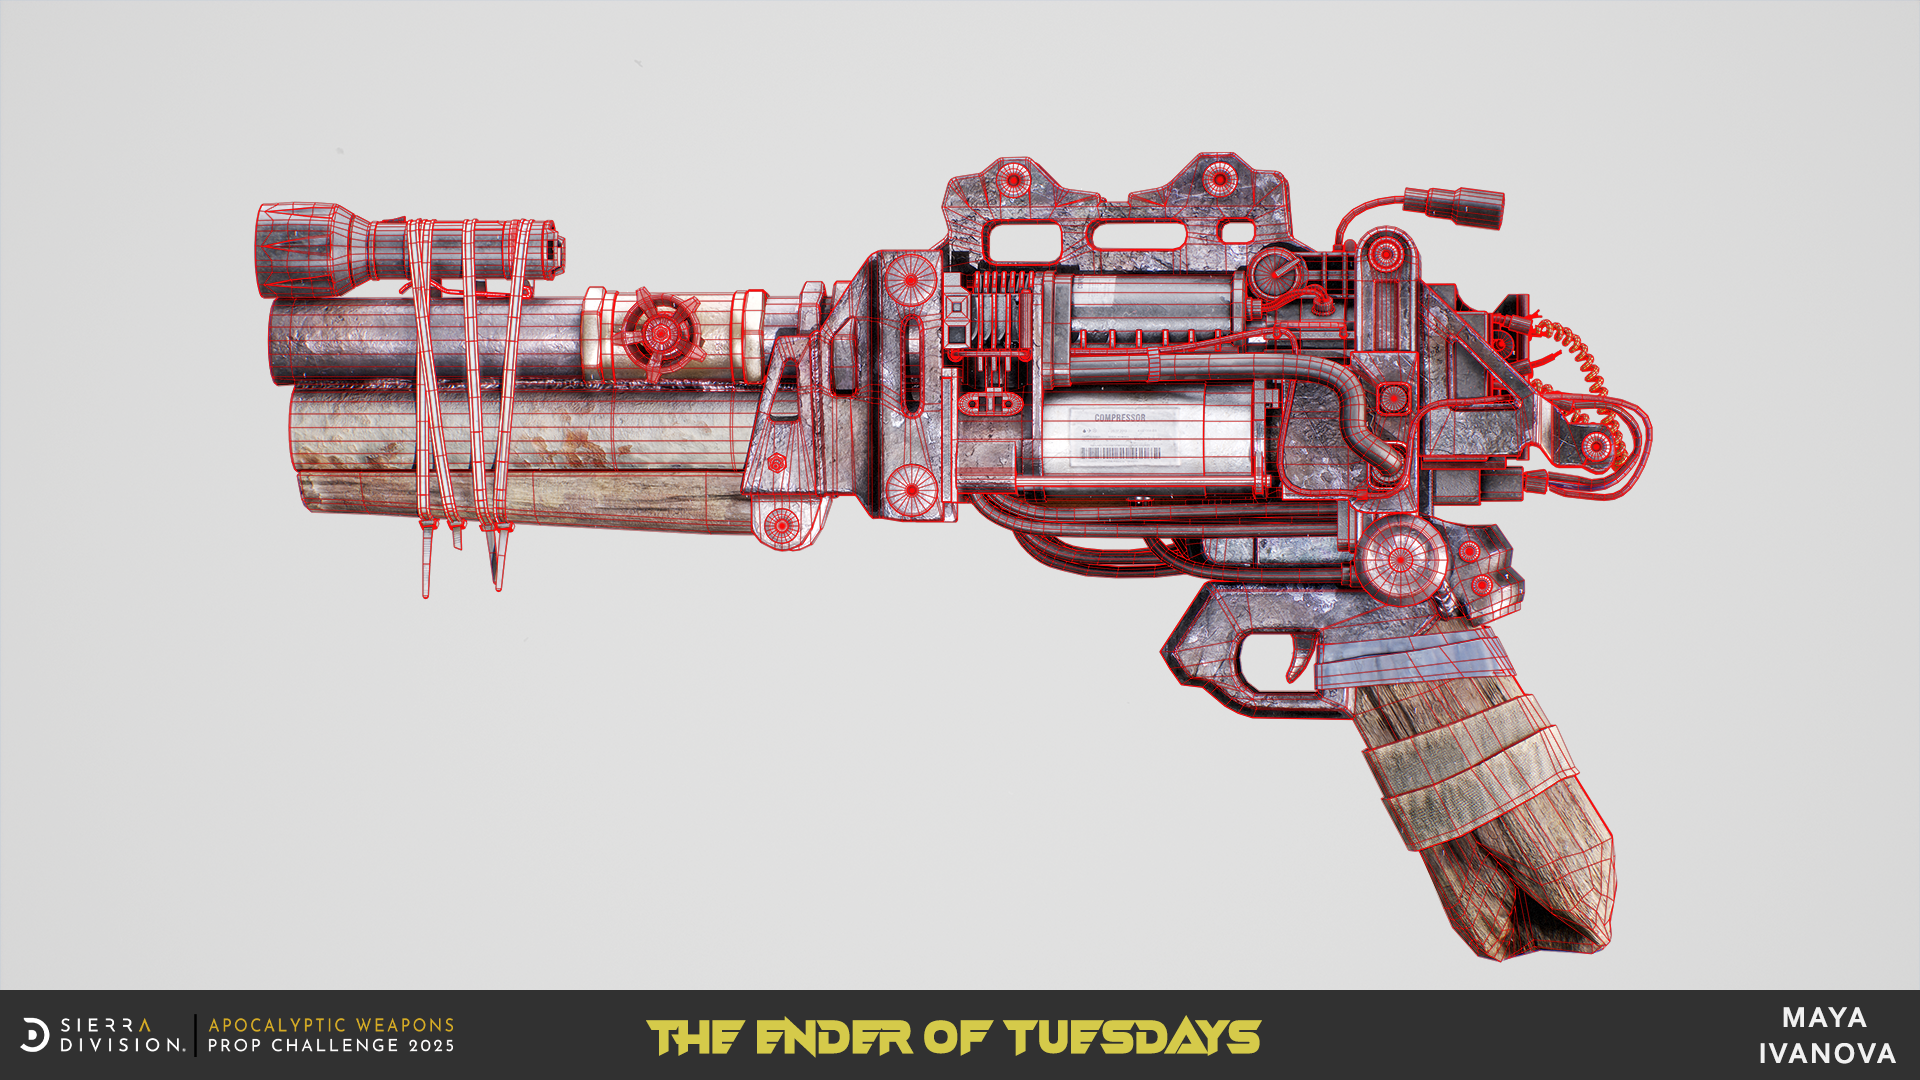
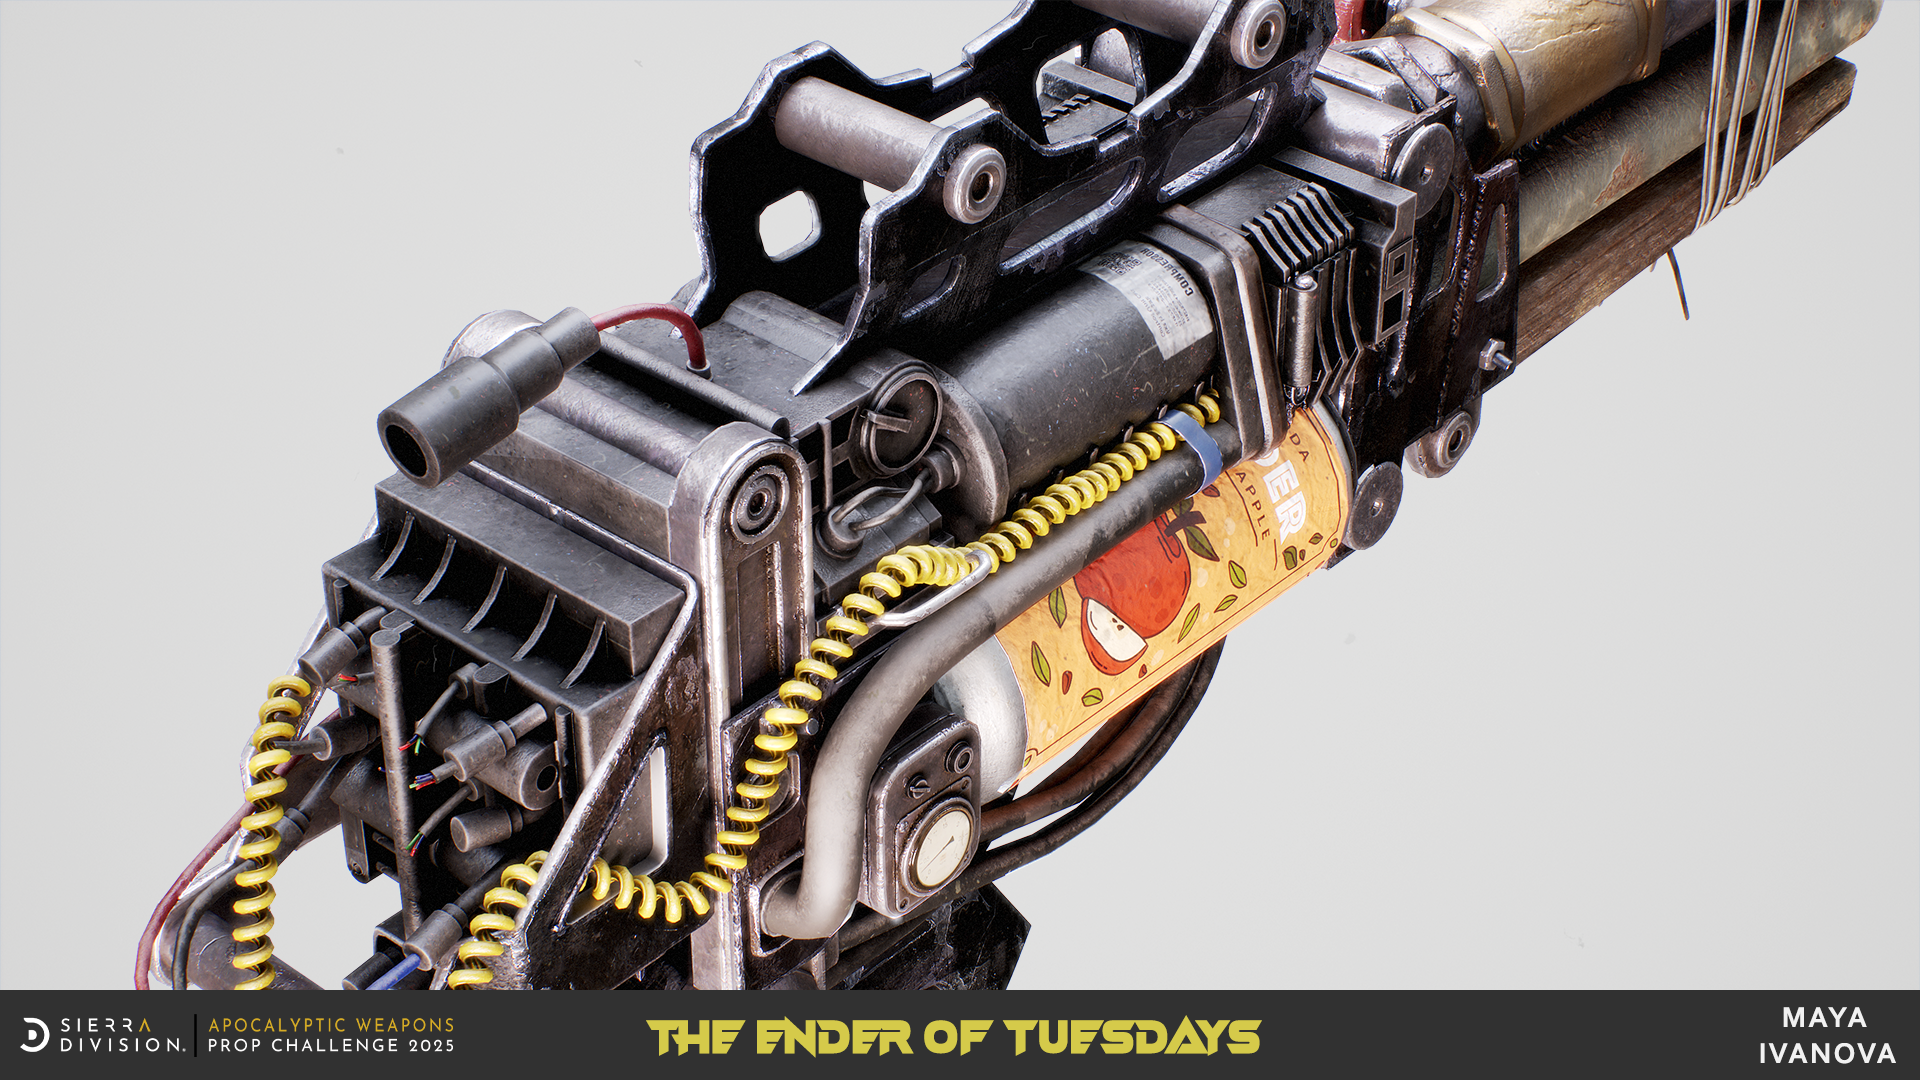
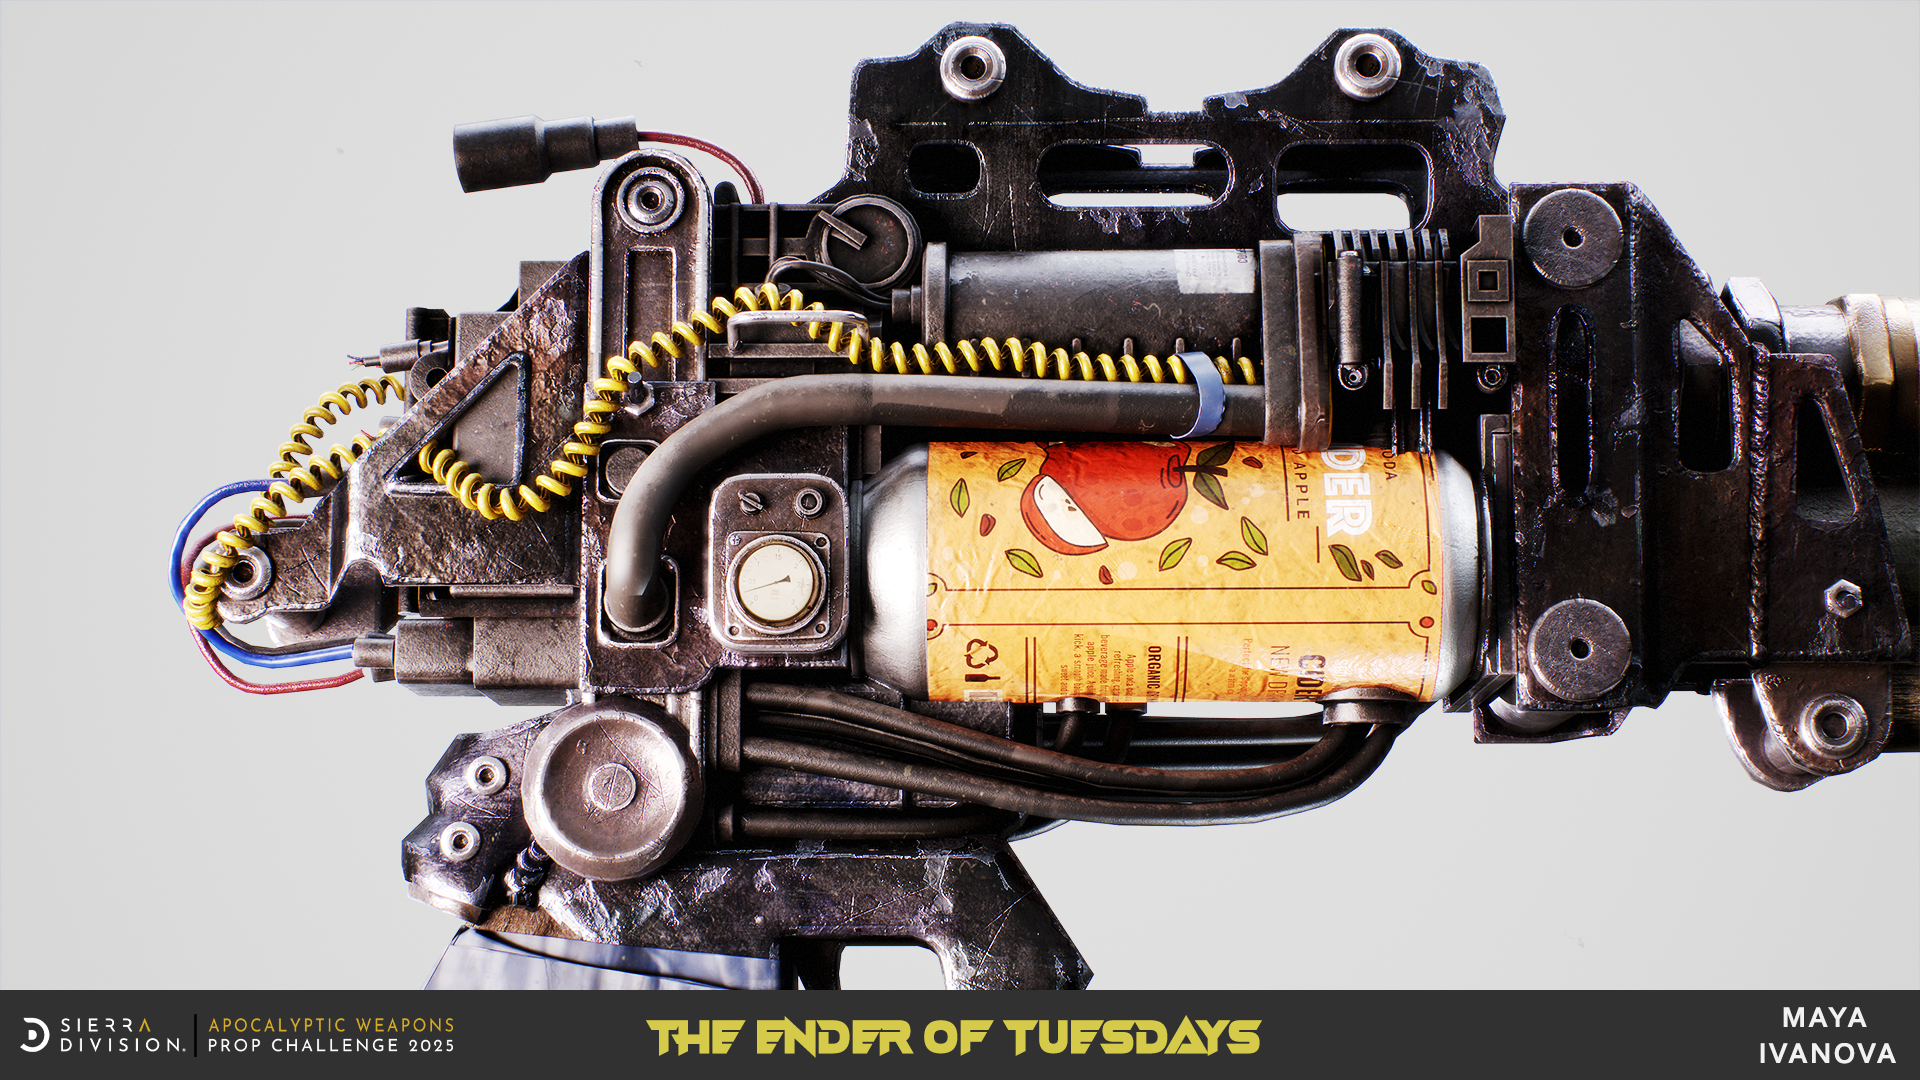
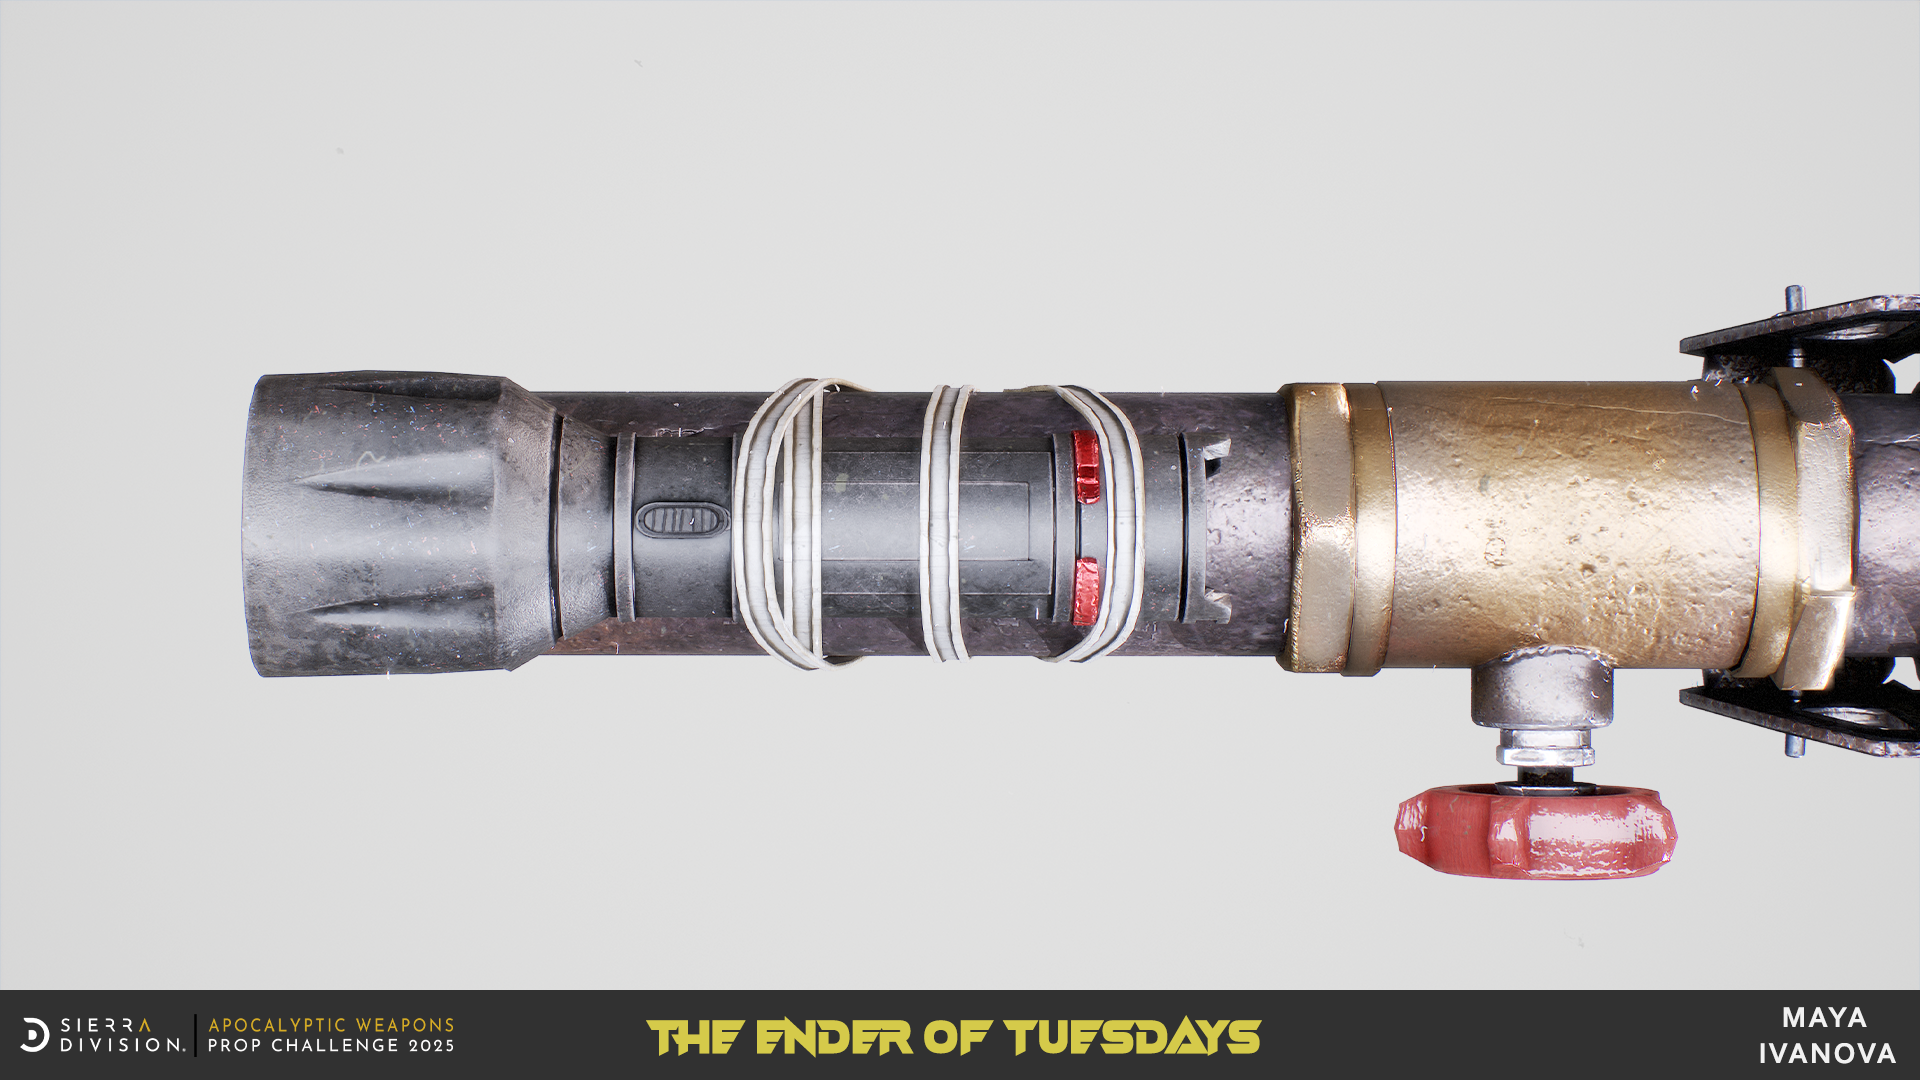
I am so excited to share with you my final renders! I hope you like them! ☺
Beauty Render 1
Beauty Render 2
Beauty Render 3
Beauty Render with Stats Card
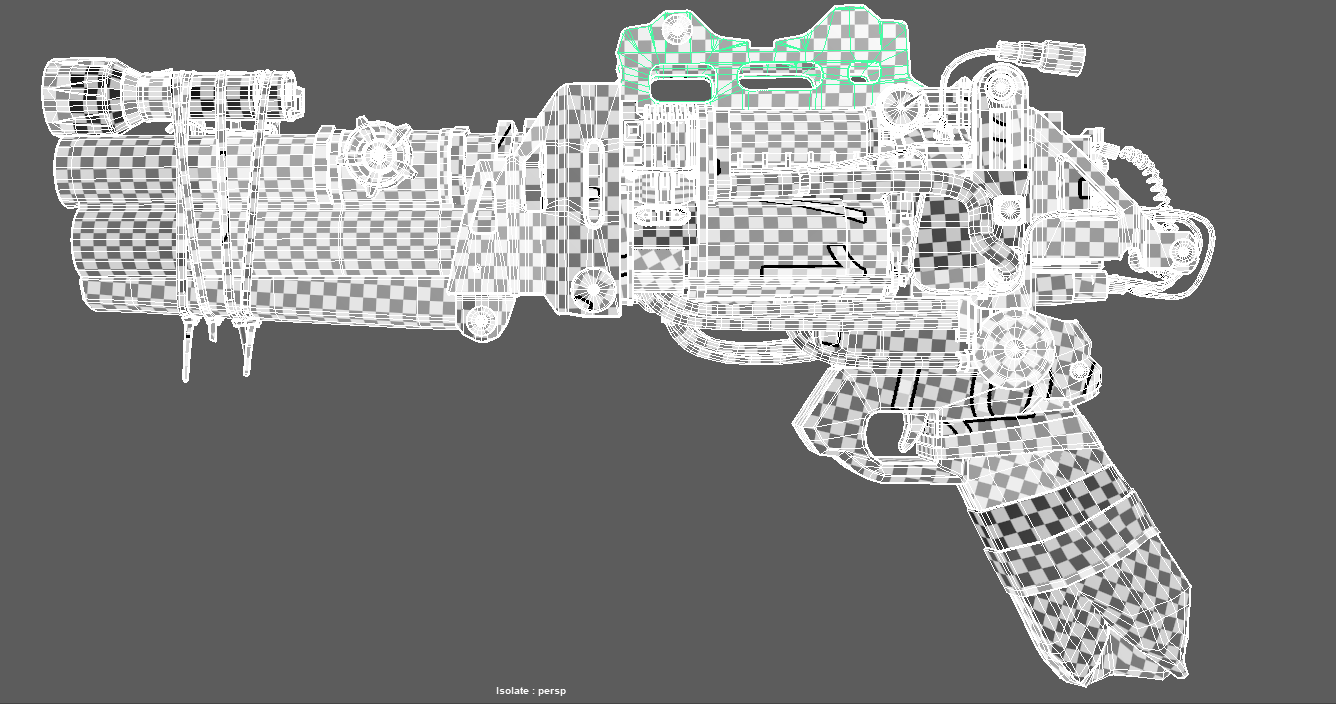
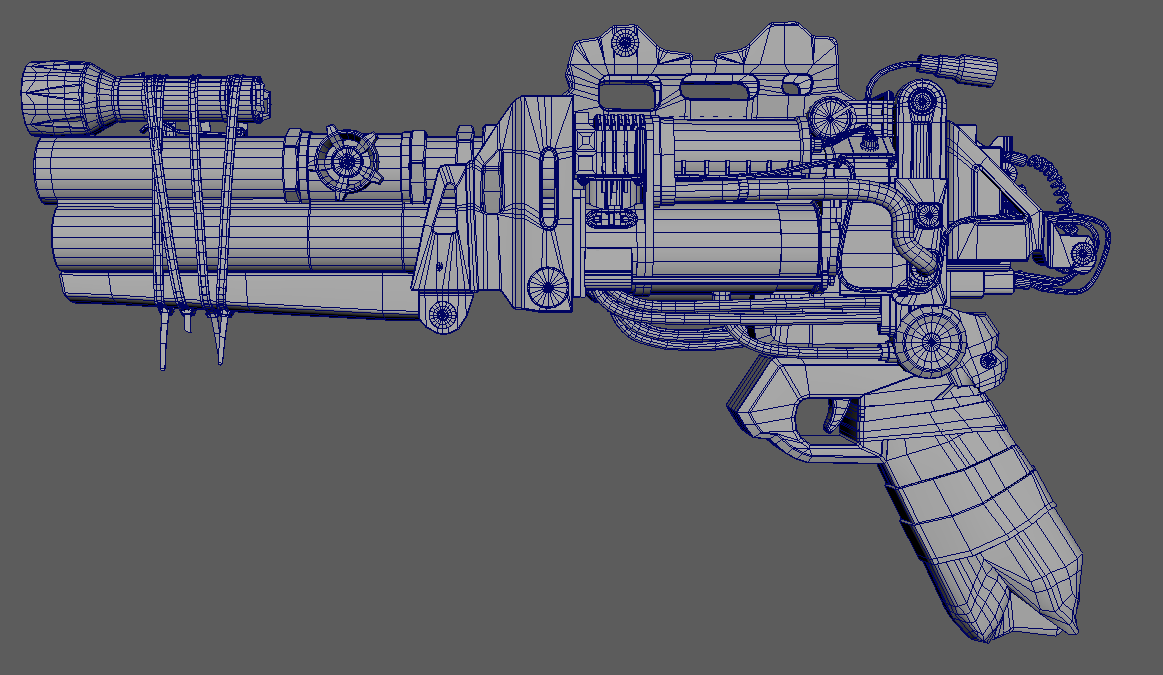
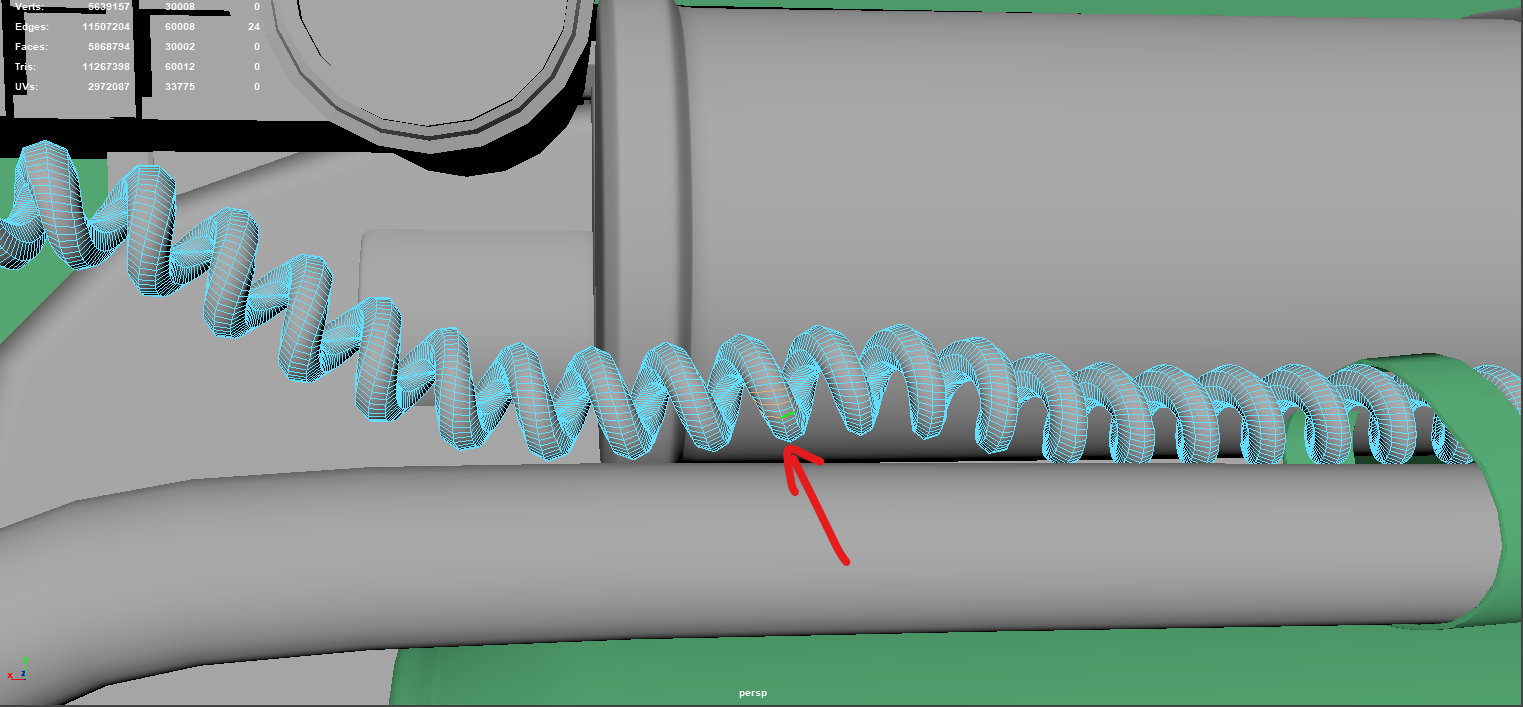
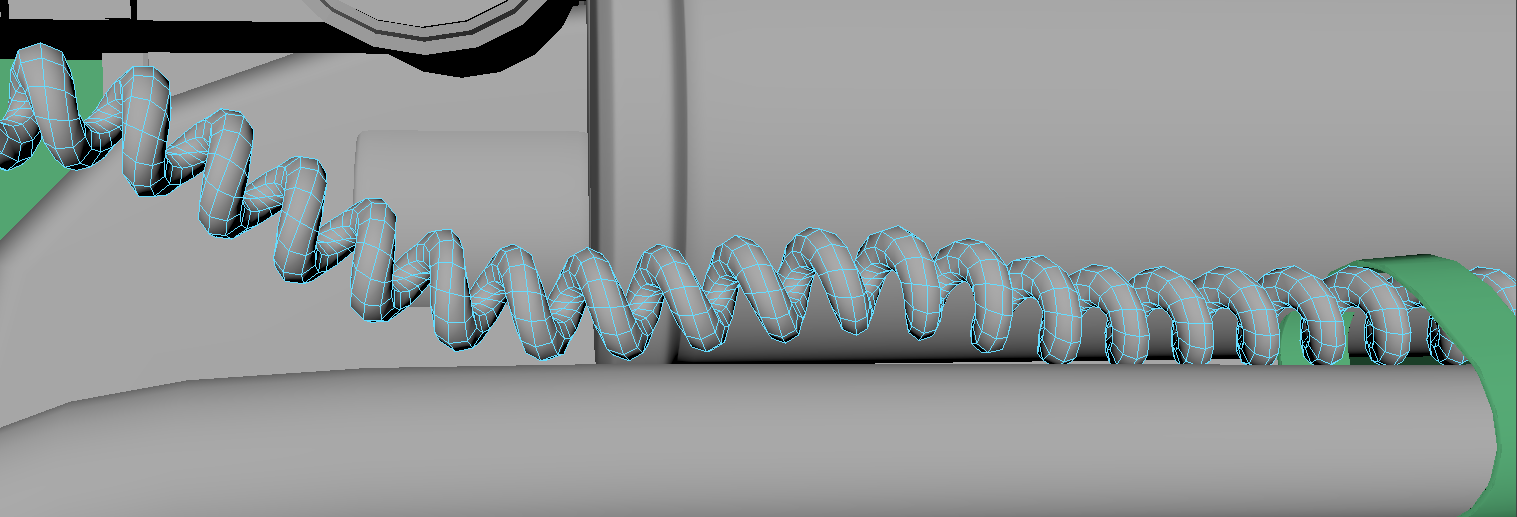
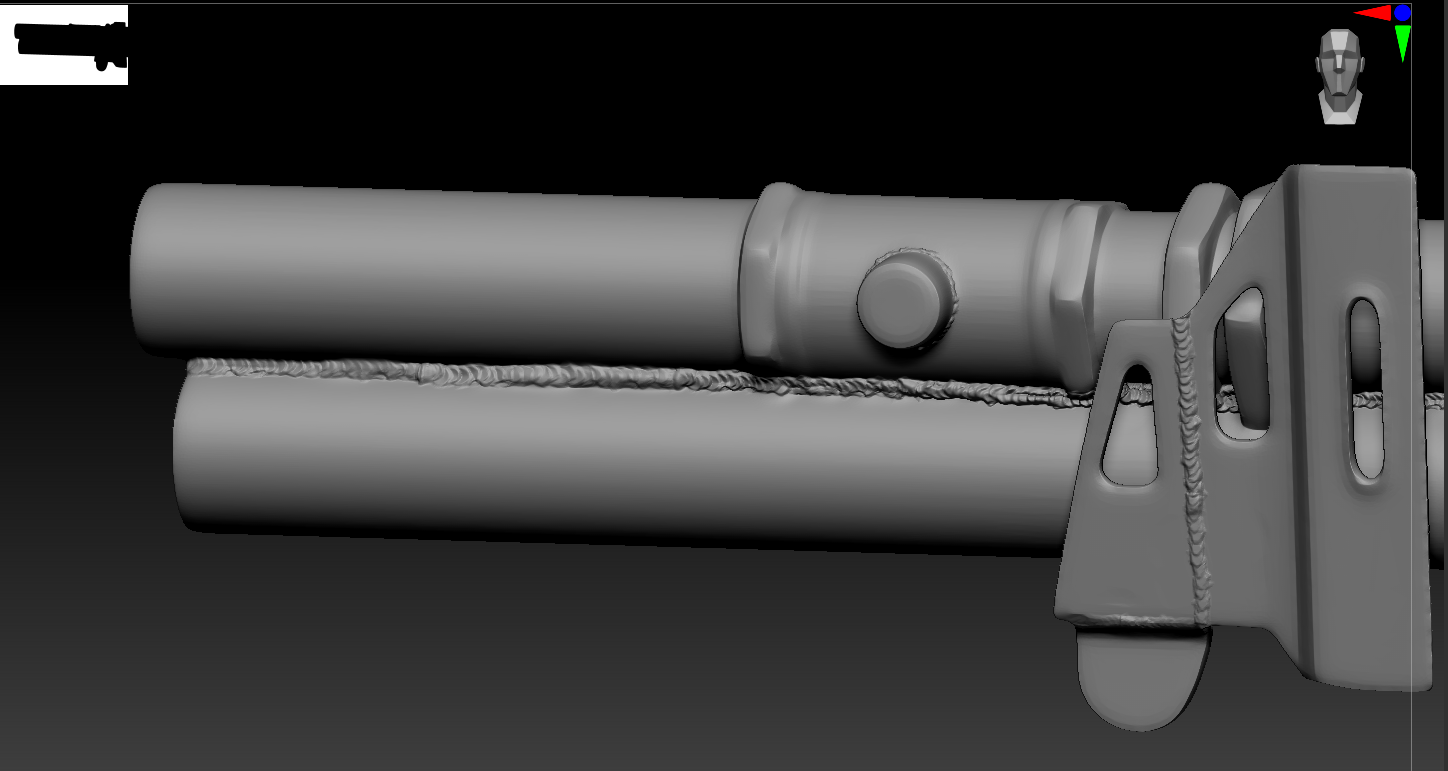
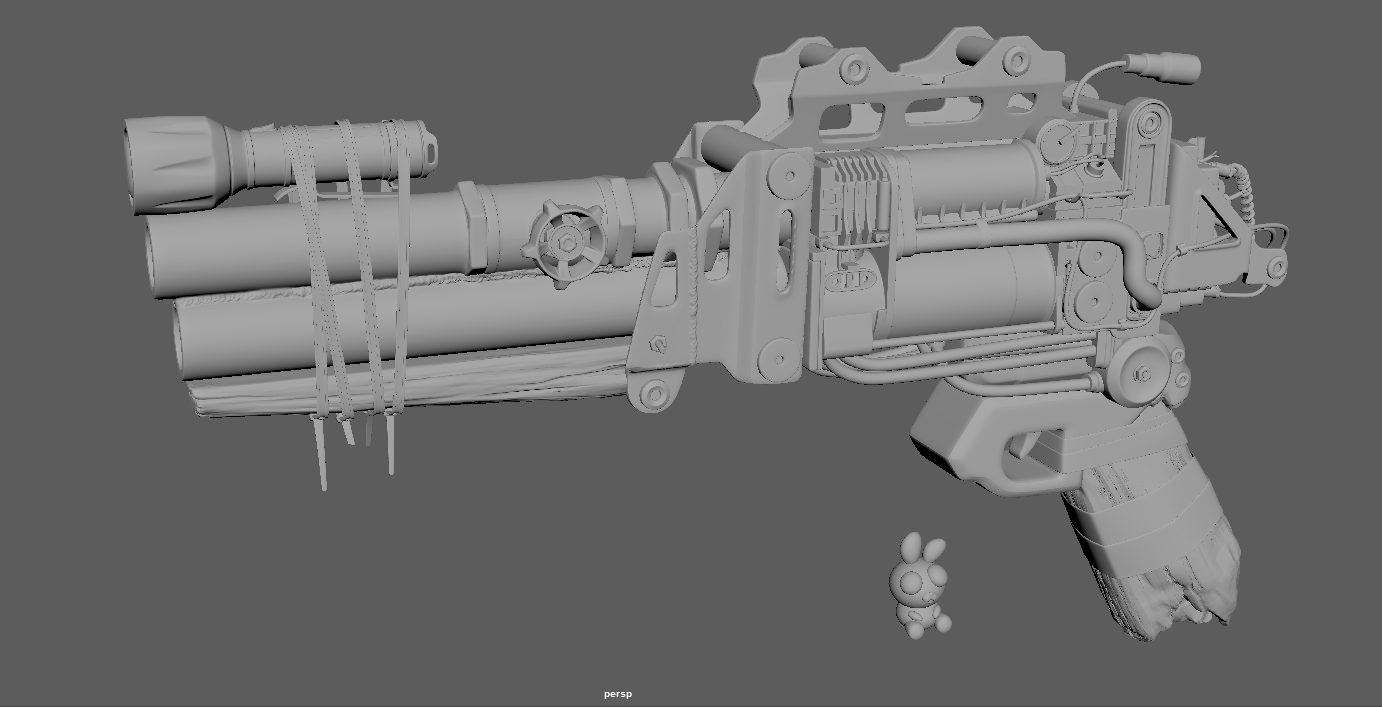
Wireframe View
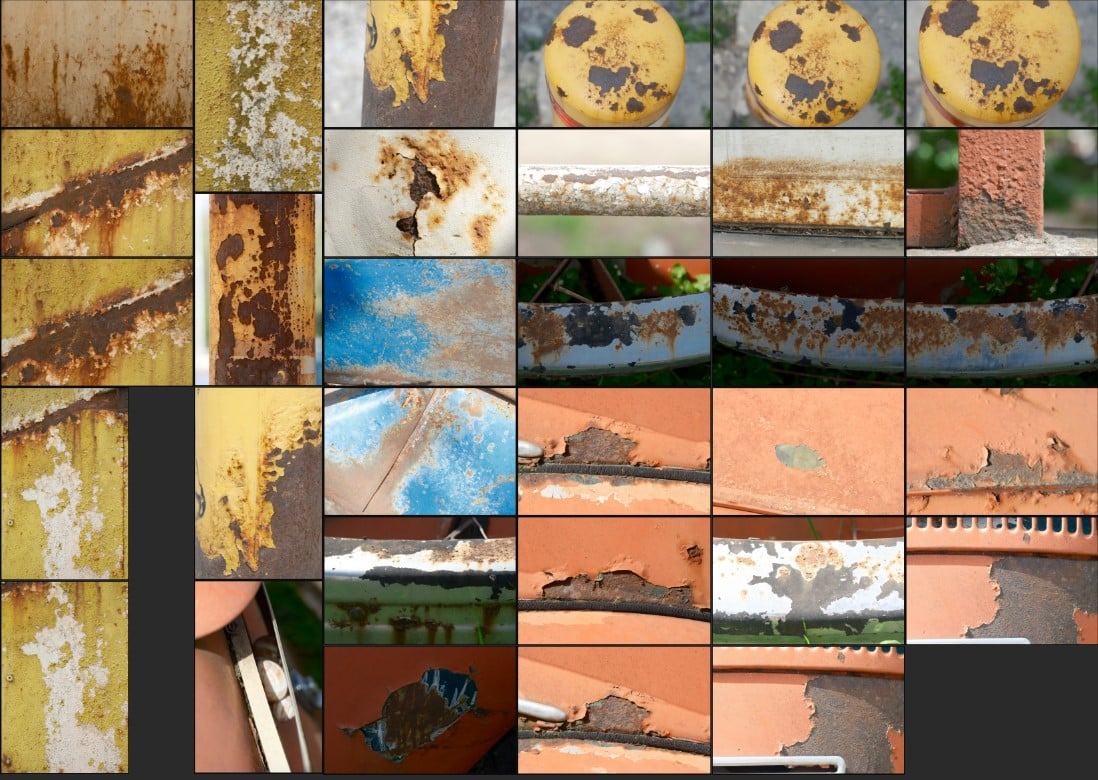
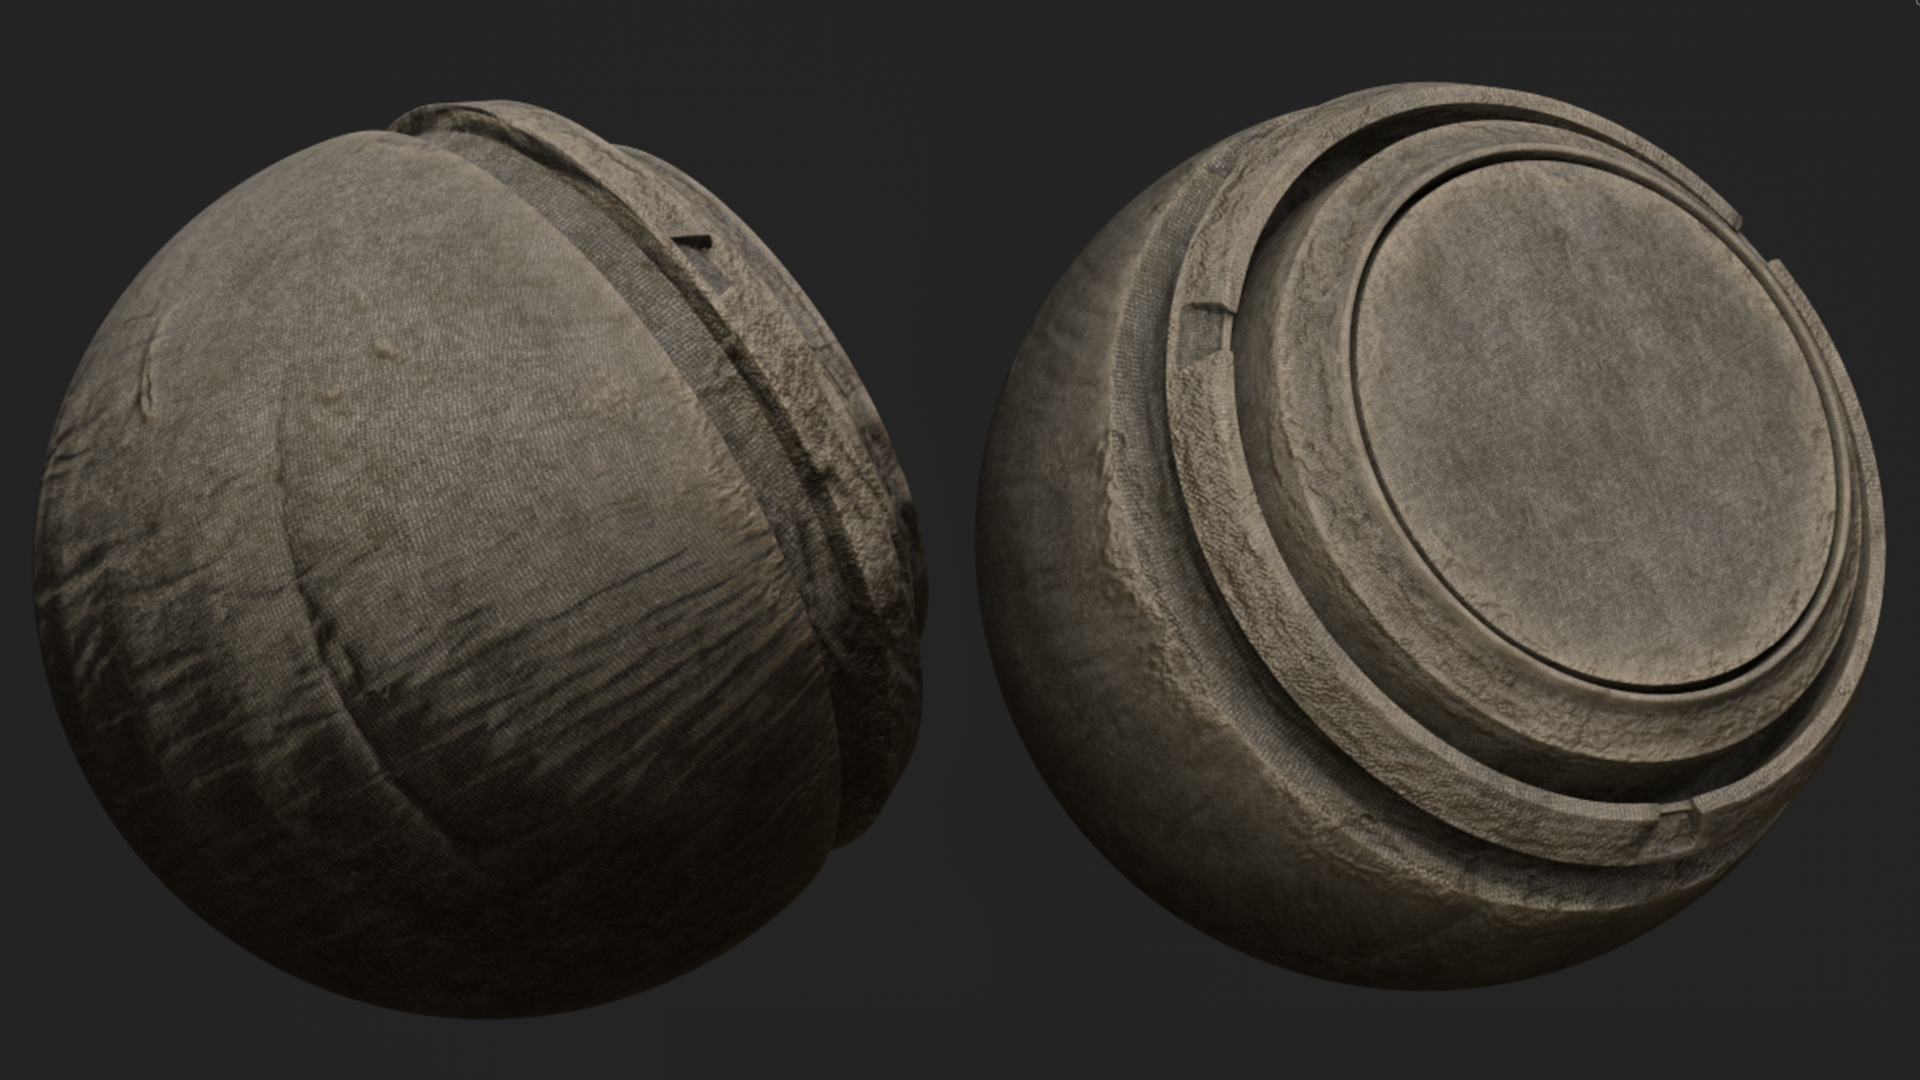
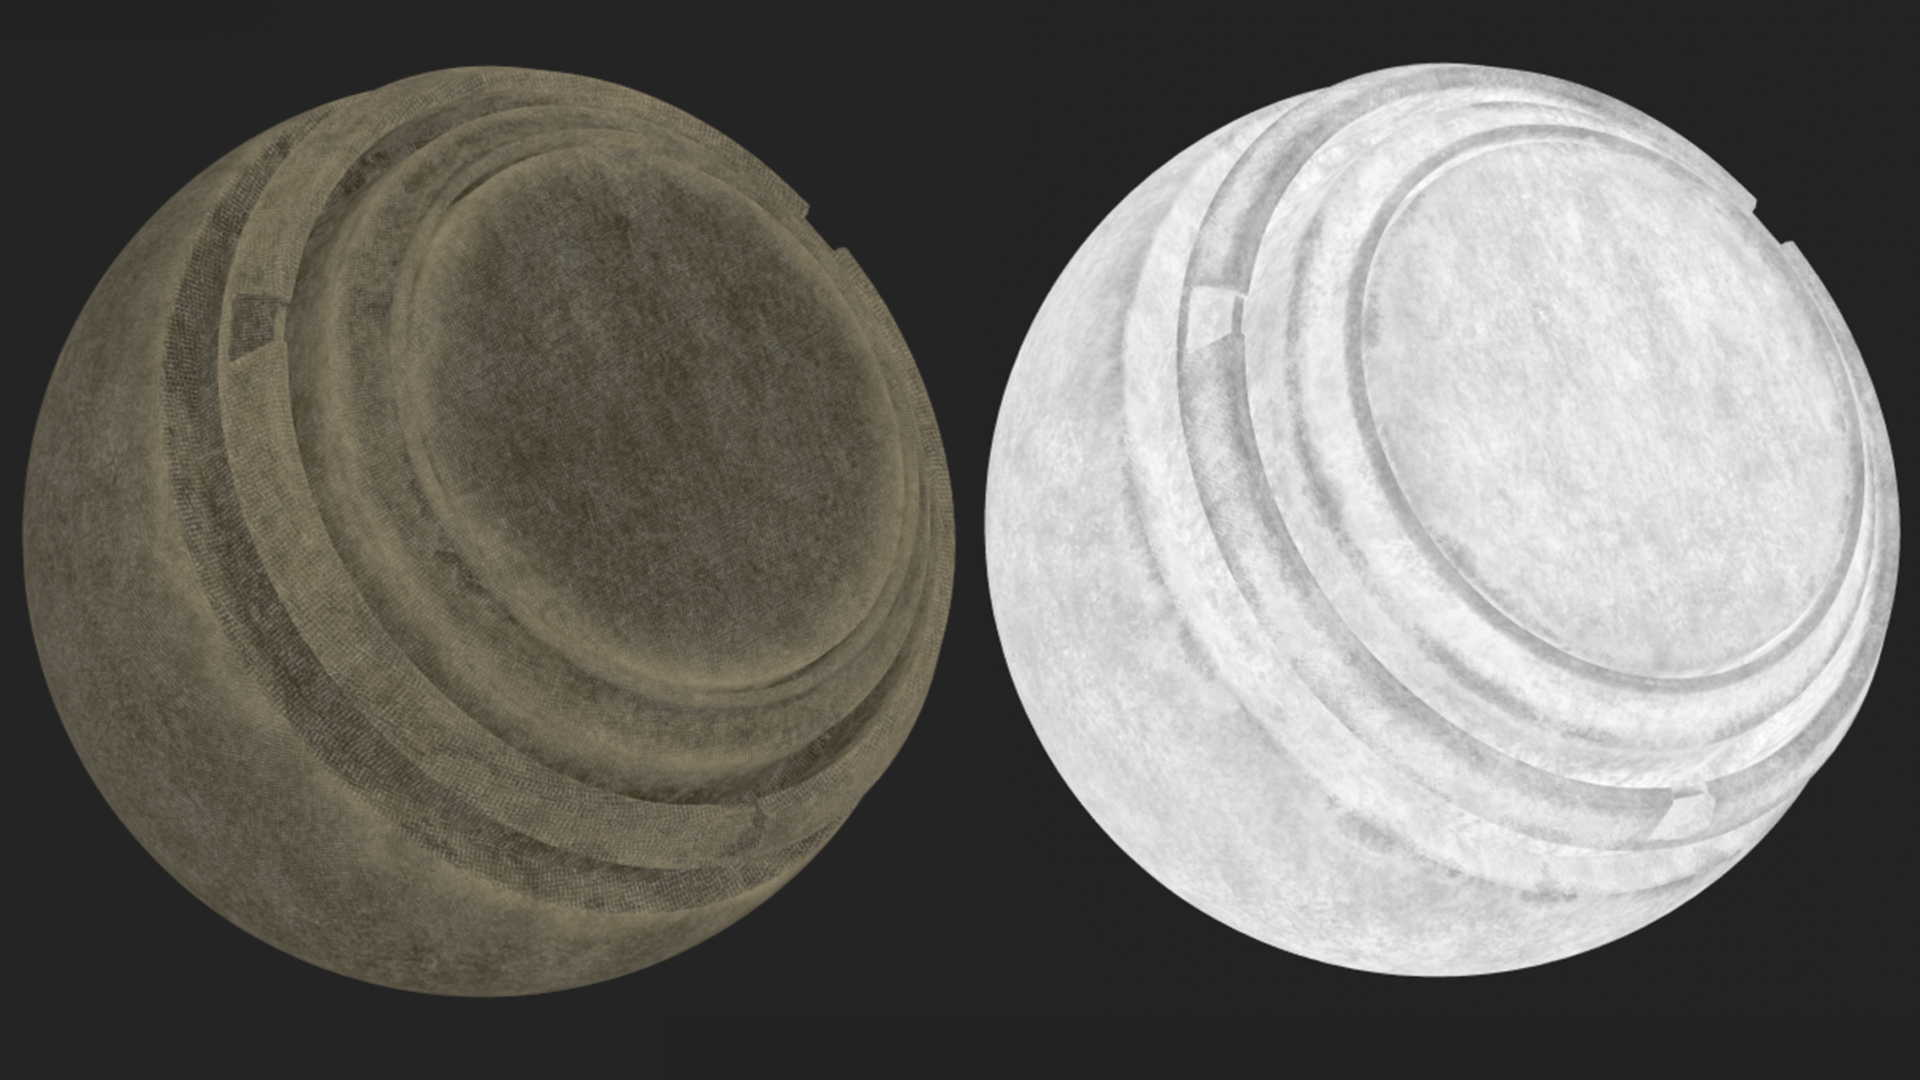
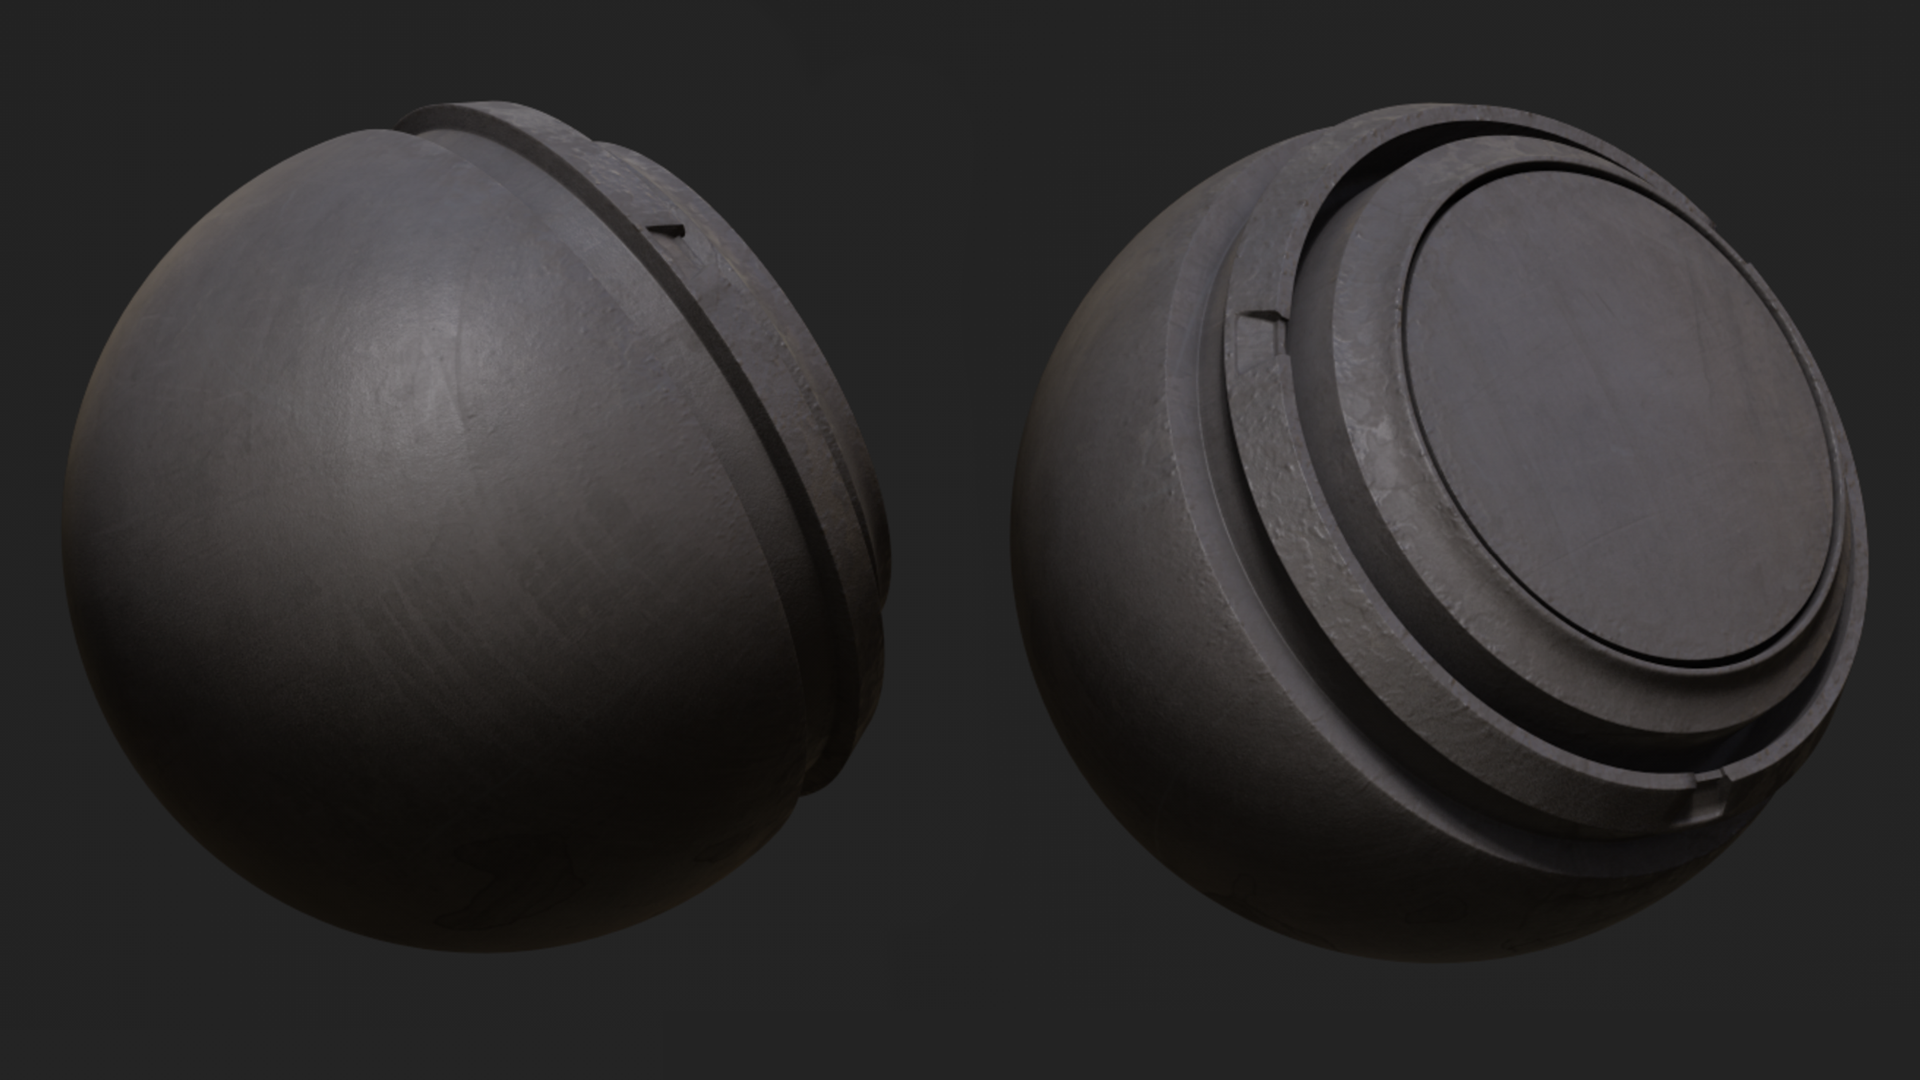
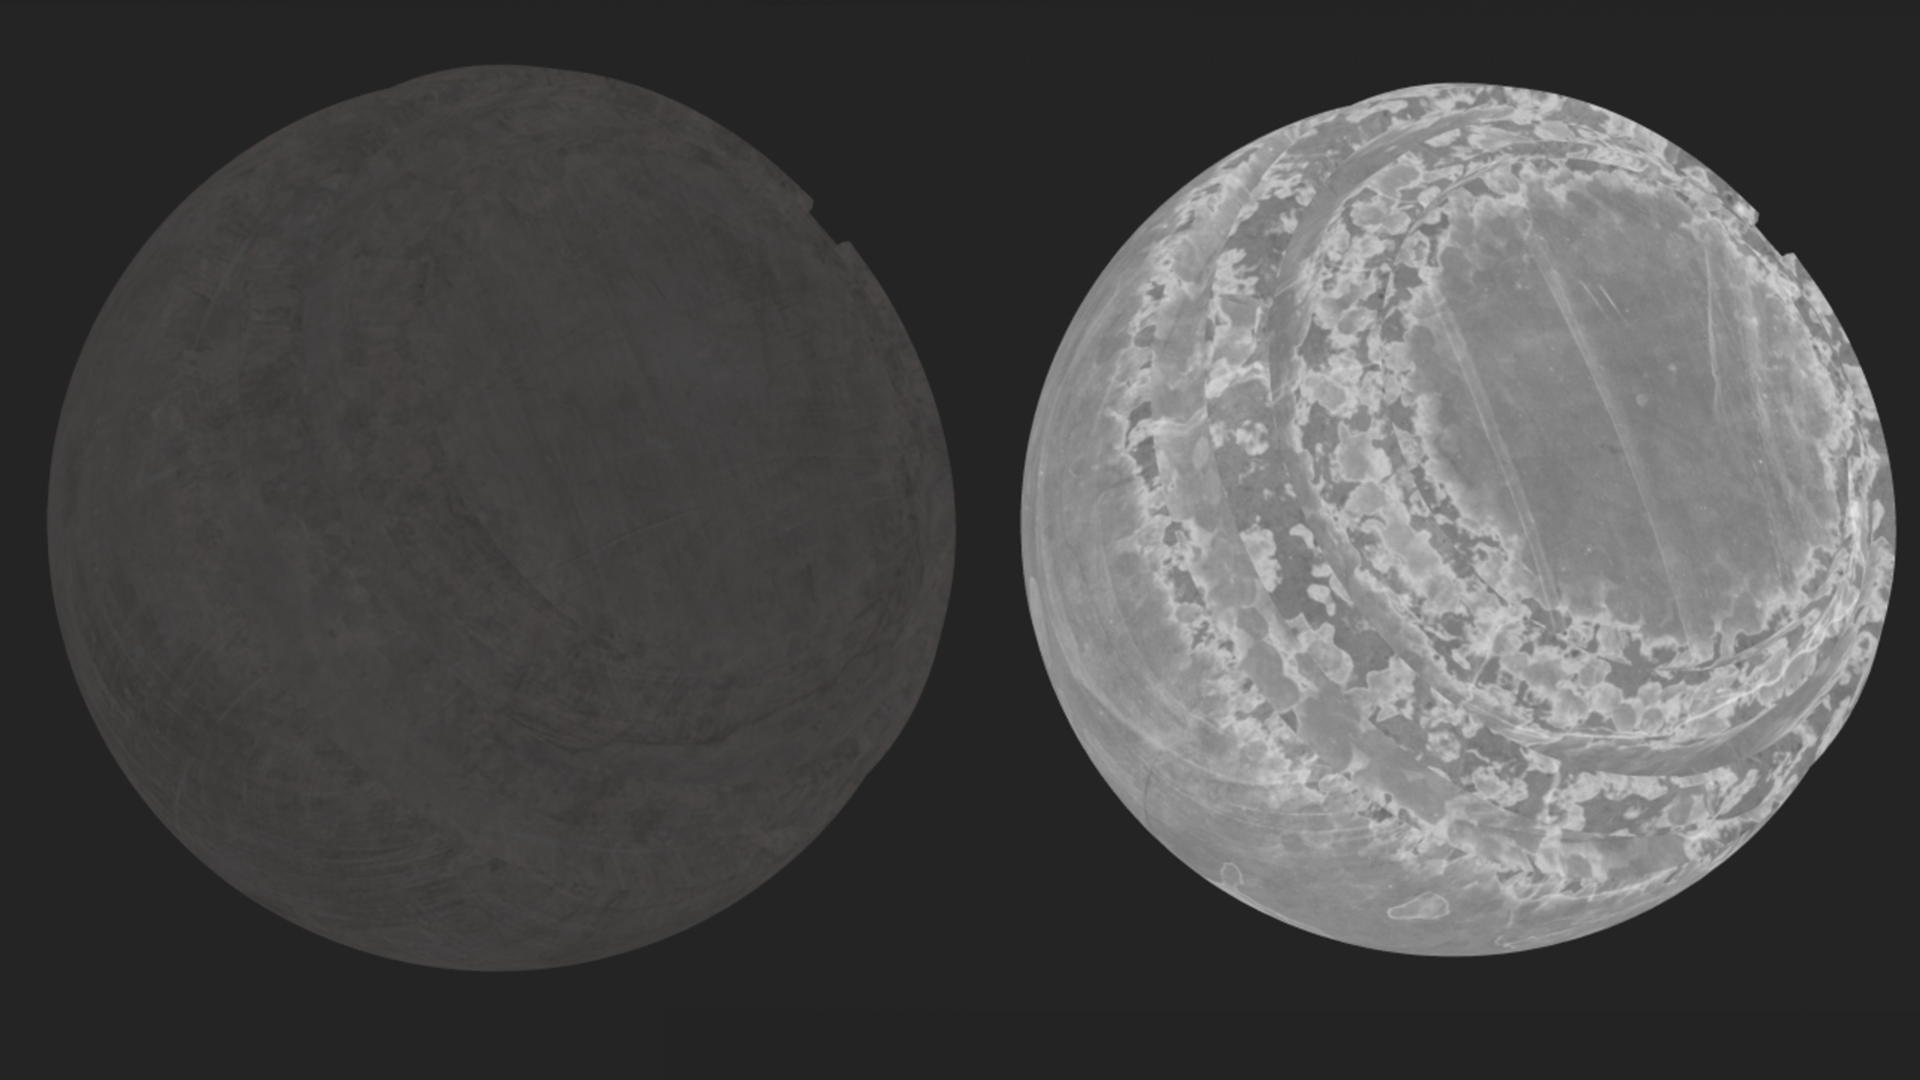
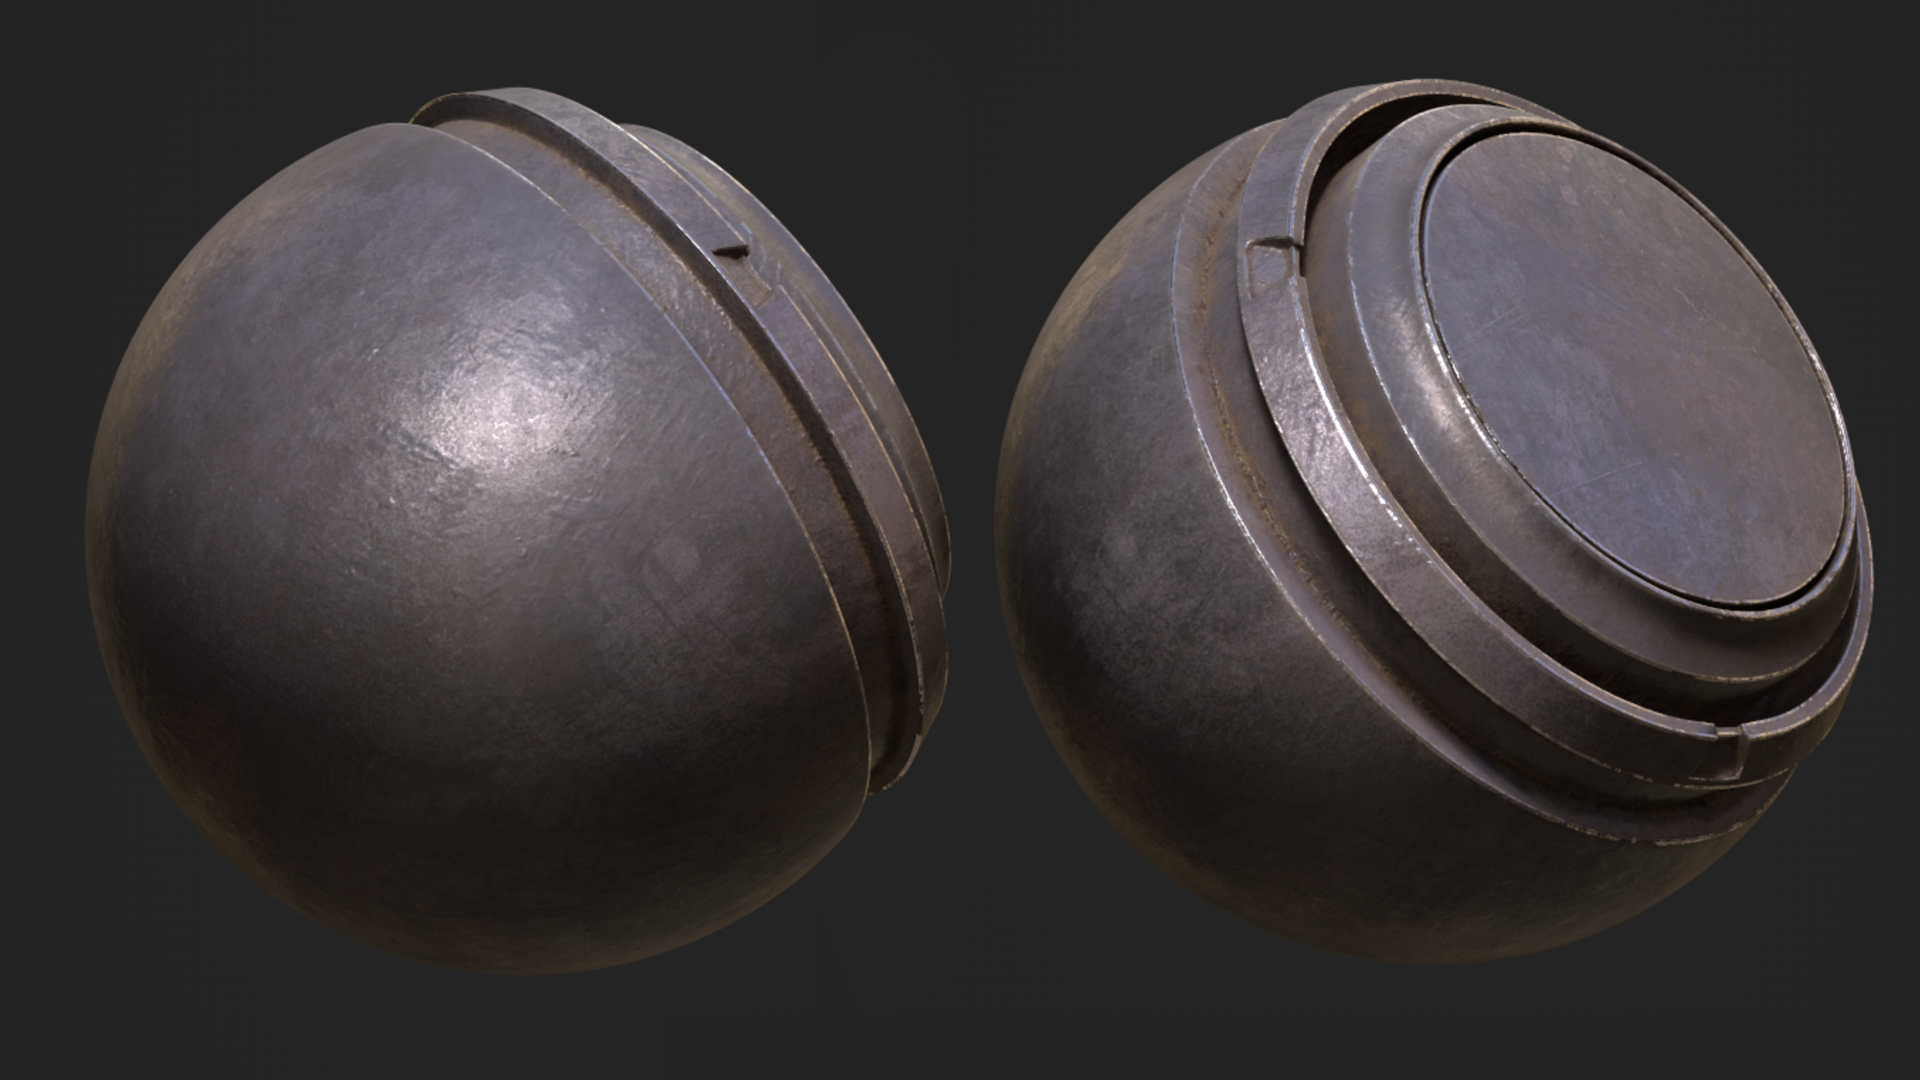
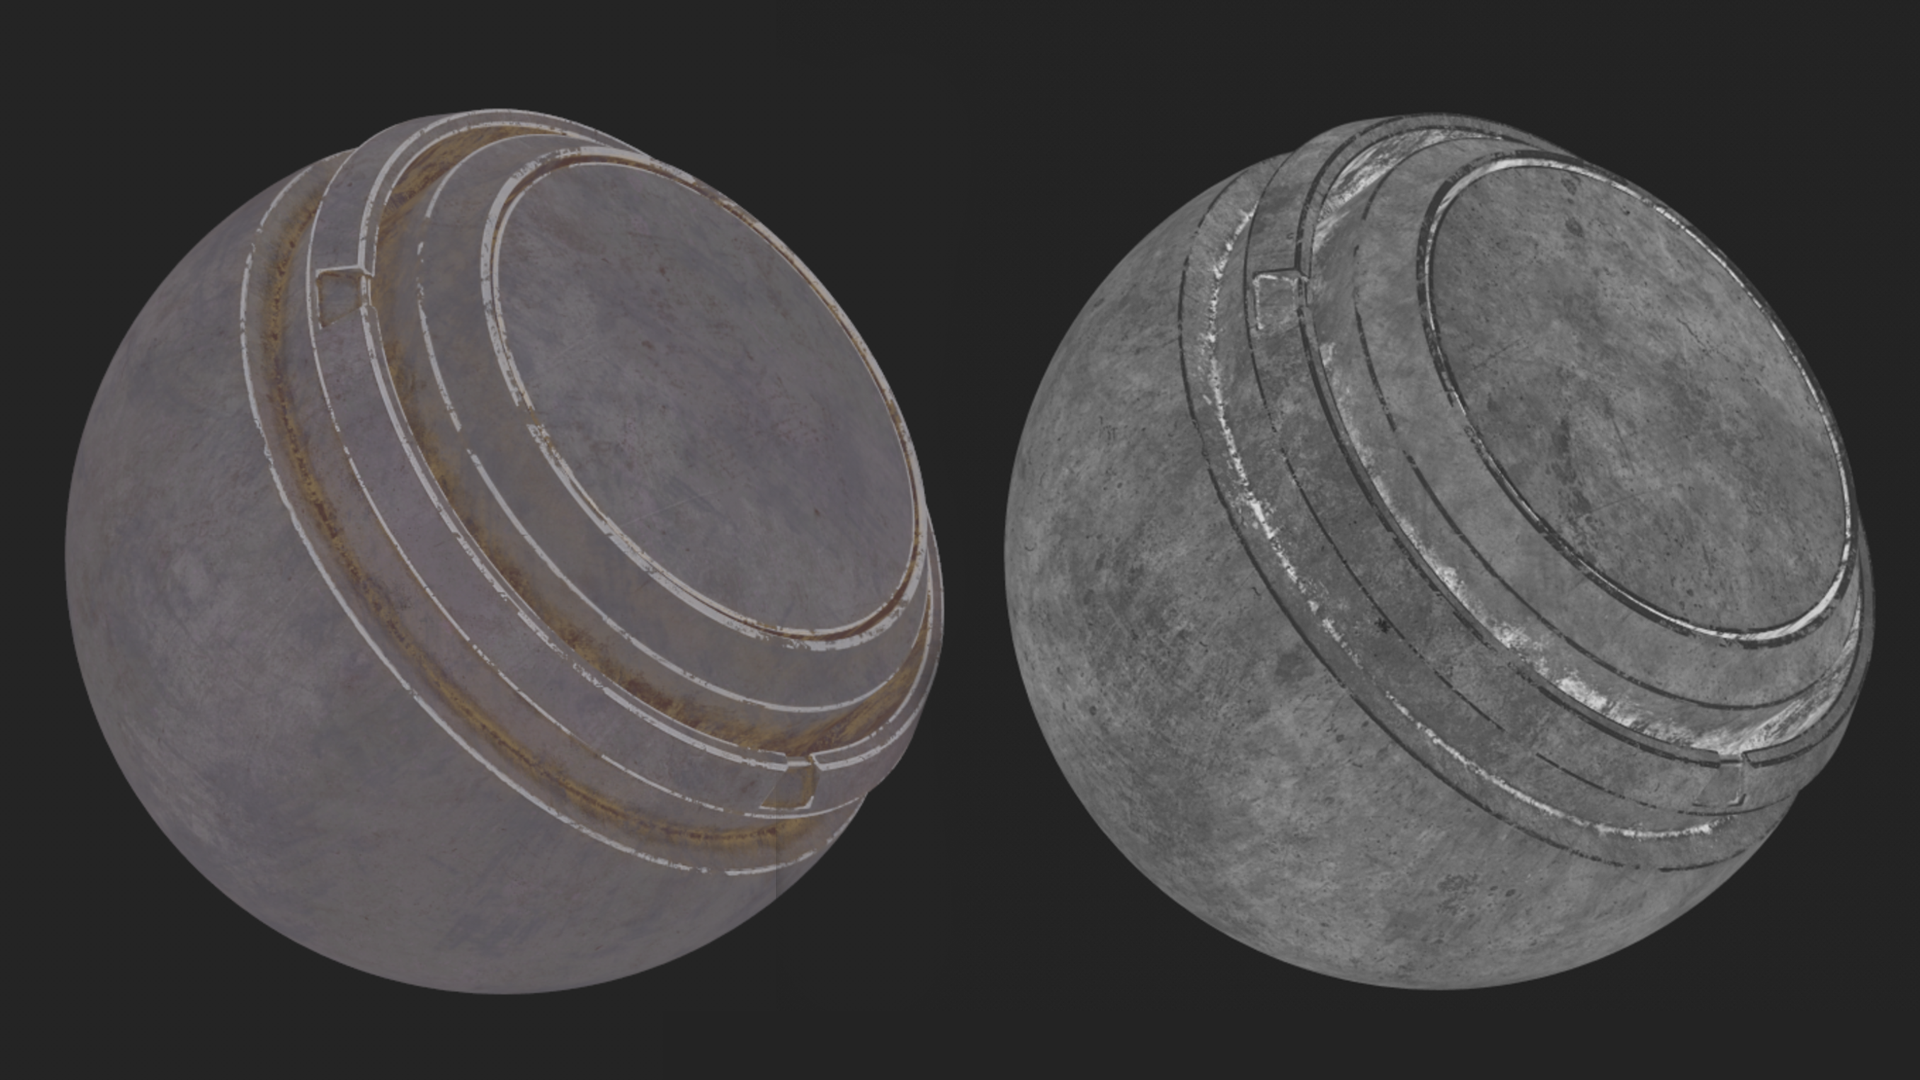
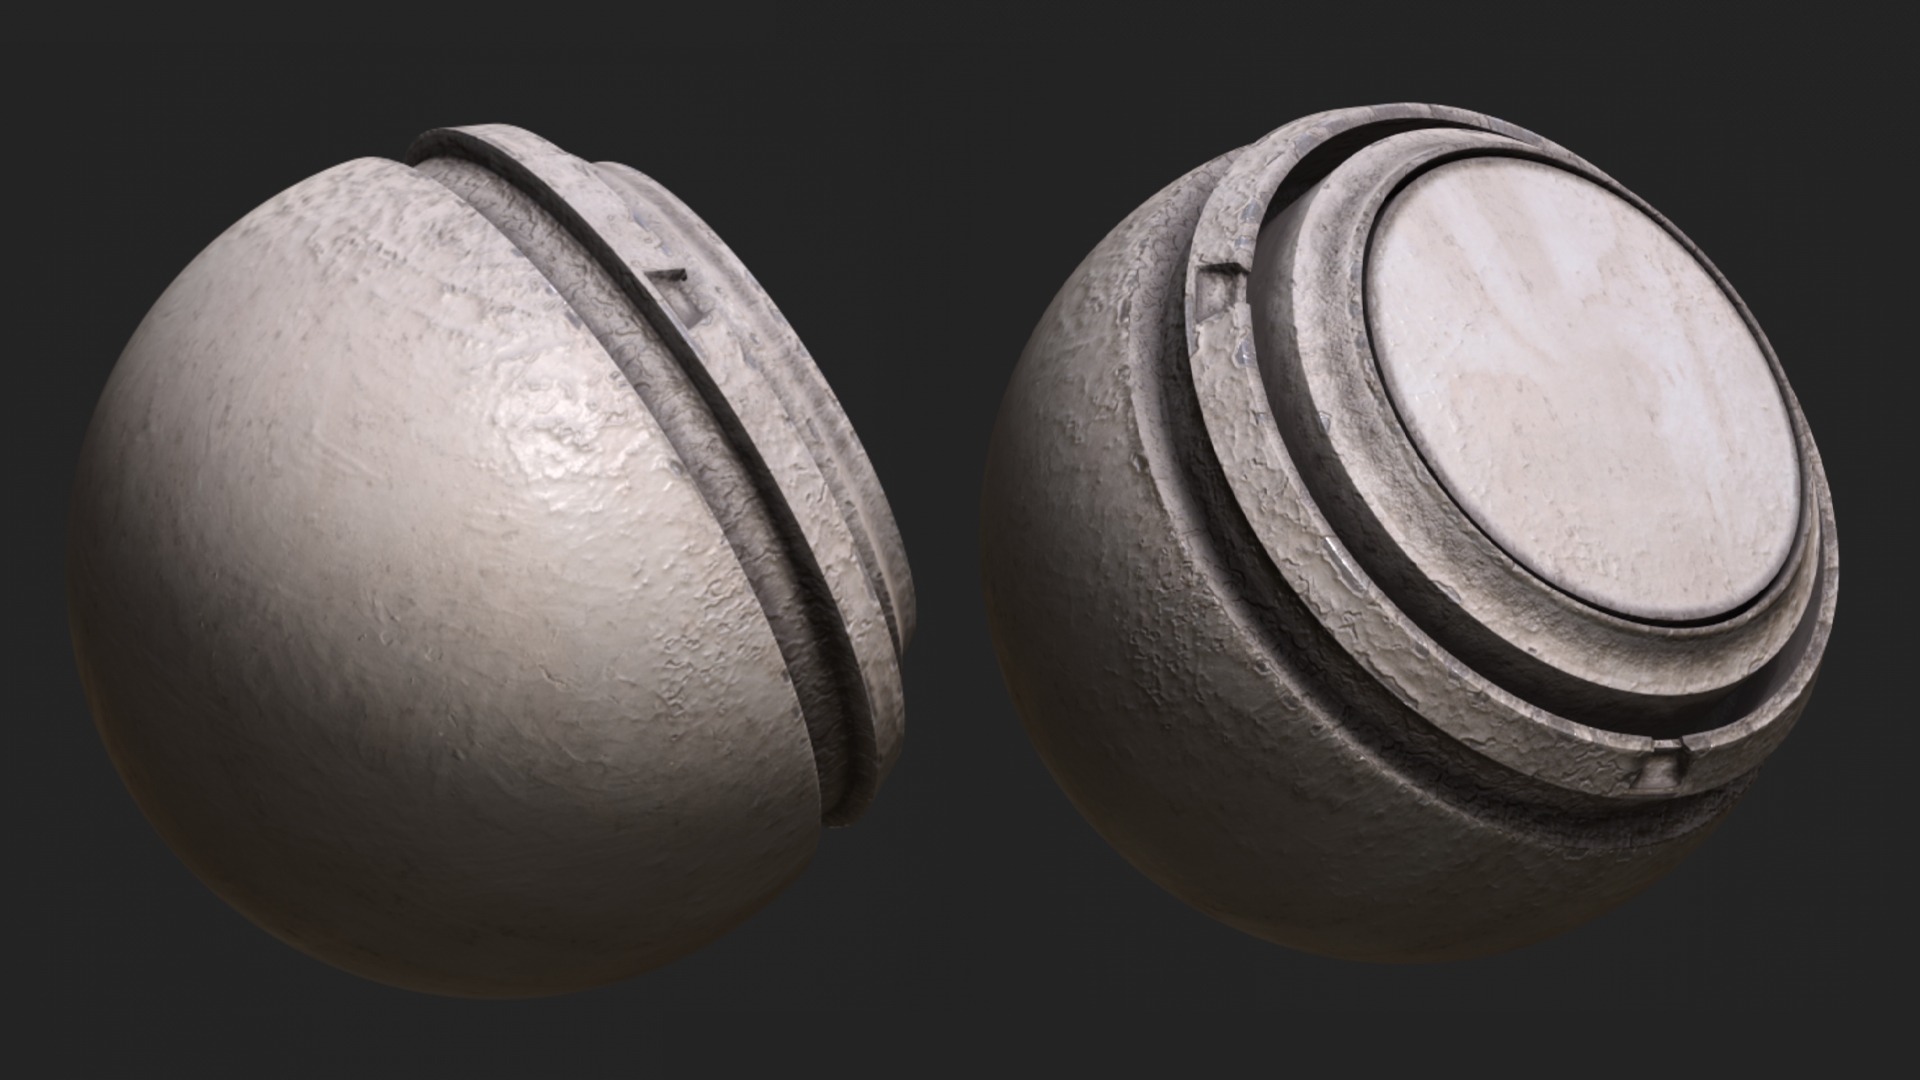
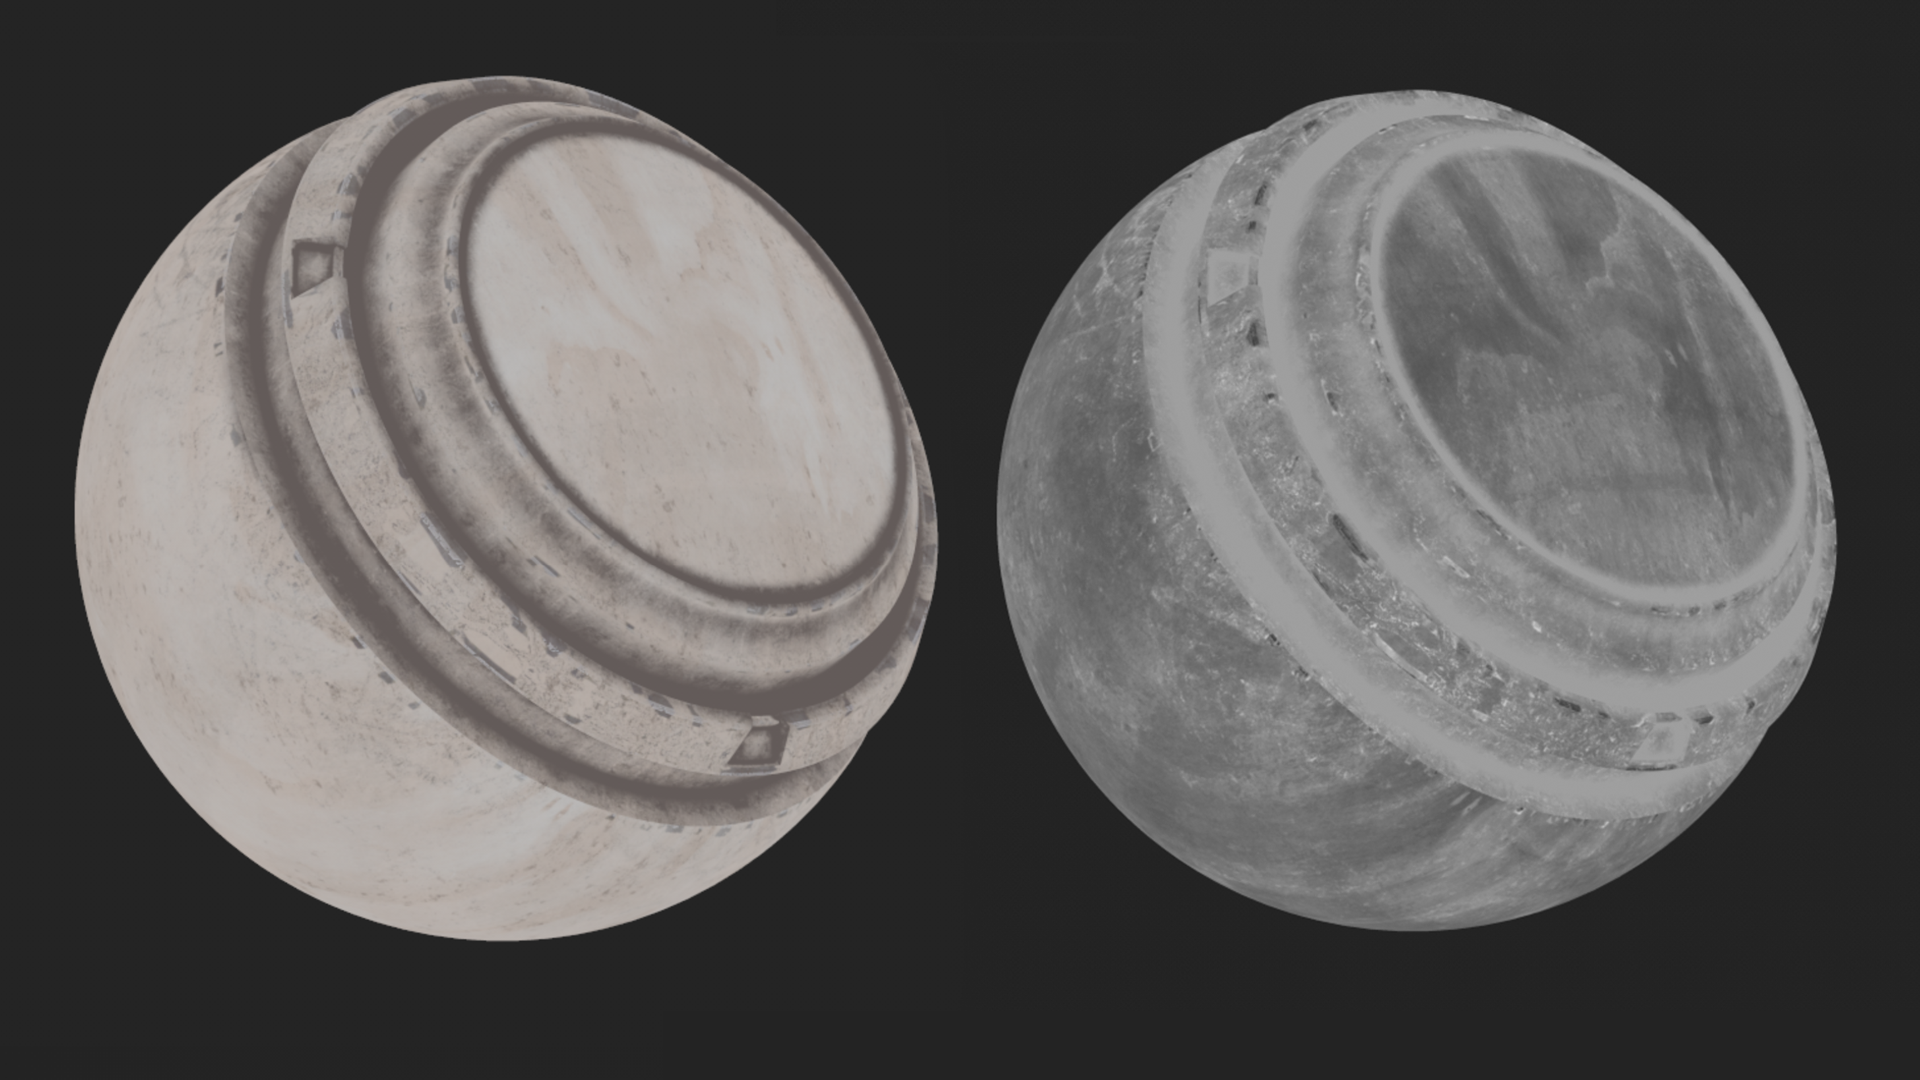
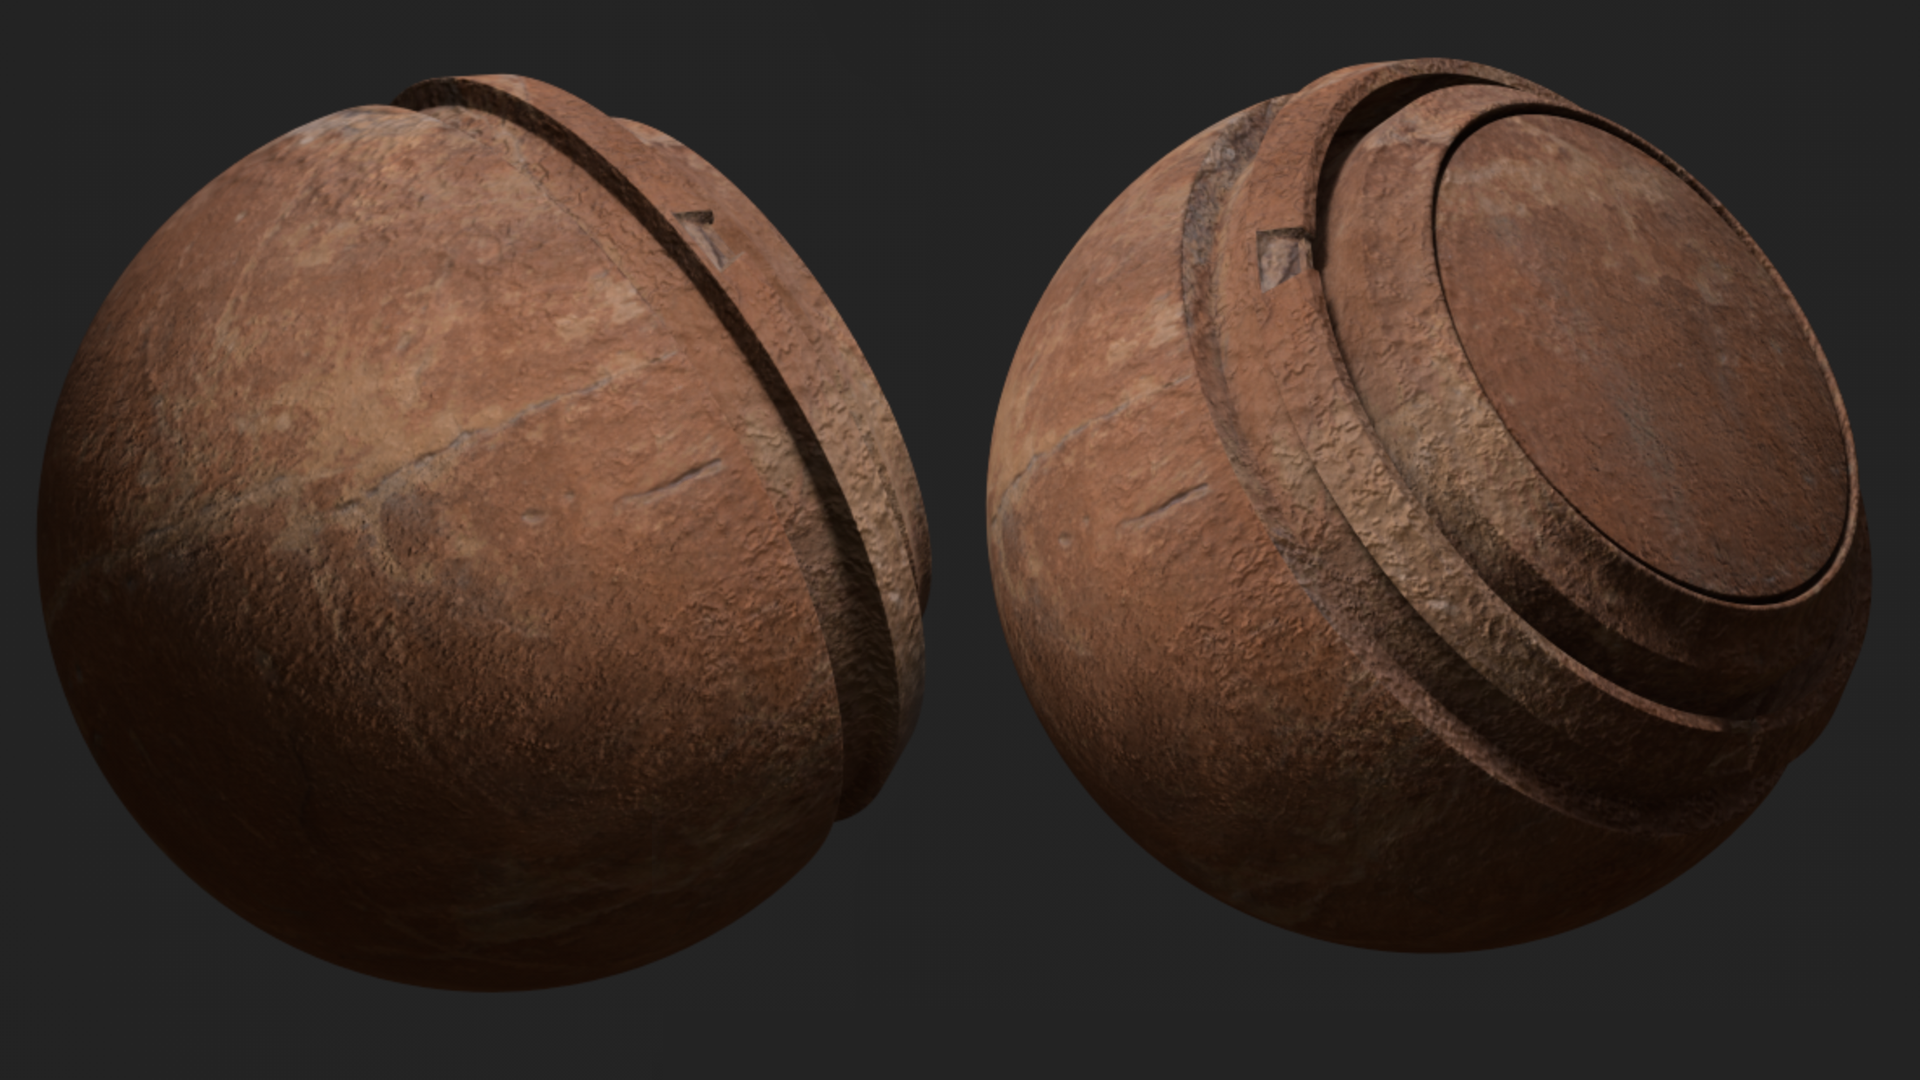
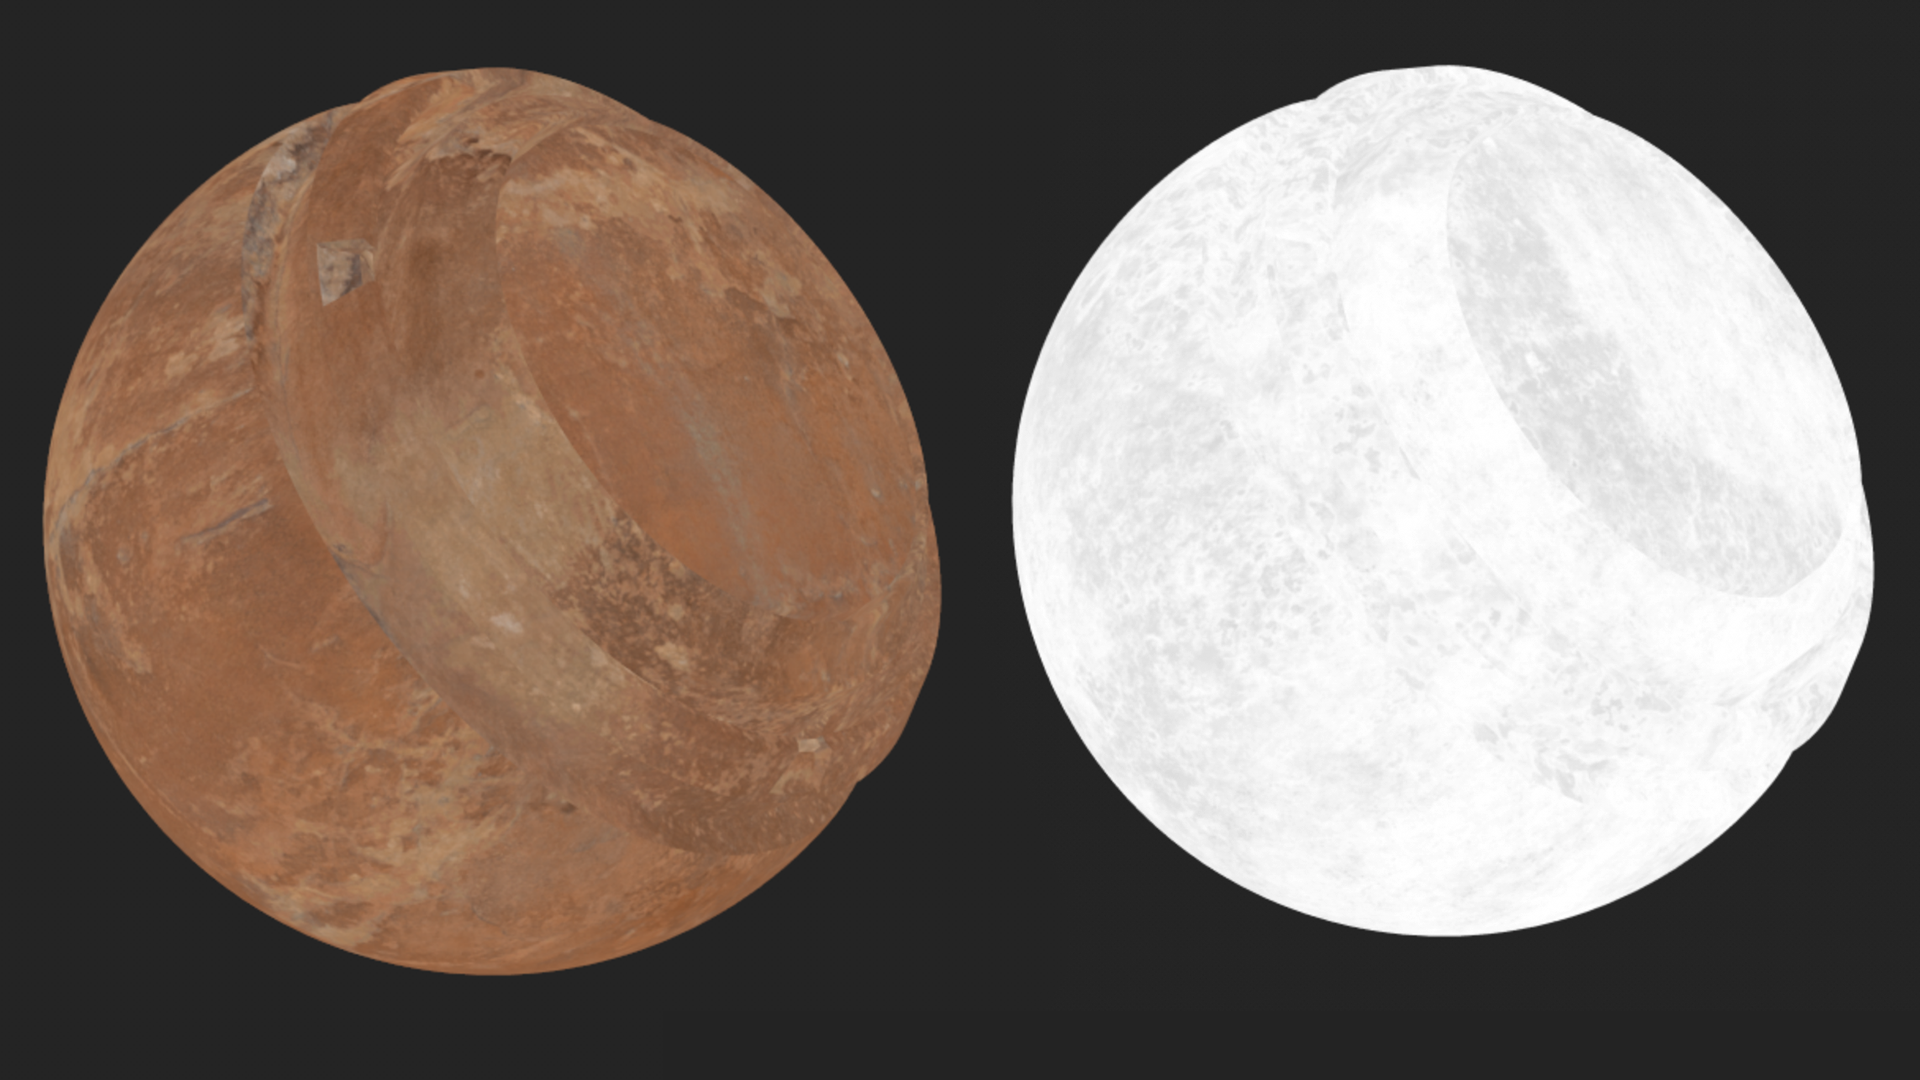
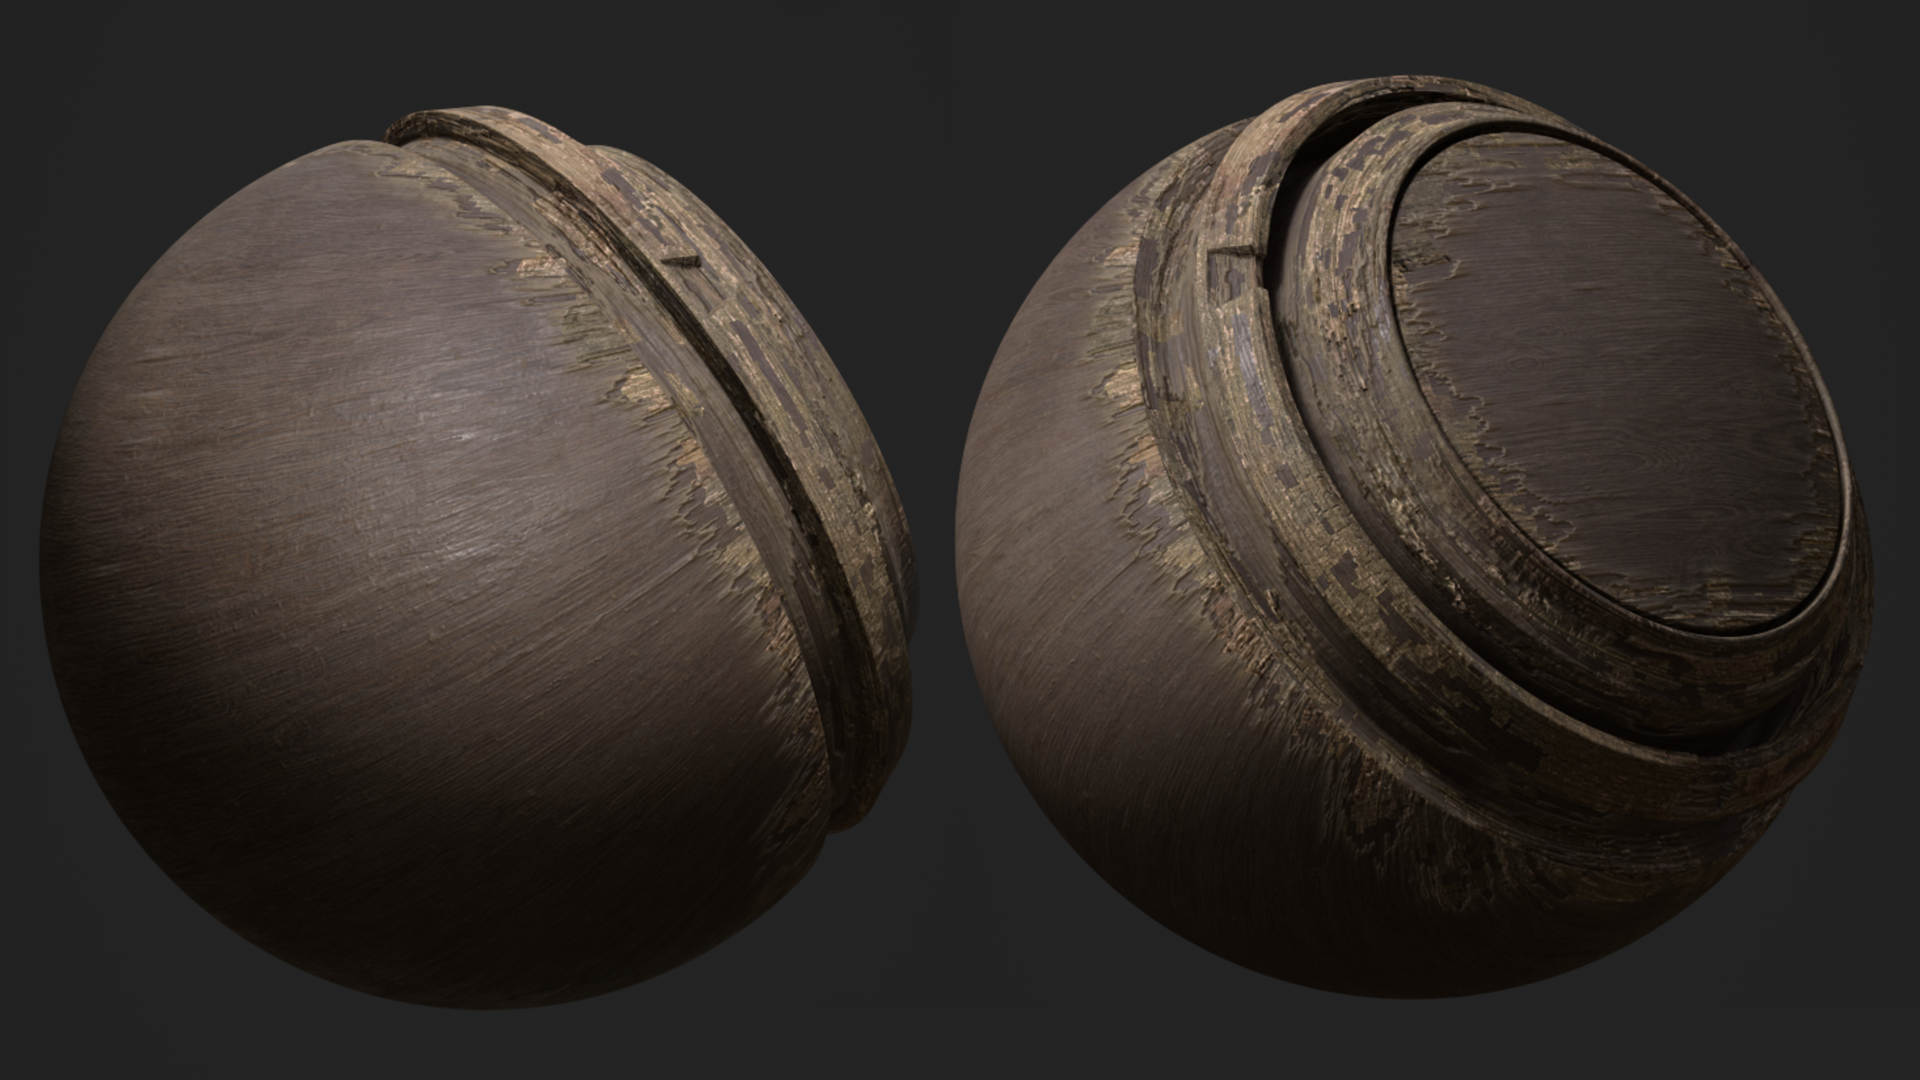
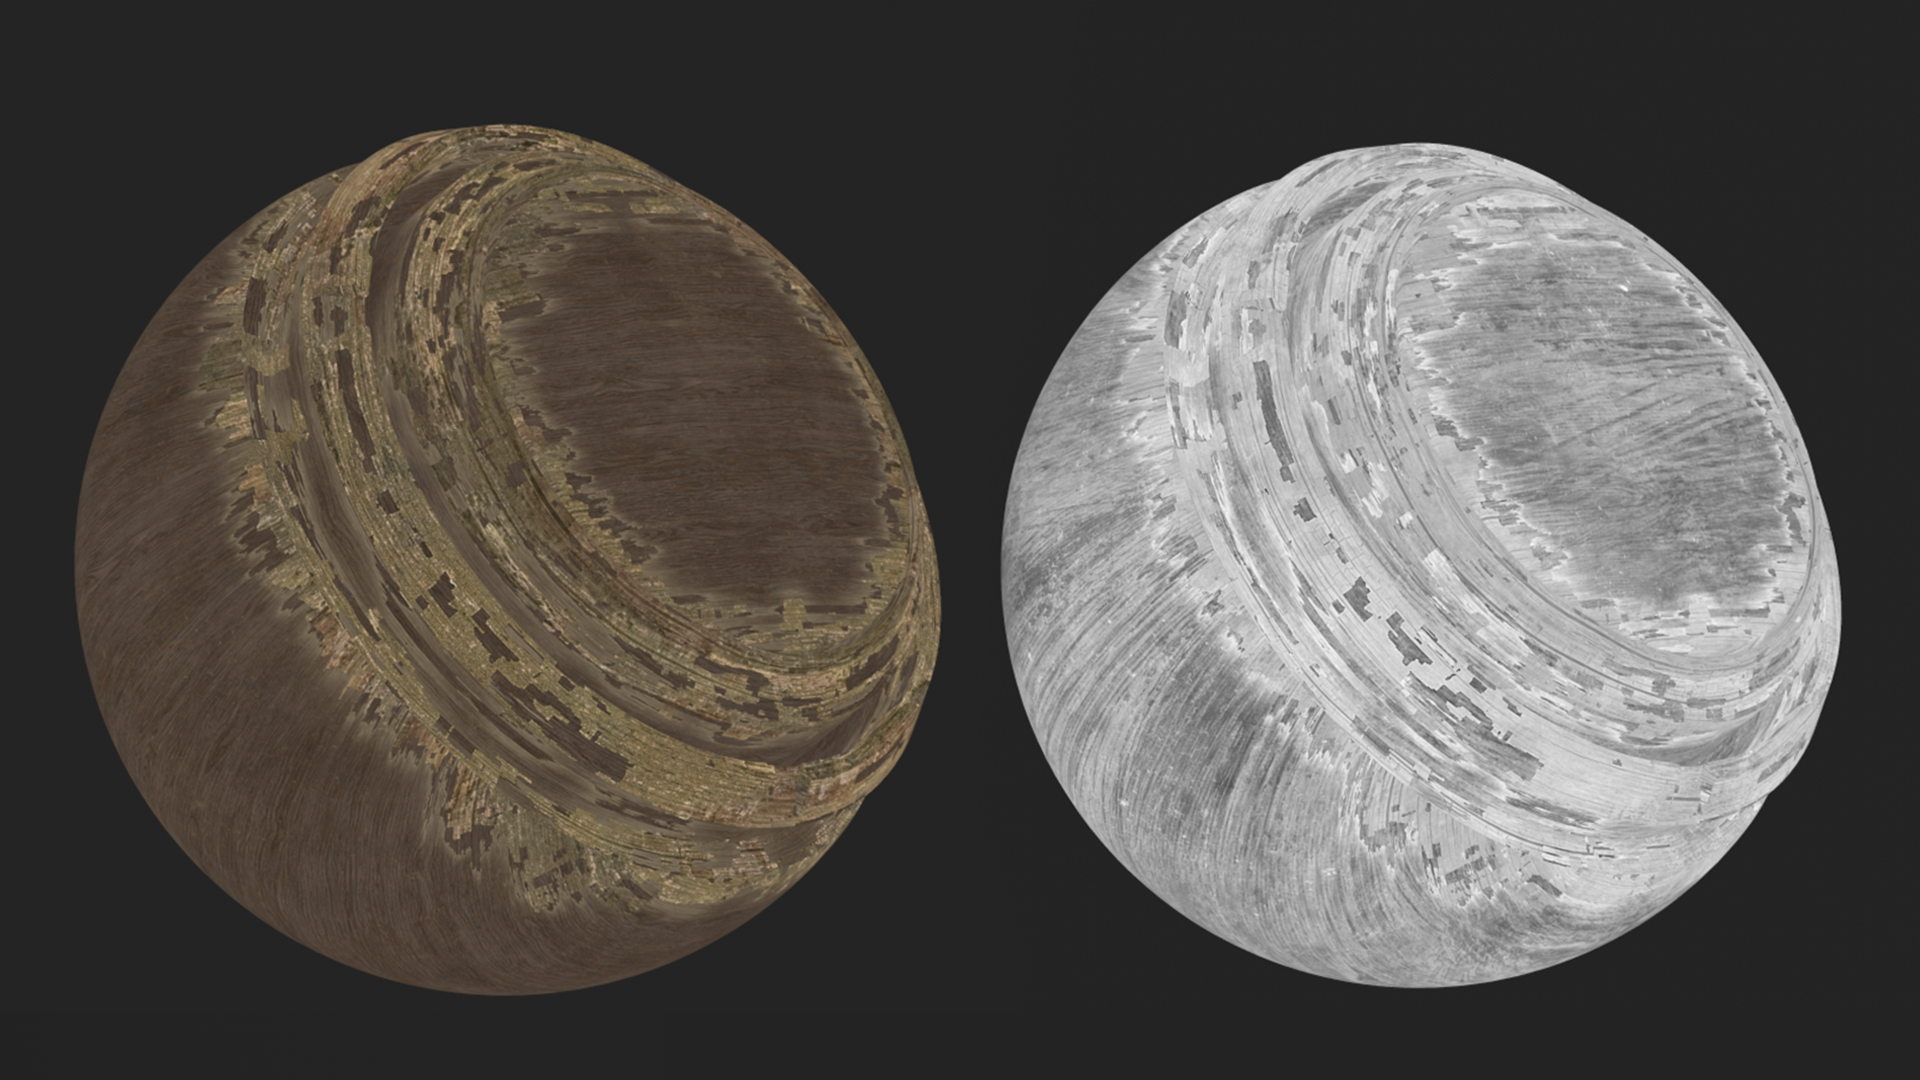
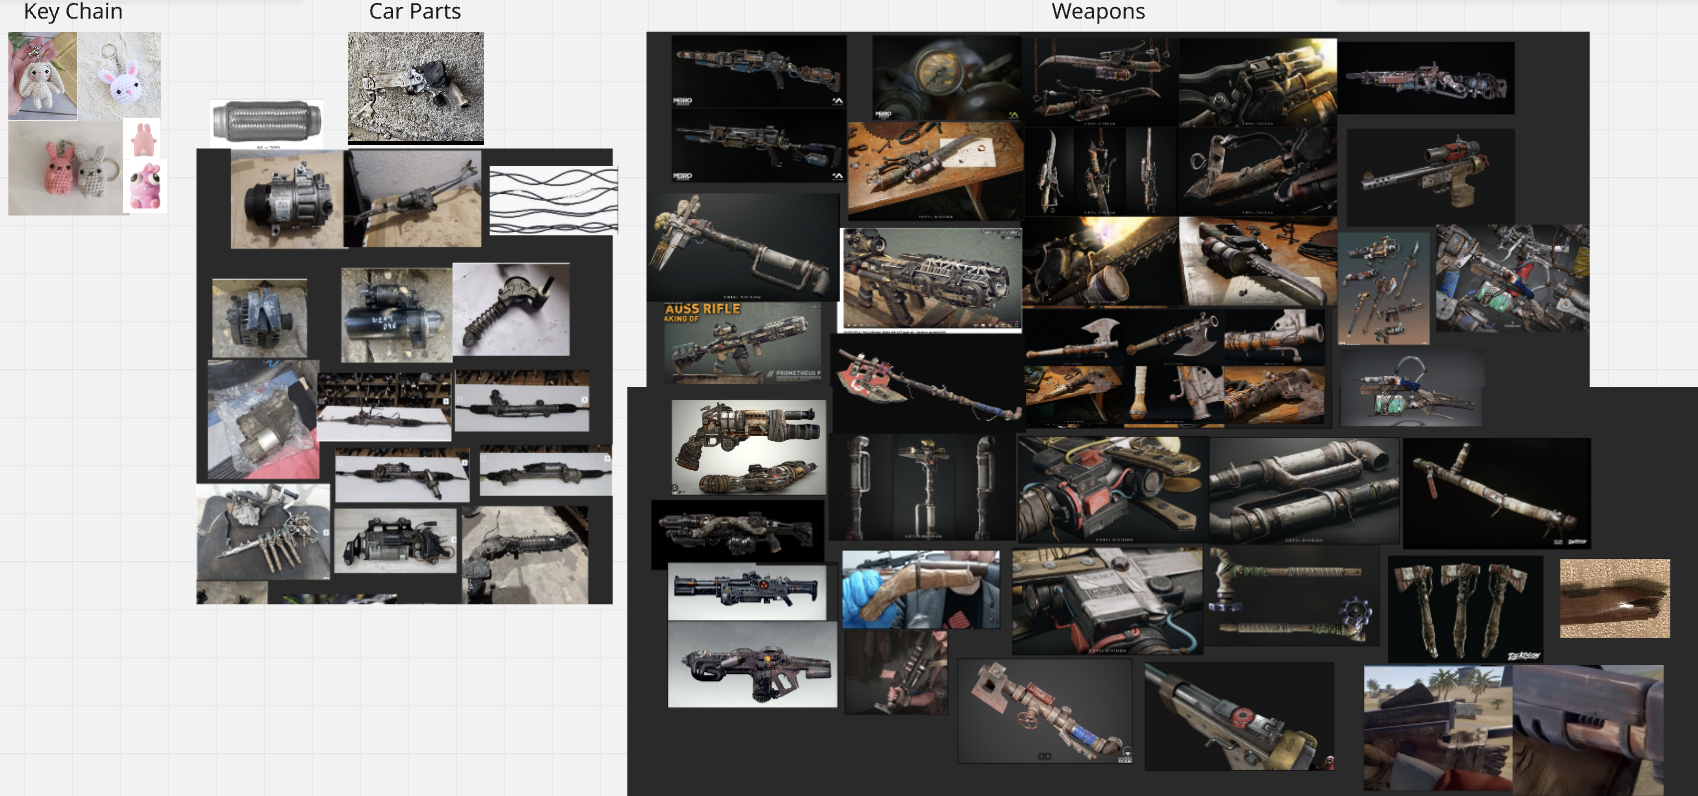
Material Breakdown View

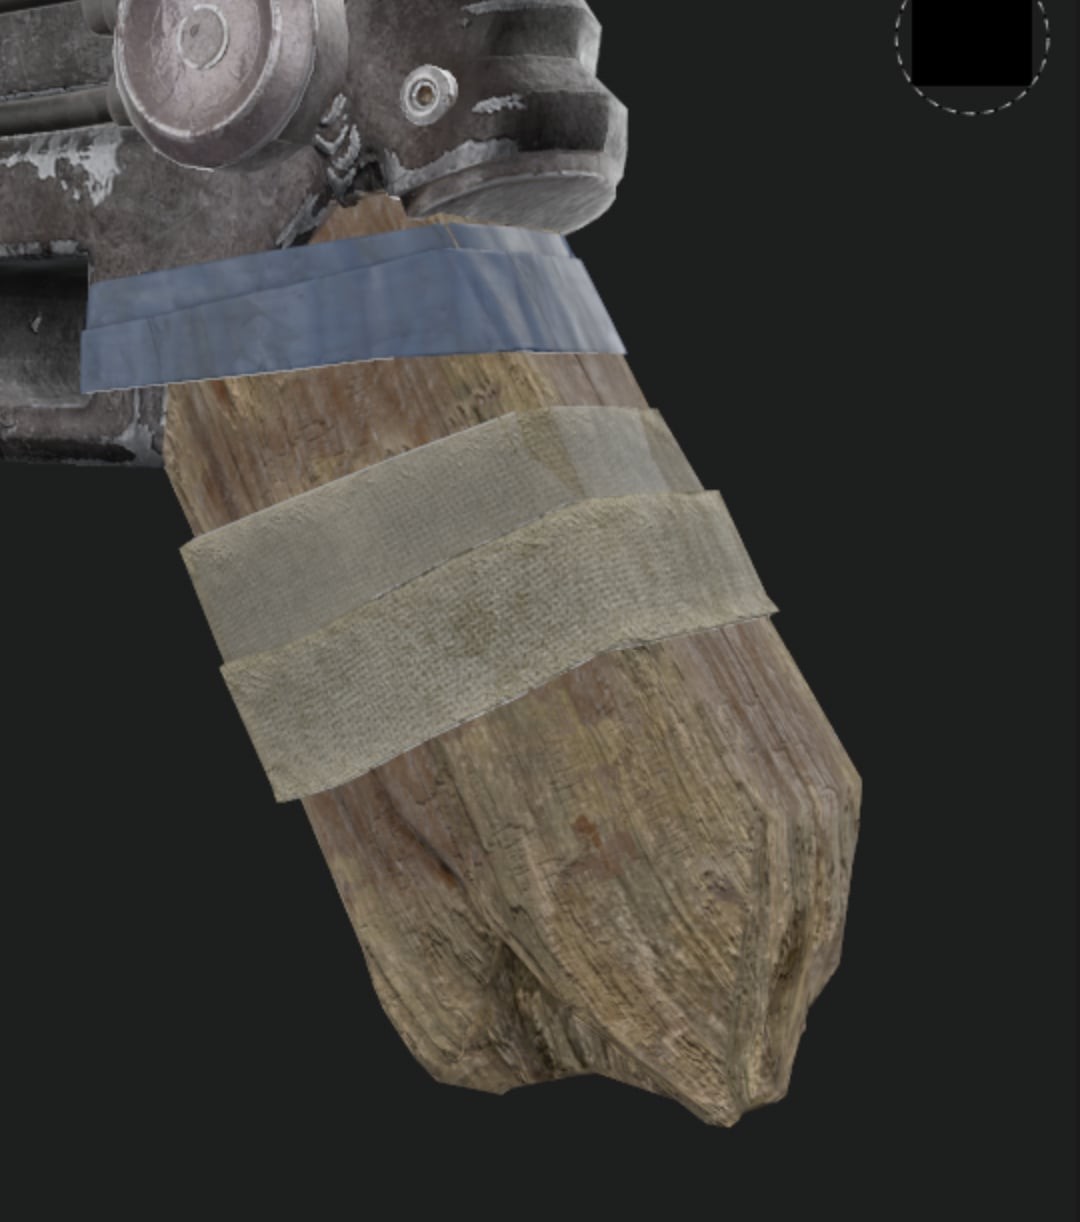
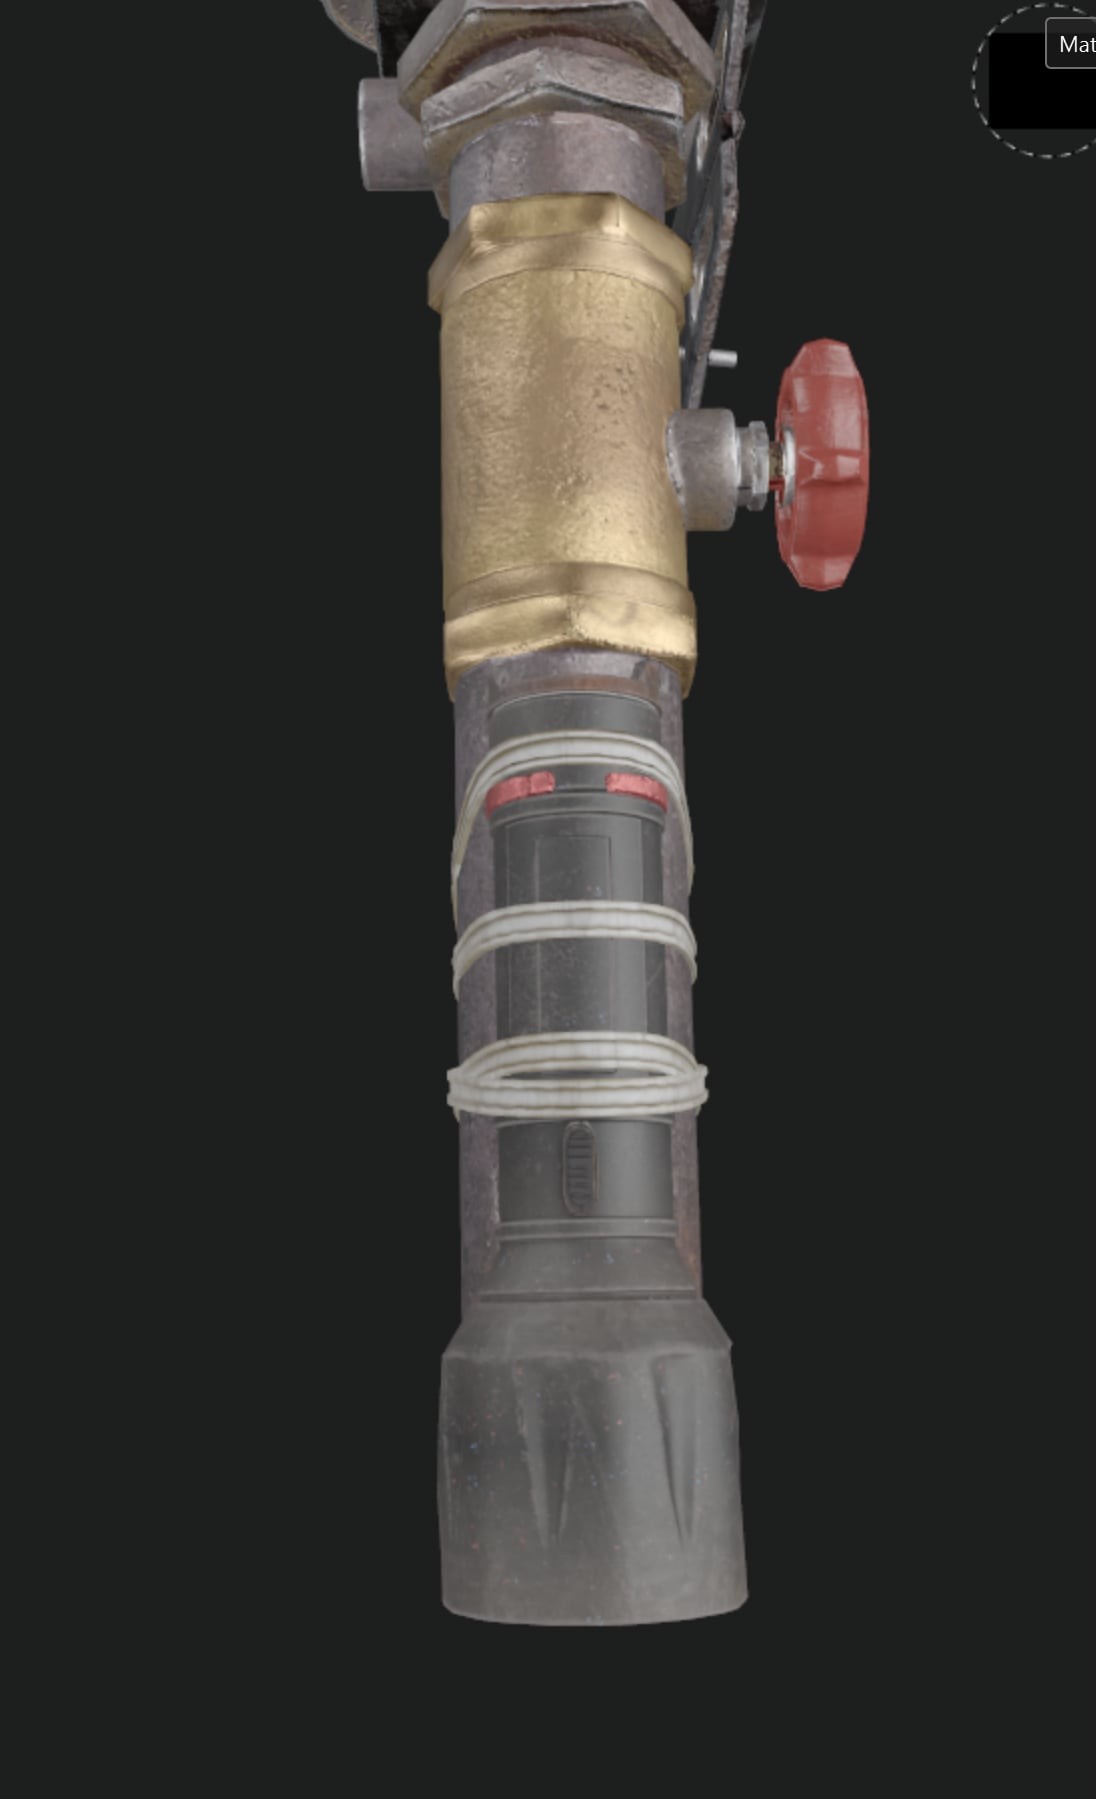
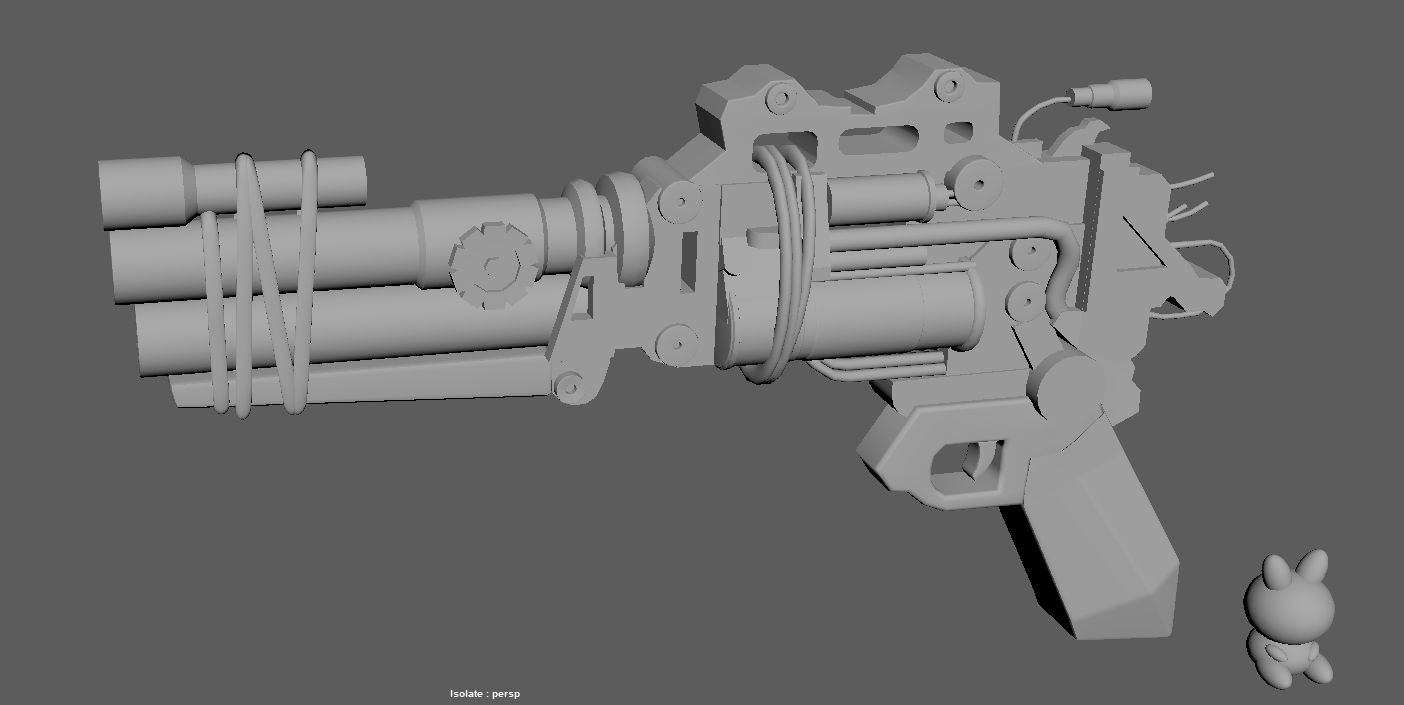
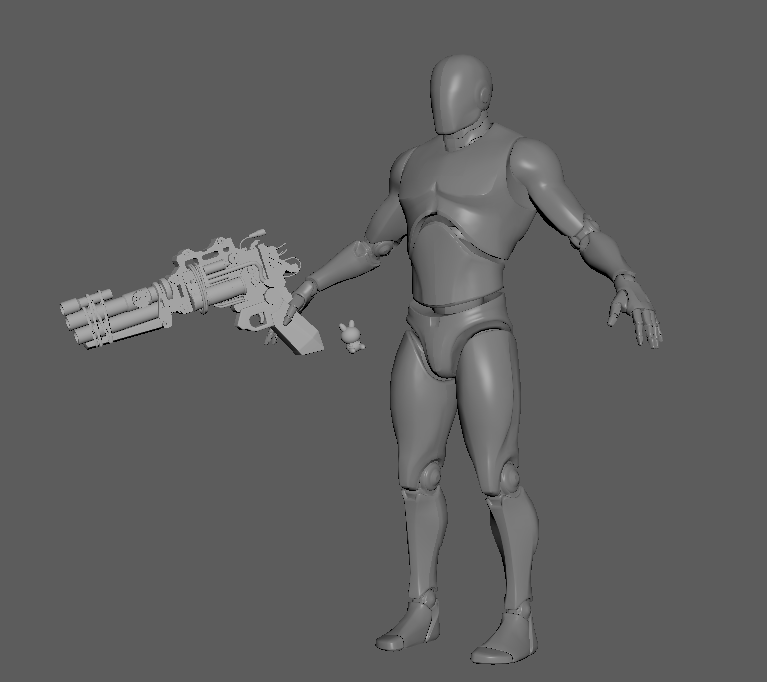
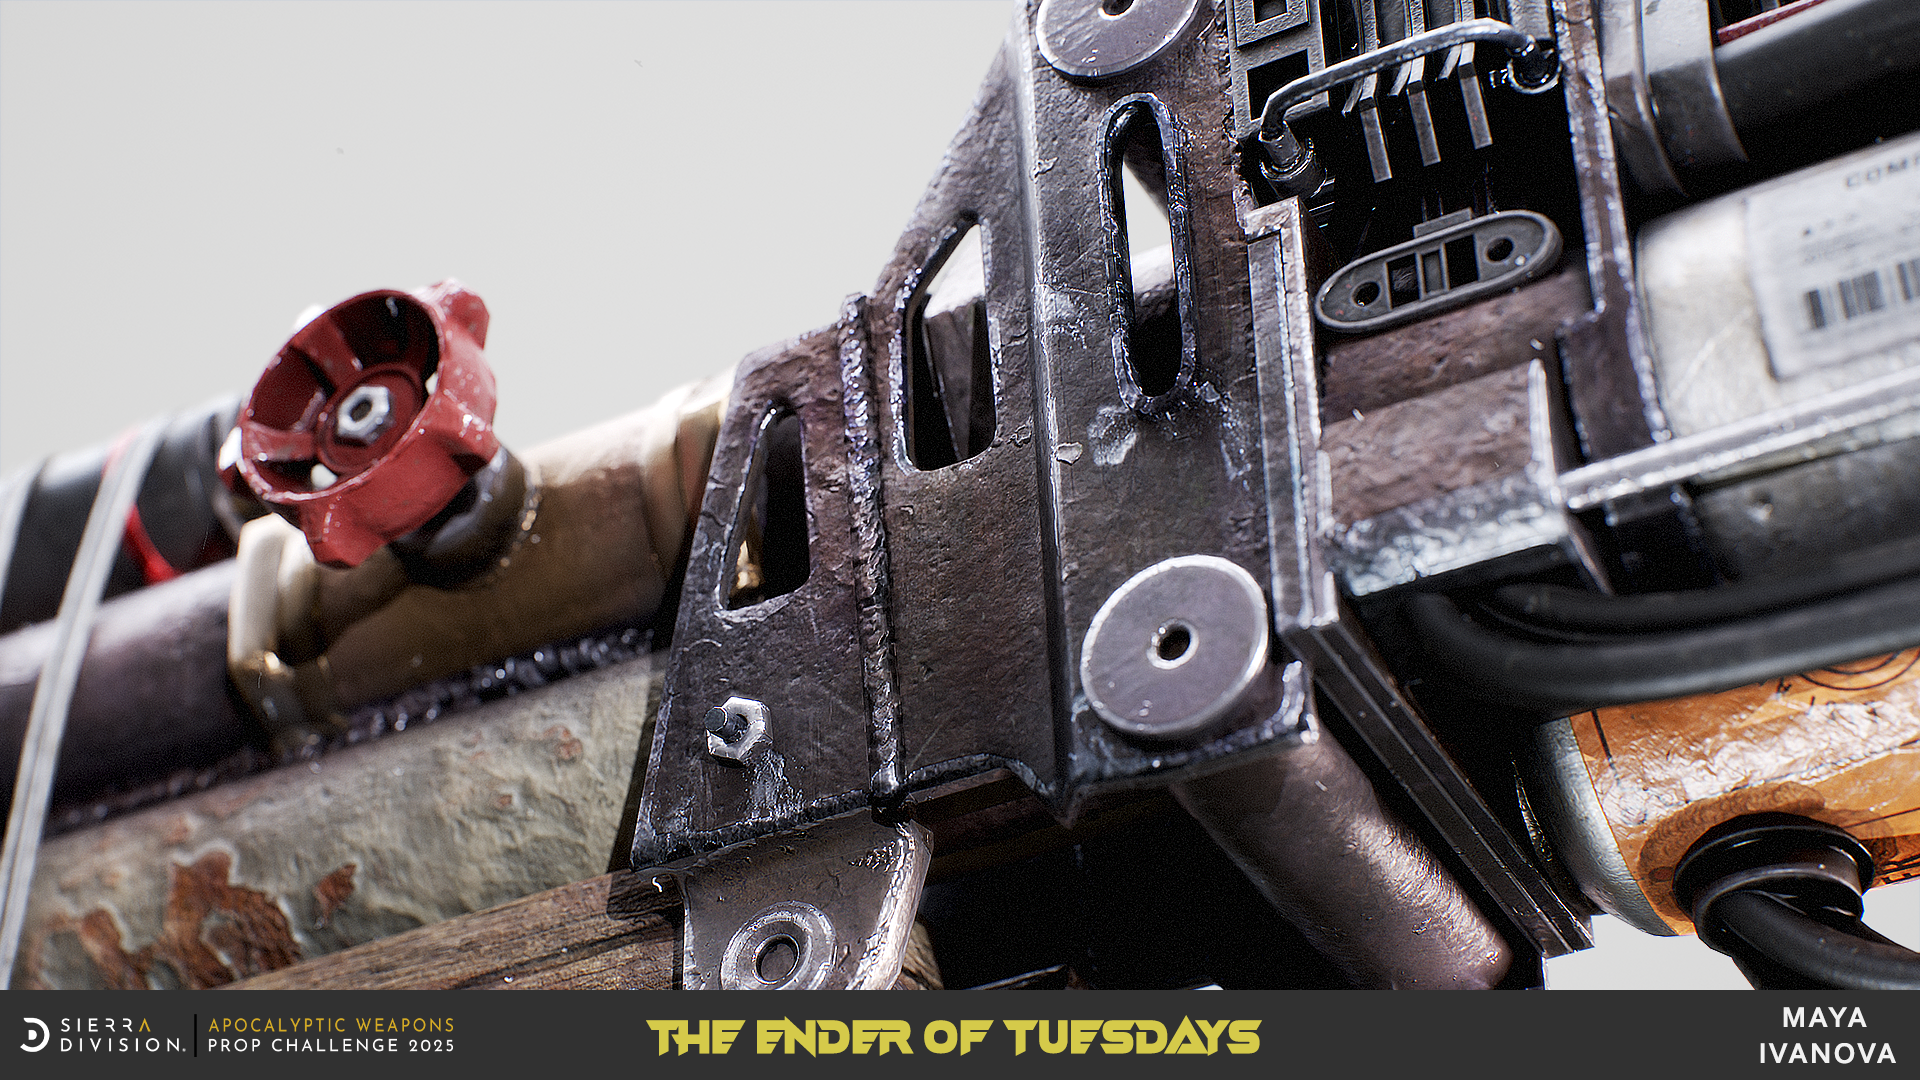
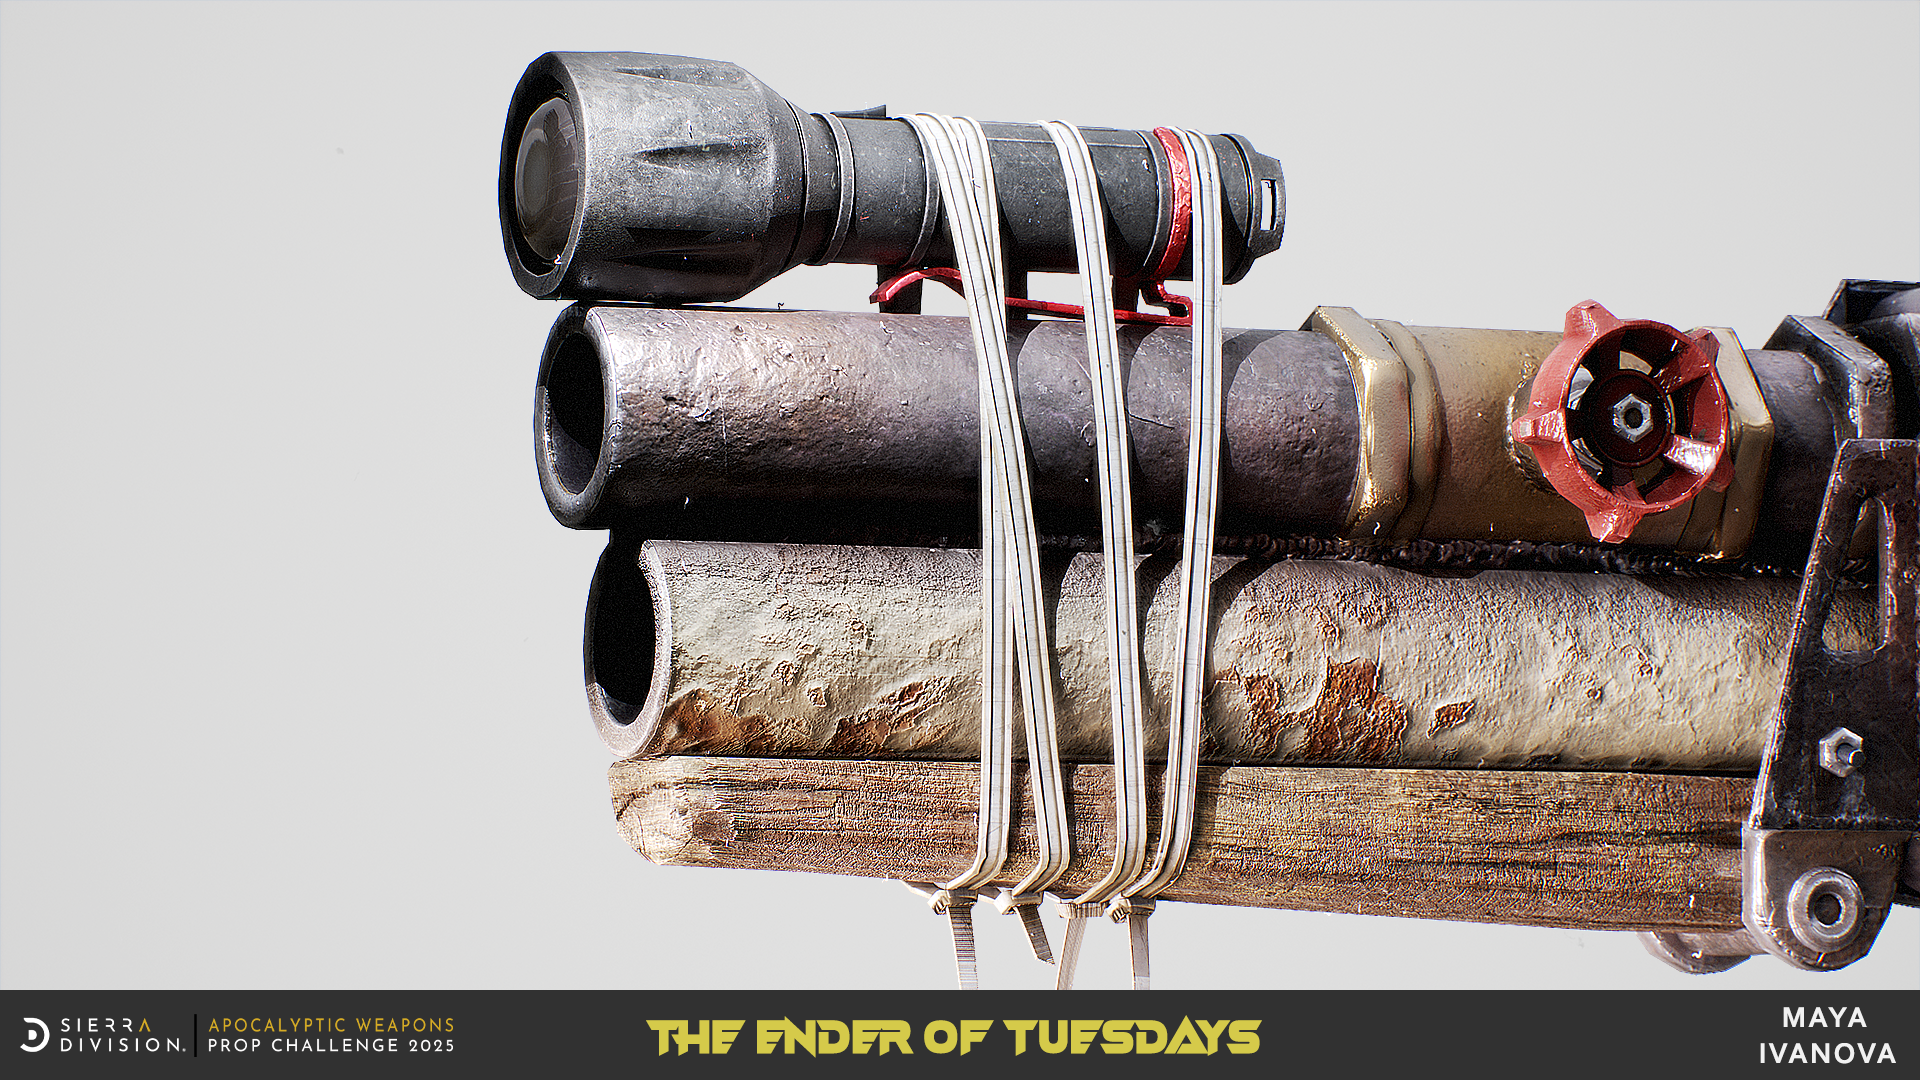
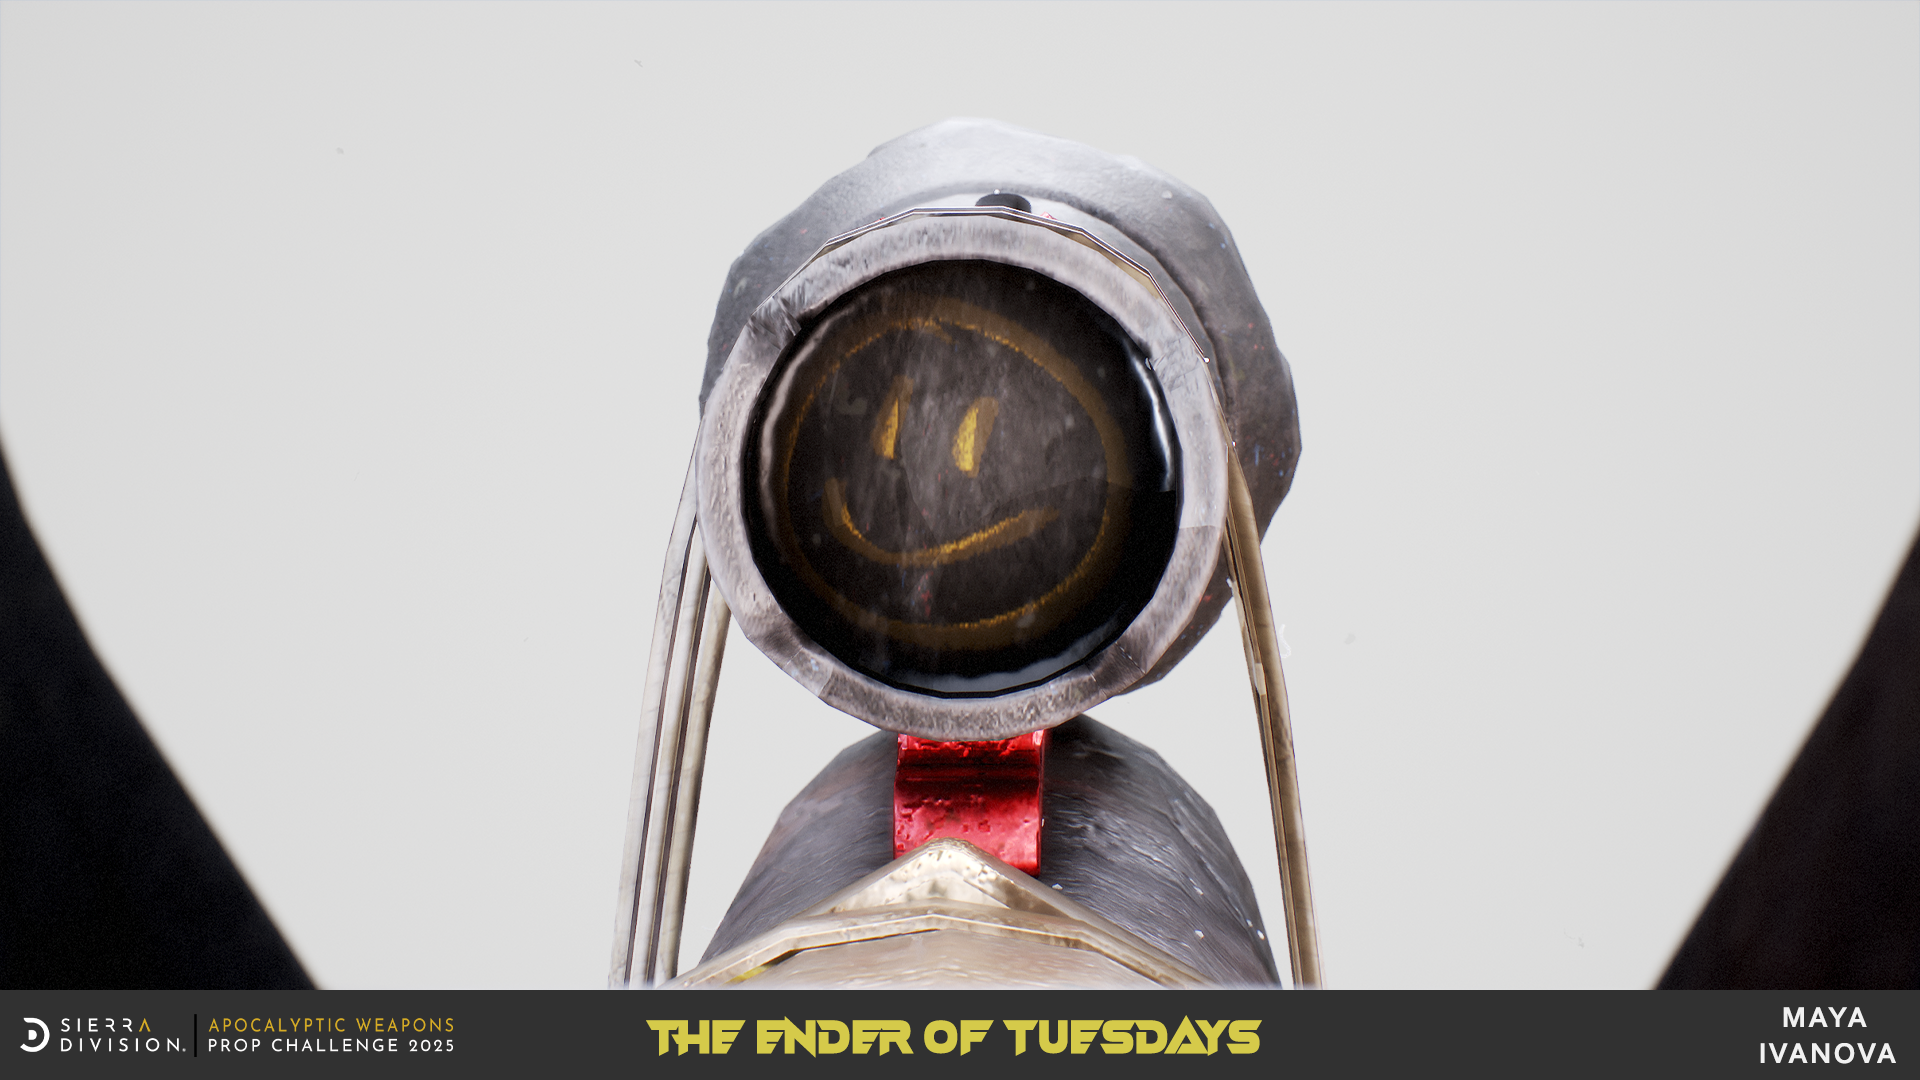
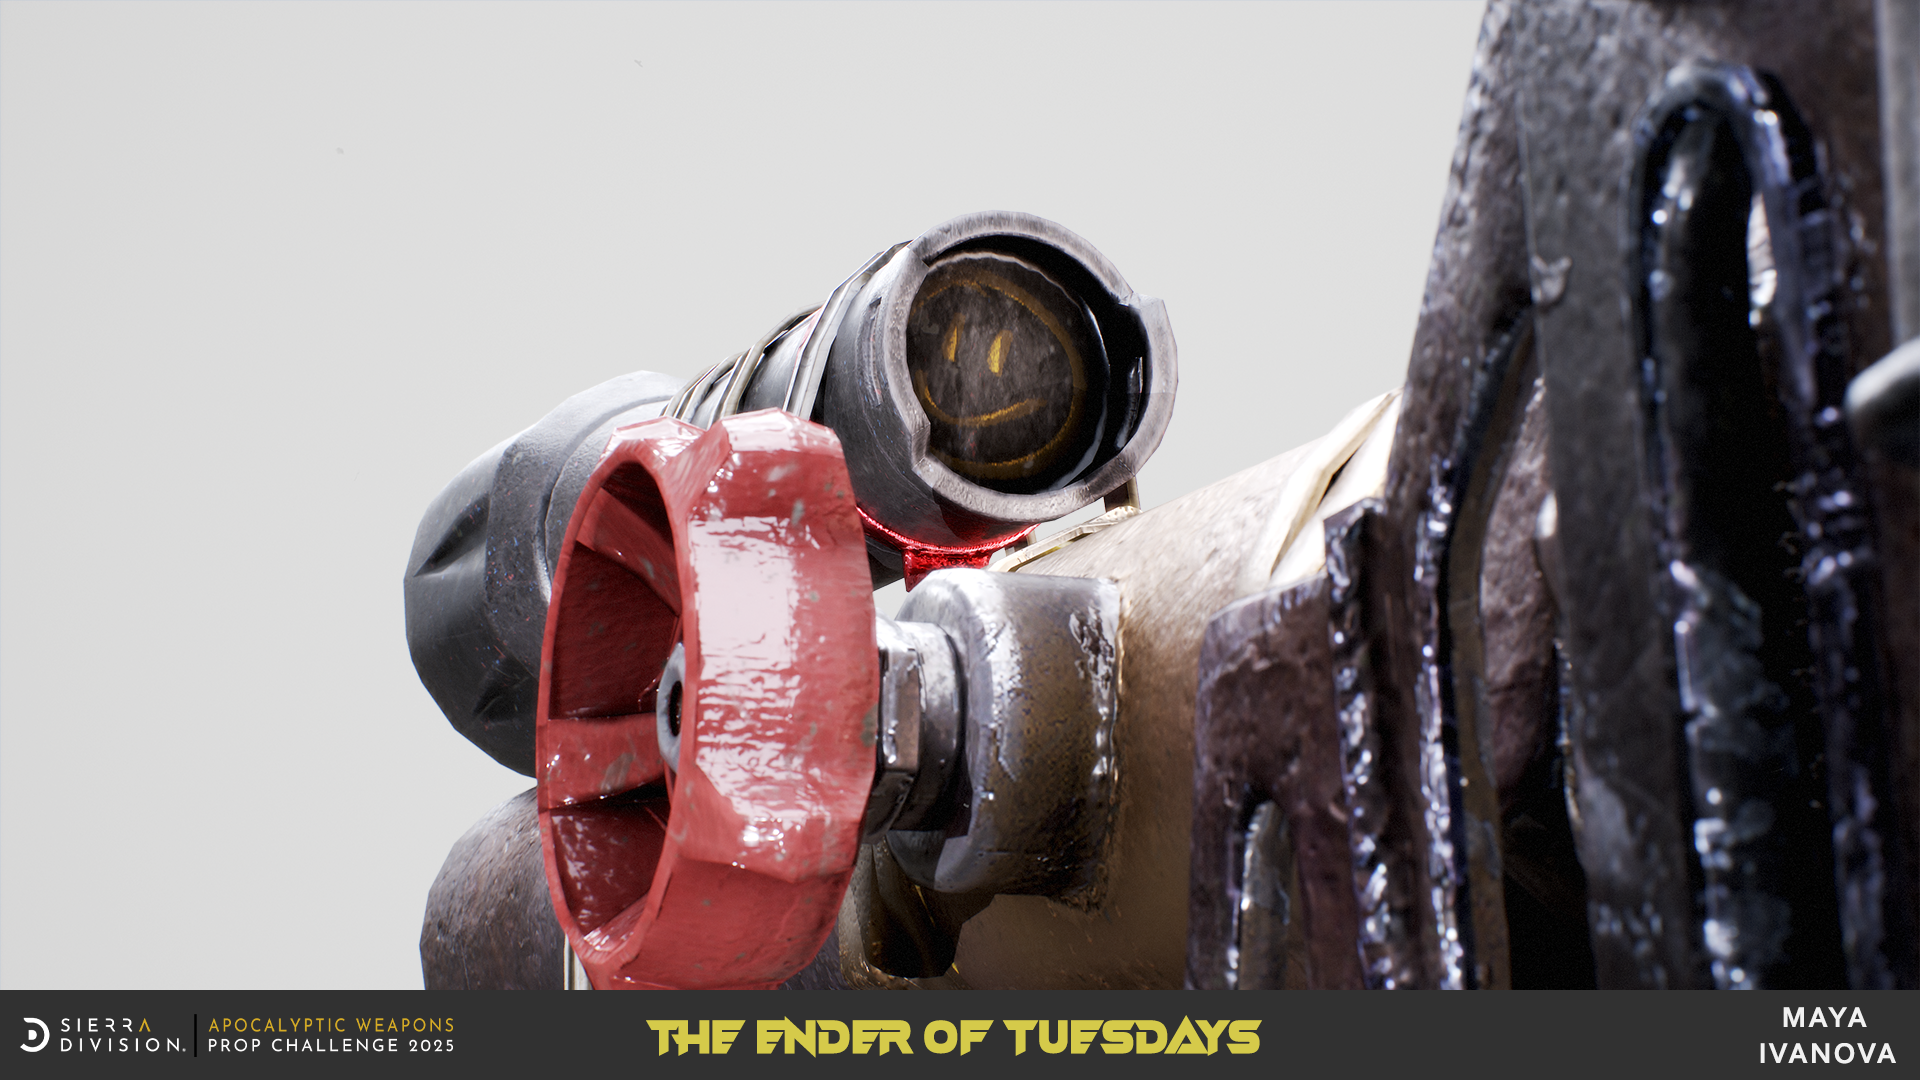
Additional Renders

1 / 8