Update #16Jul 9, 2024
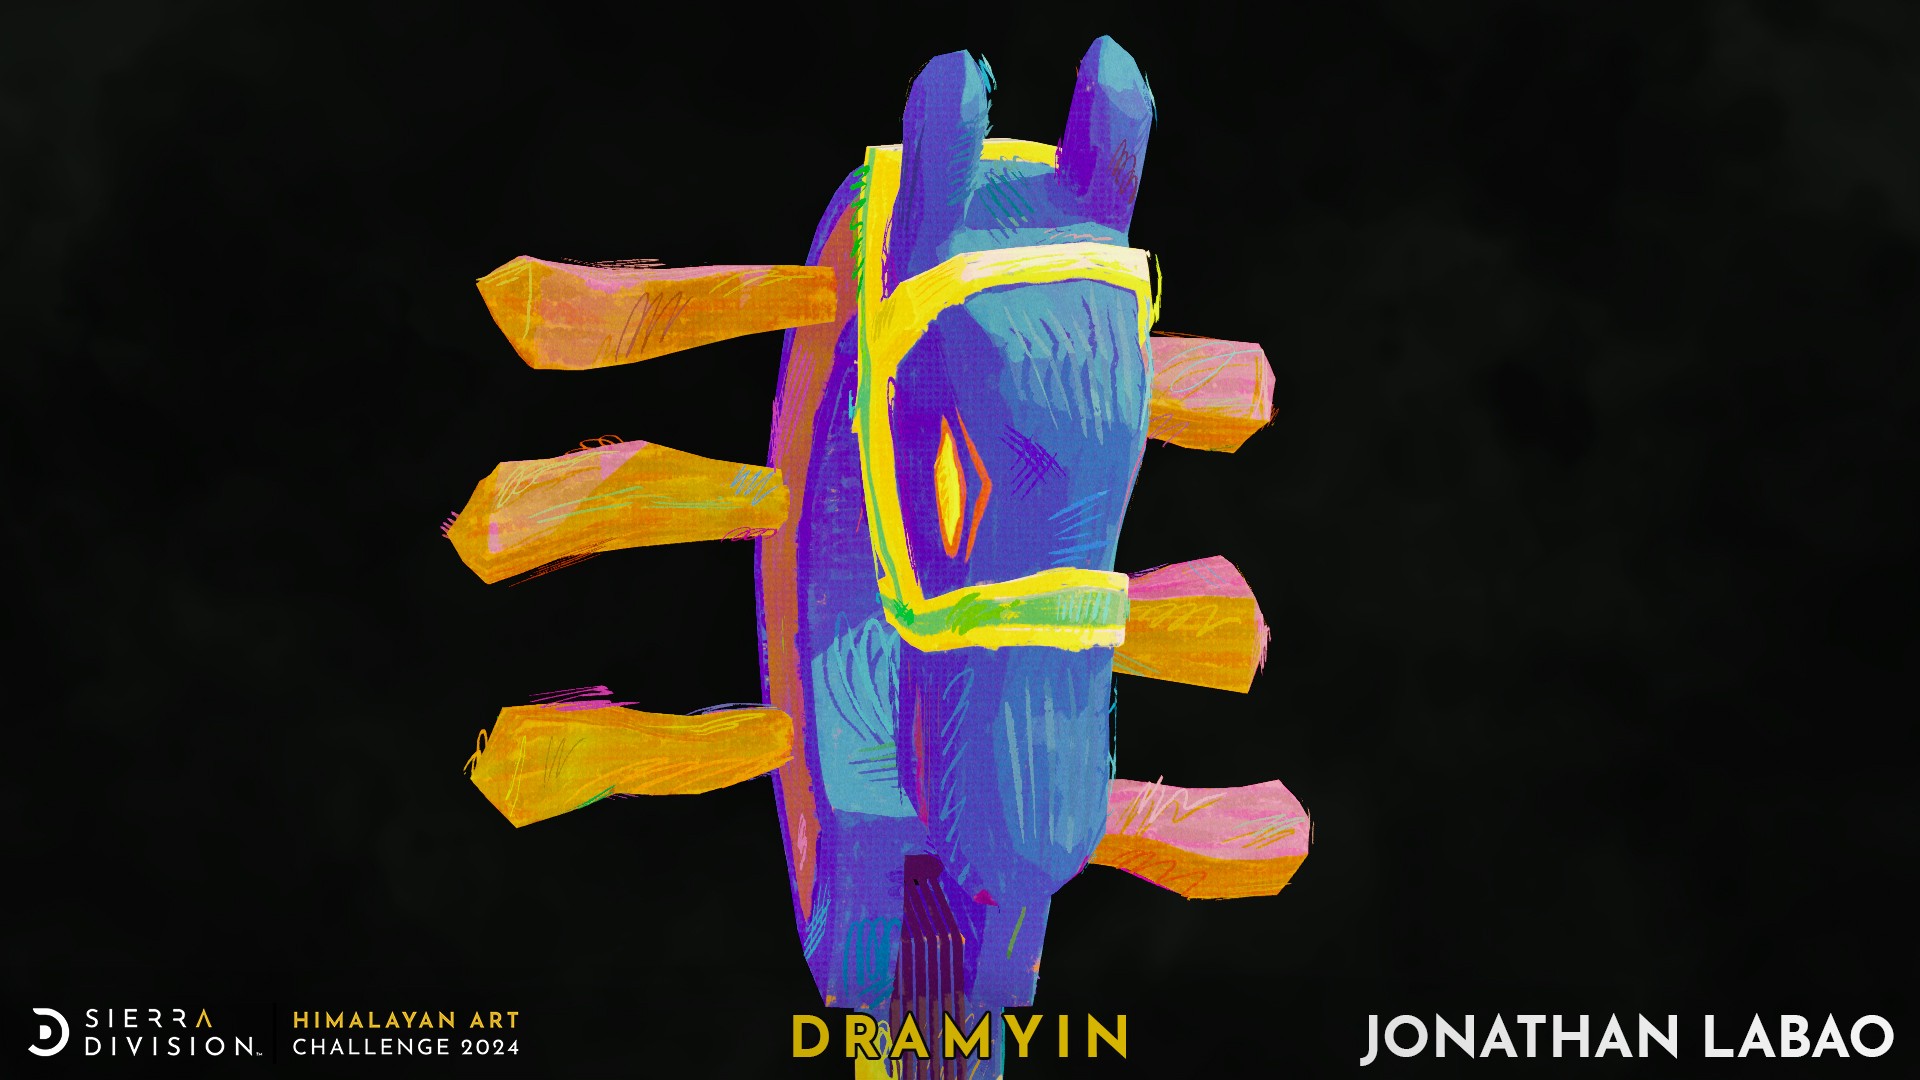
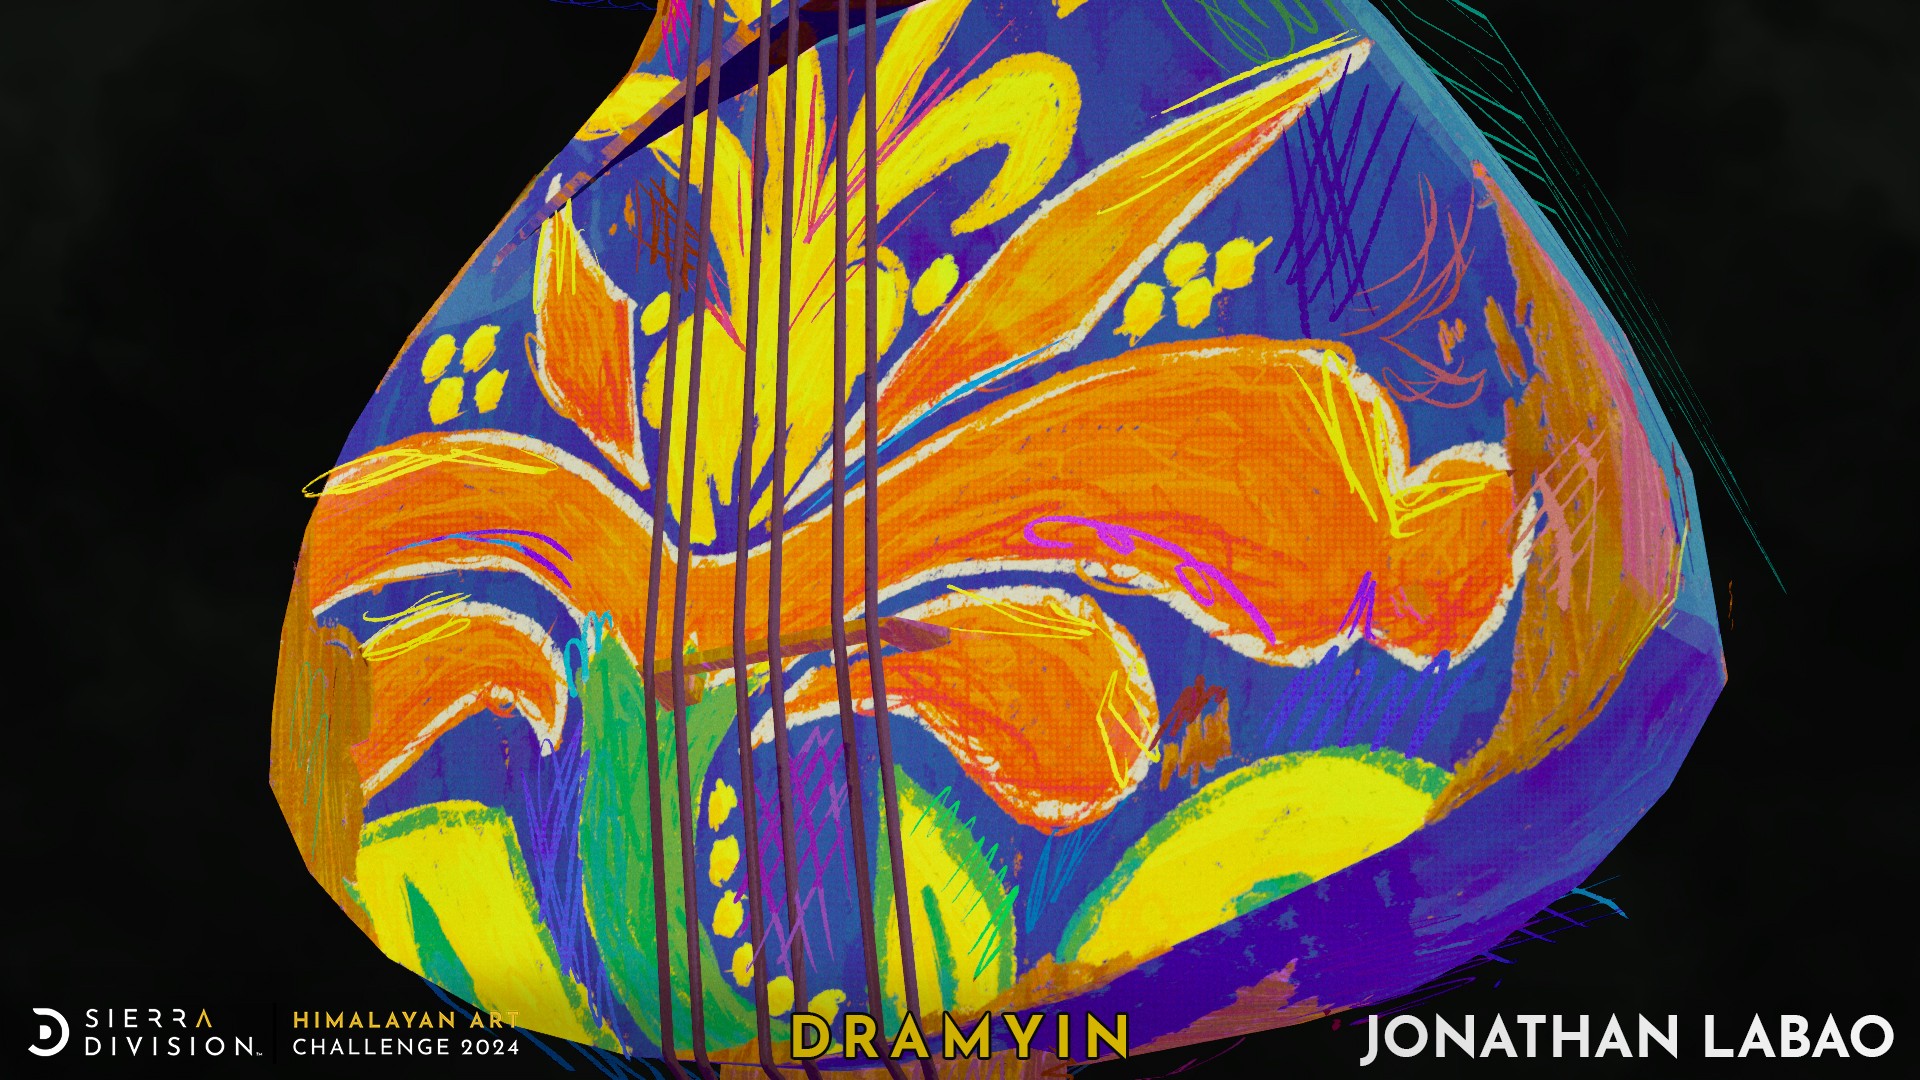
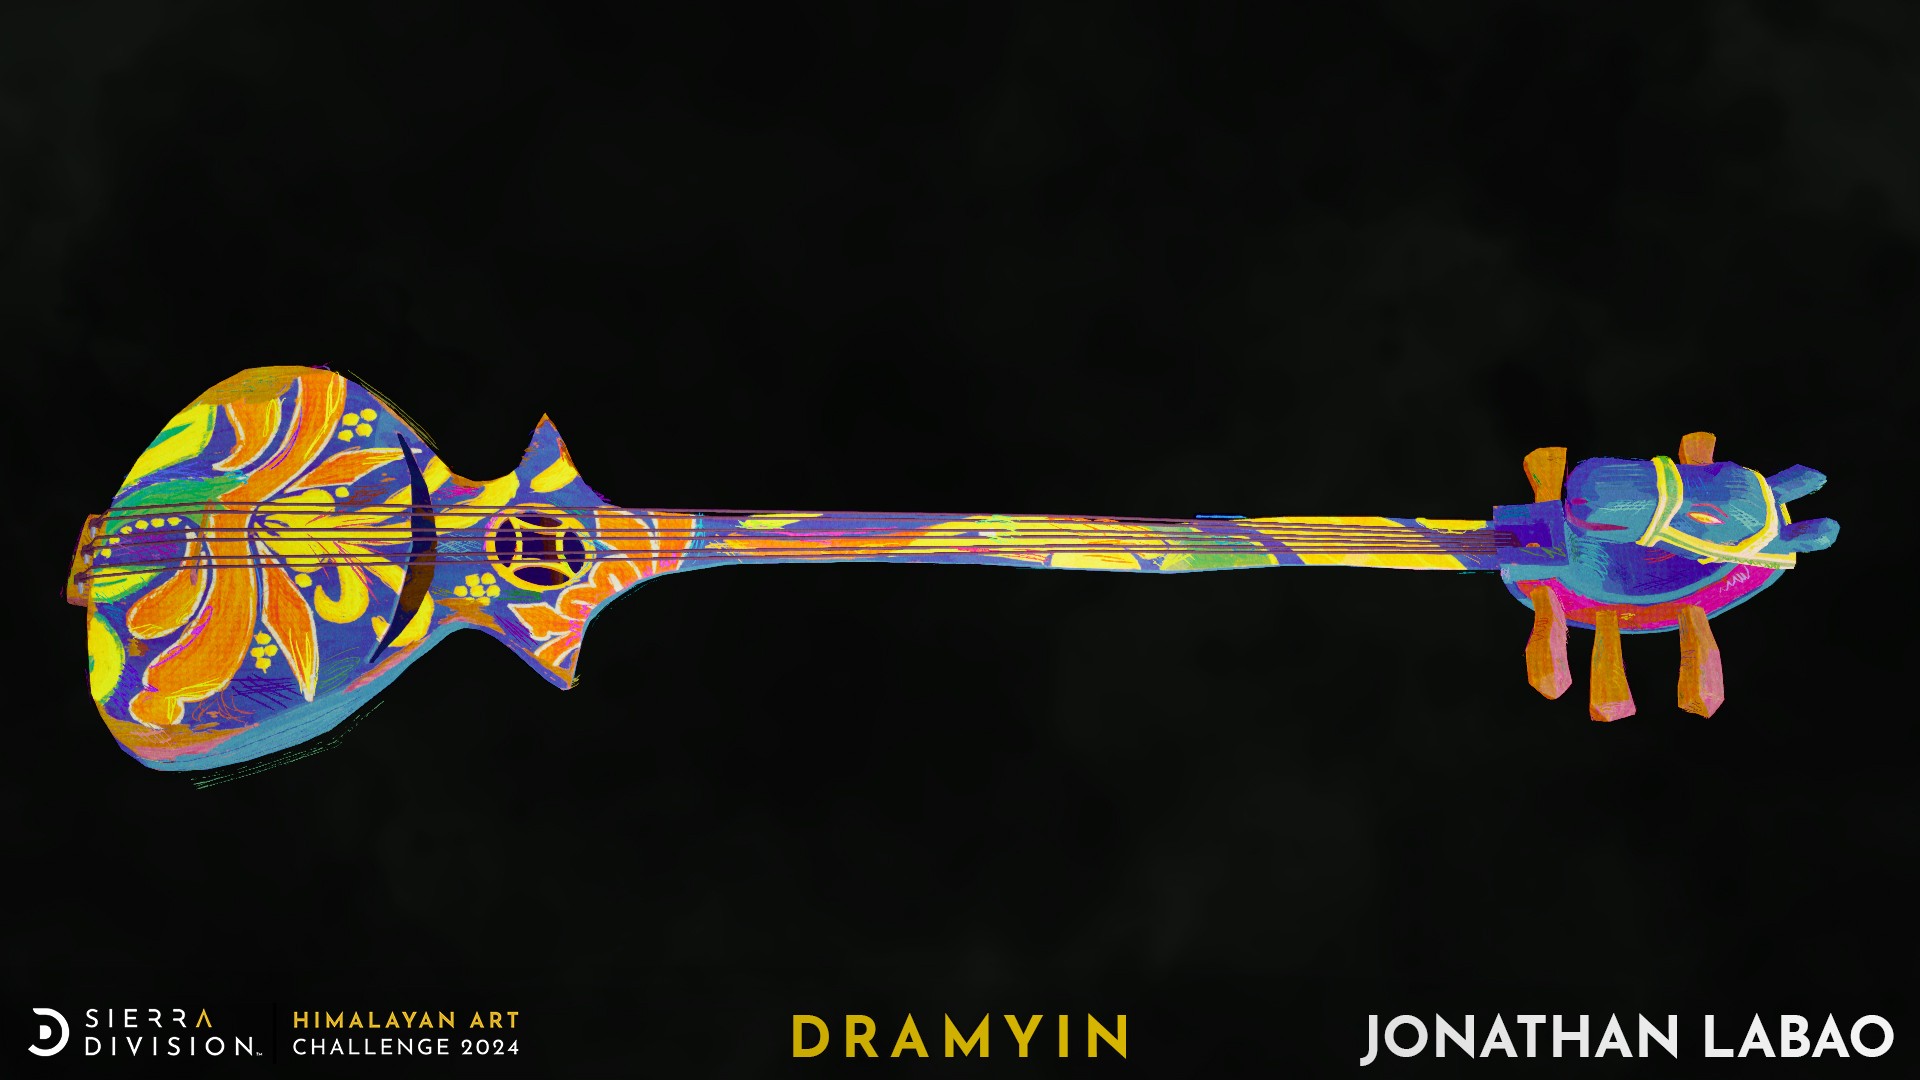
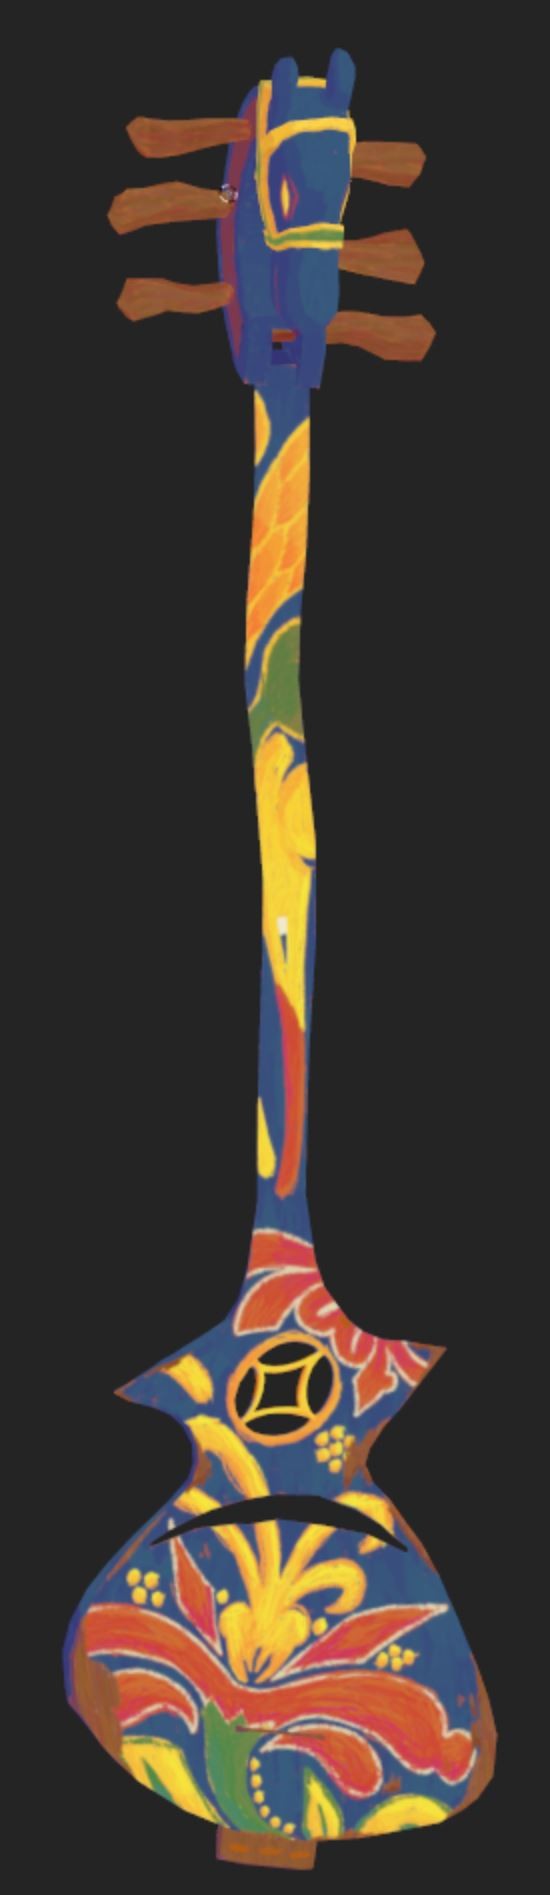
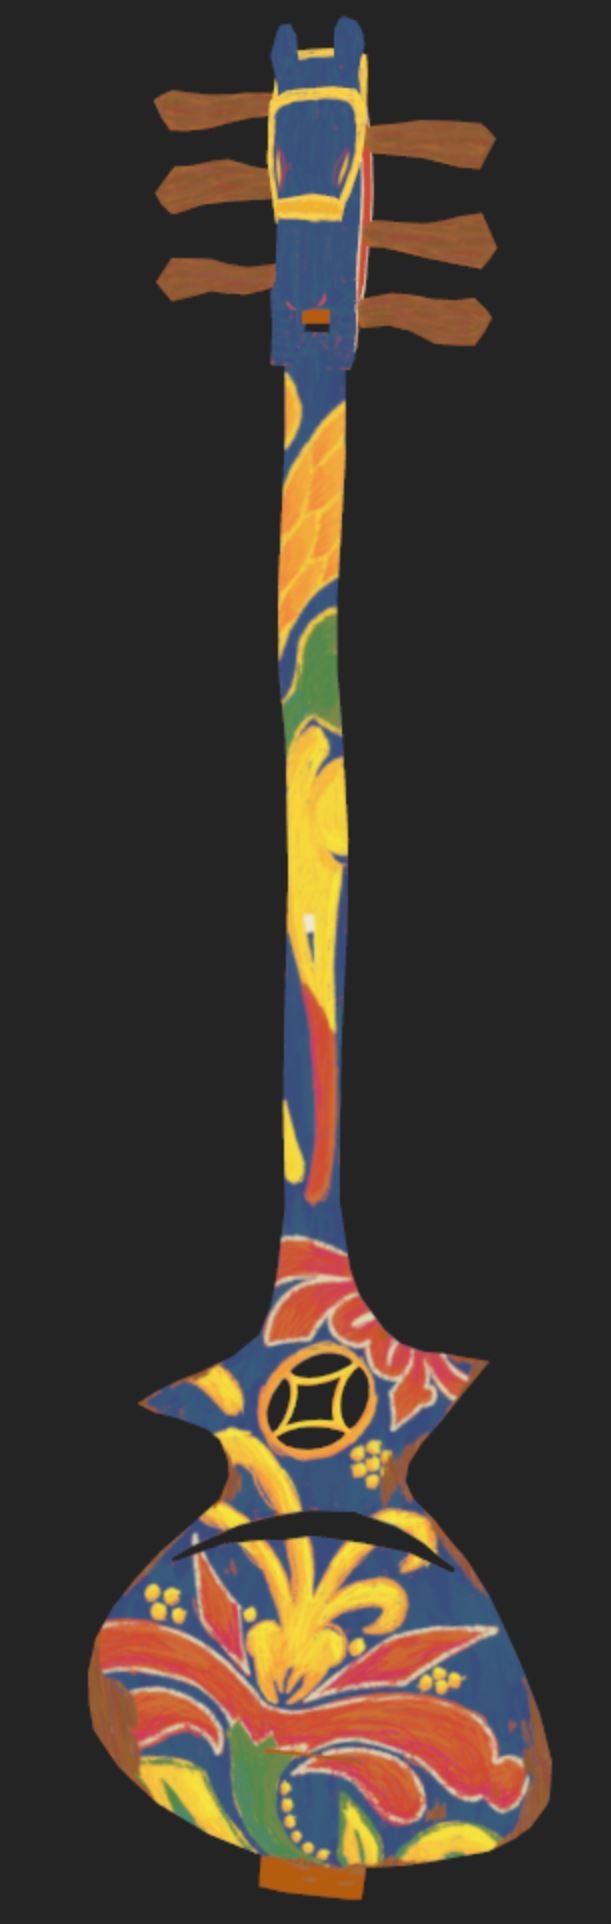
Here it is, my final submission! I'm overall pretty happy with how it turned out, but I'll definitely fiddle around with it some more once the challenge is over (add animations and whatnot).
1 / 5
Here it is, my final submission! I'm overall pretty happy with how it turned out, but I'll definitely fiddle around with it some more once the challenge is over (add animations and whatnot).
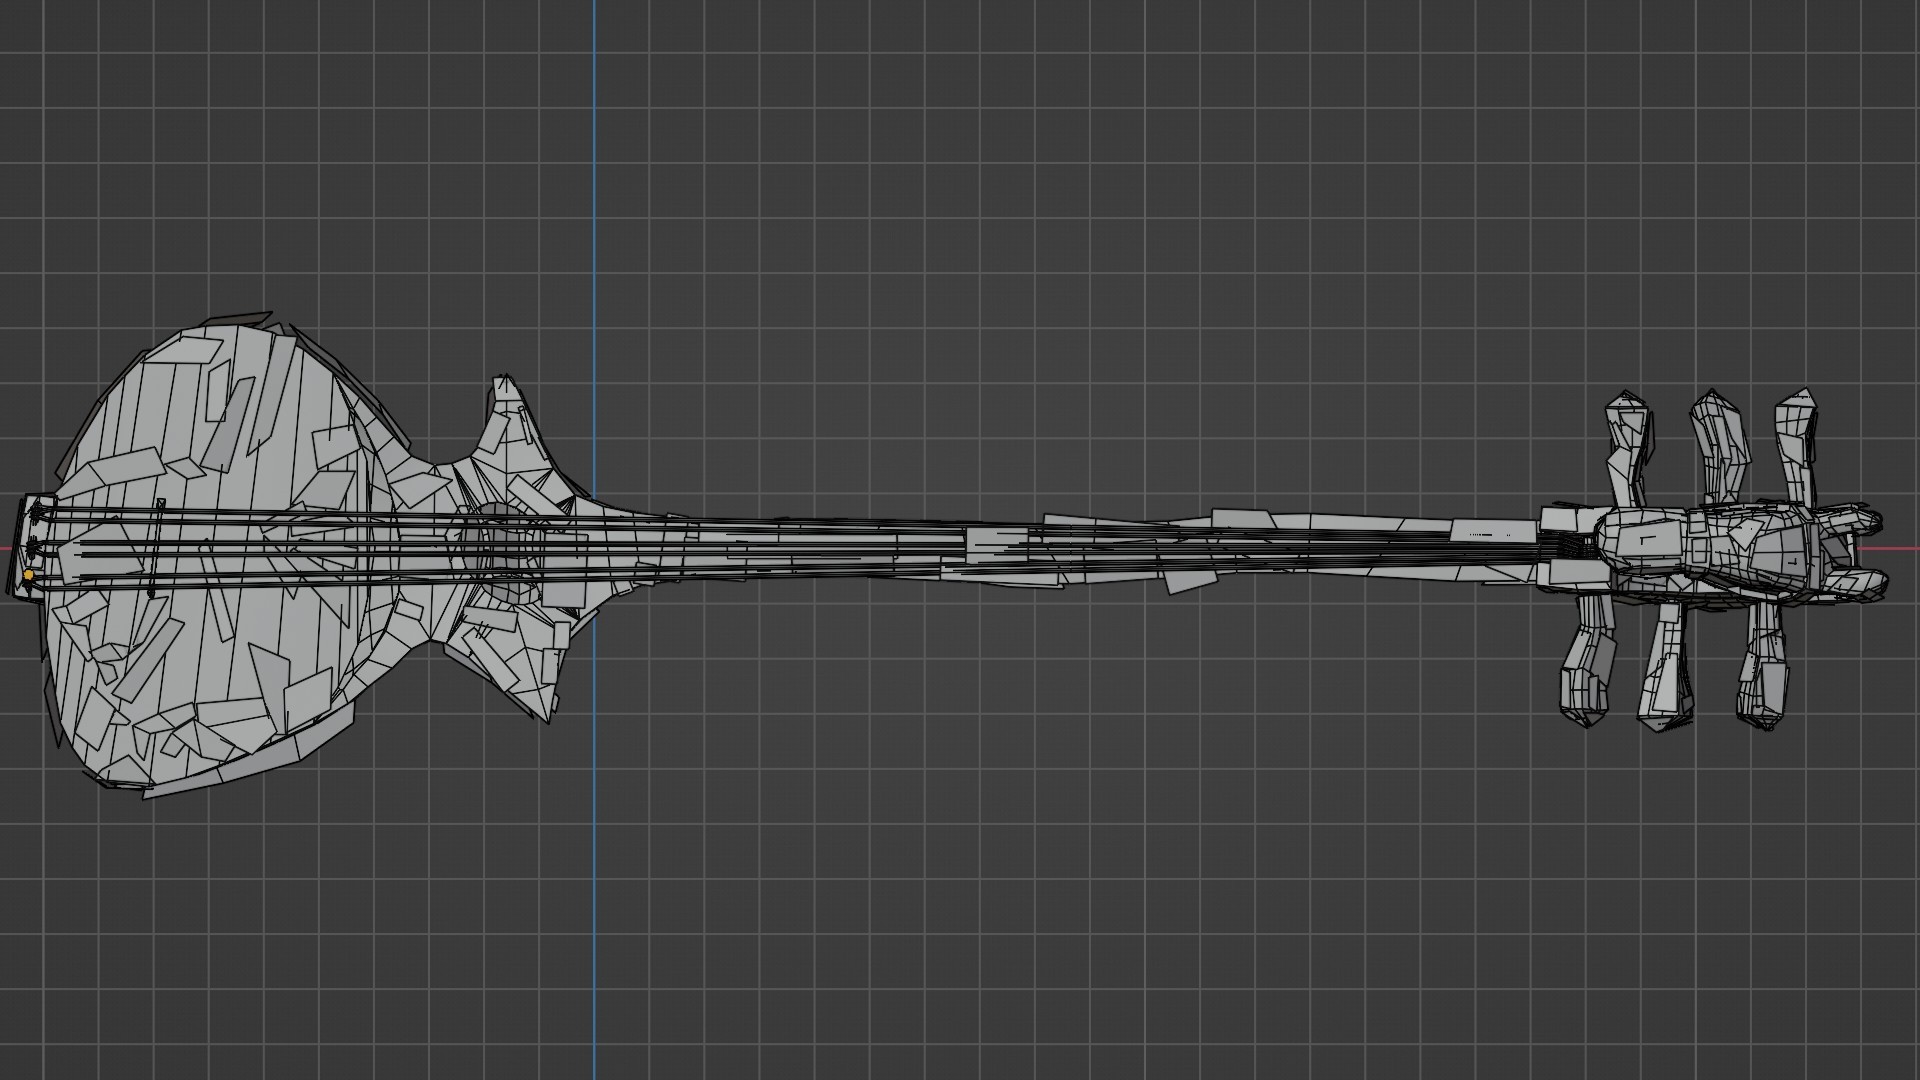
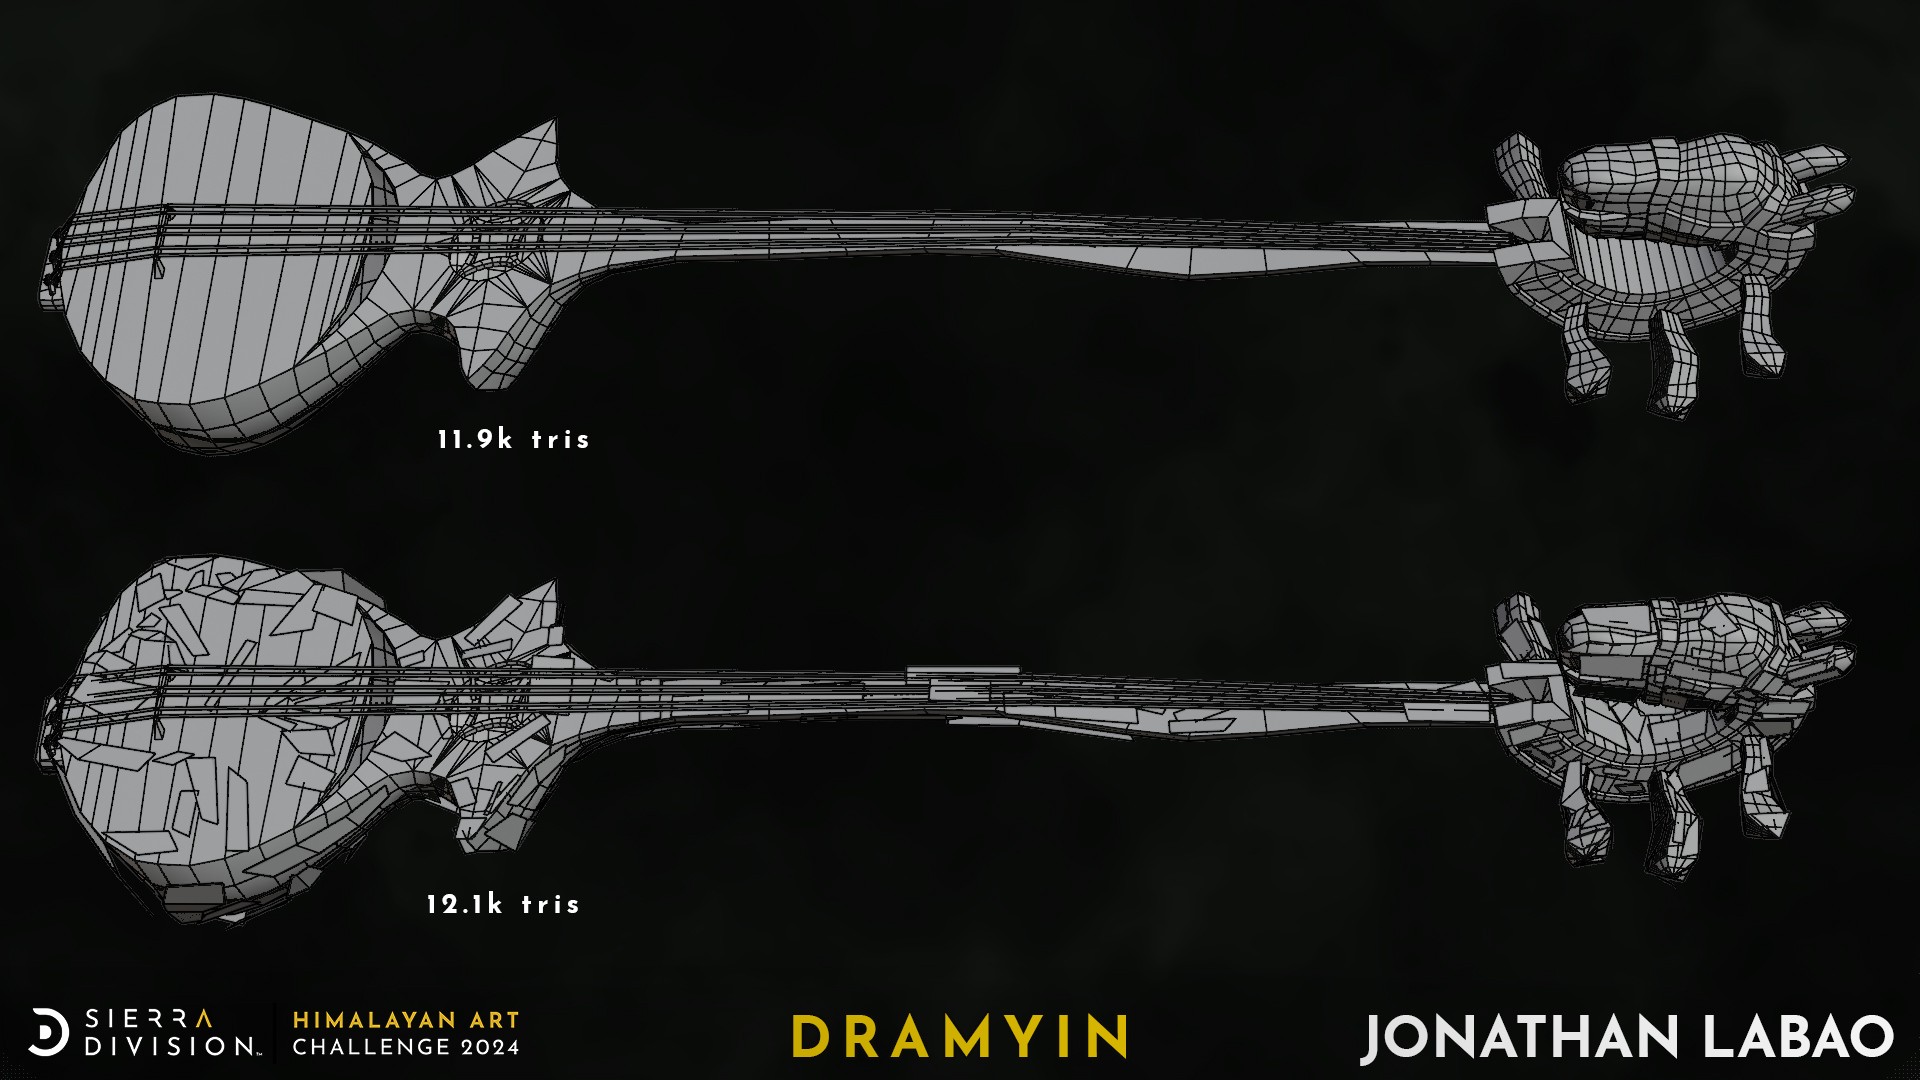
I've been really busy as of late so I haven't posted much, BUT I have still been working here and there. I've finished adding the different planes for each of the scratches that I want hovering over the mesh, and I've also added in the strings which have brought my total triangles from 5k to 12k. Most of the added triangles stem from the strings, I tried going lower but found that it resulted in messy normals when baking.
I just downloaded UE5.4 and I've been really liking it so I decided to import the project there and take a stab and recreating my cel shading material from Blender and here are the results:
I still gotta work on the strings but I should have them done soon.
Hello! Here's another quick update. I've brought the prop into Blender for rendering. I've tried Unreal Engine for stylized rendering in the past with varying degrees of success, if I have extra time I might try to make it work there, but for the sake of reliability we're going with Eevee.
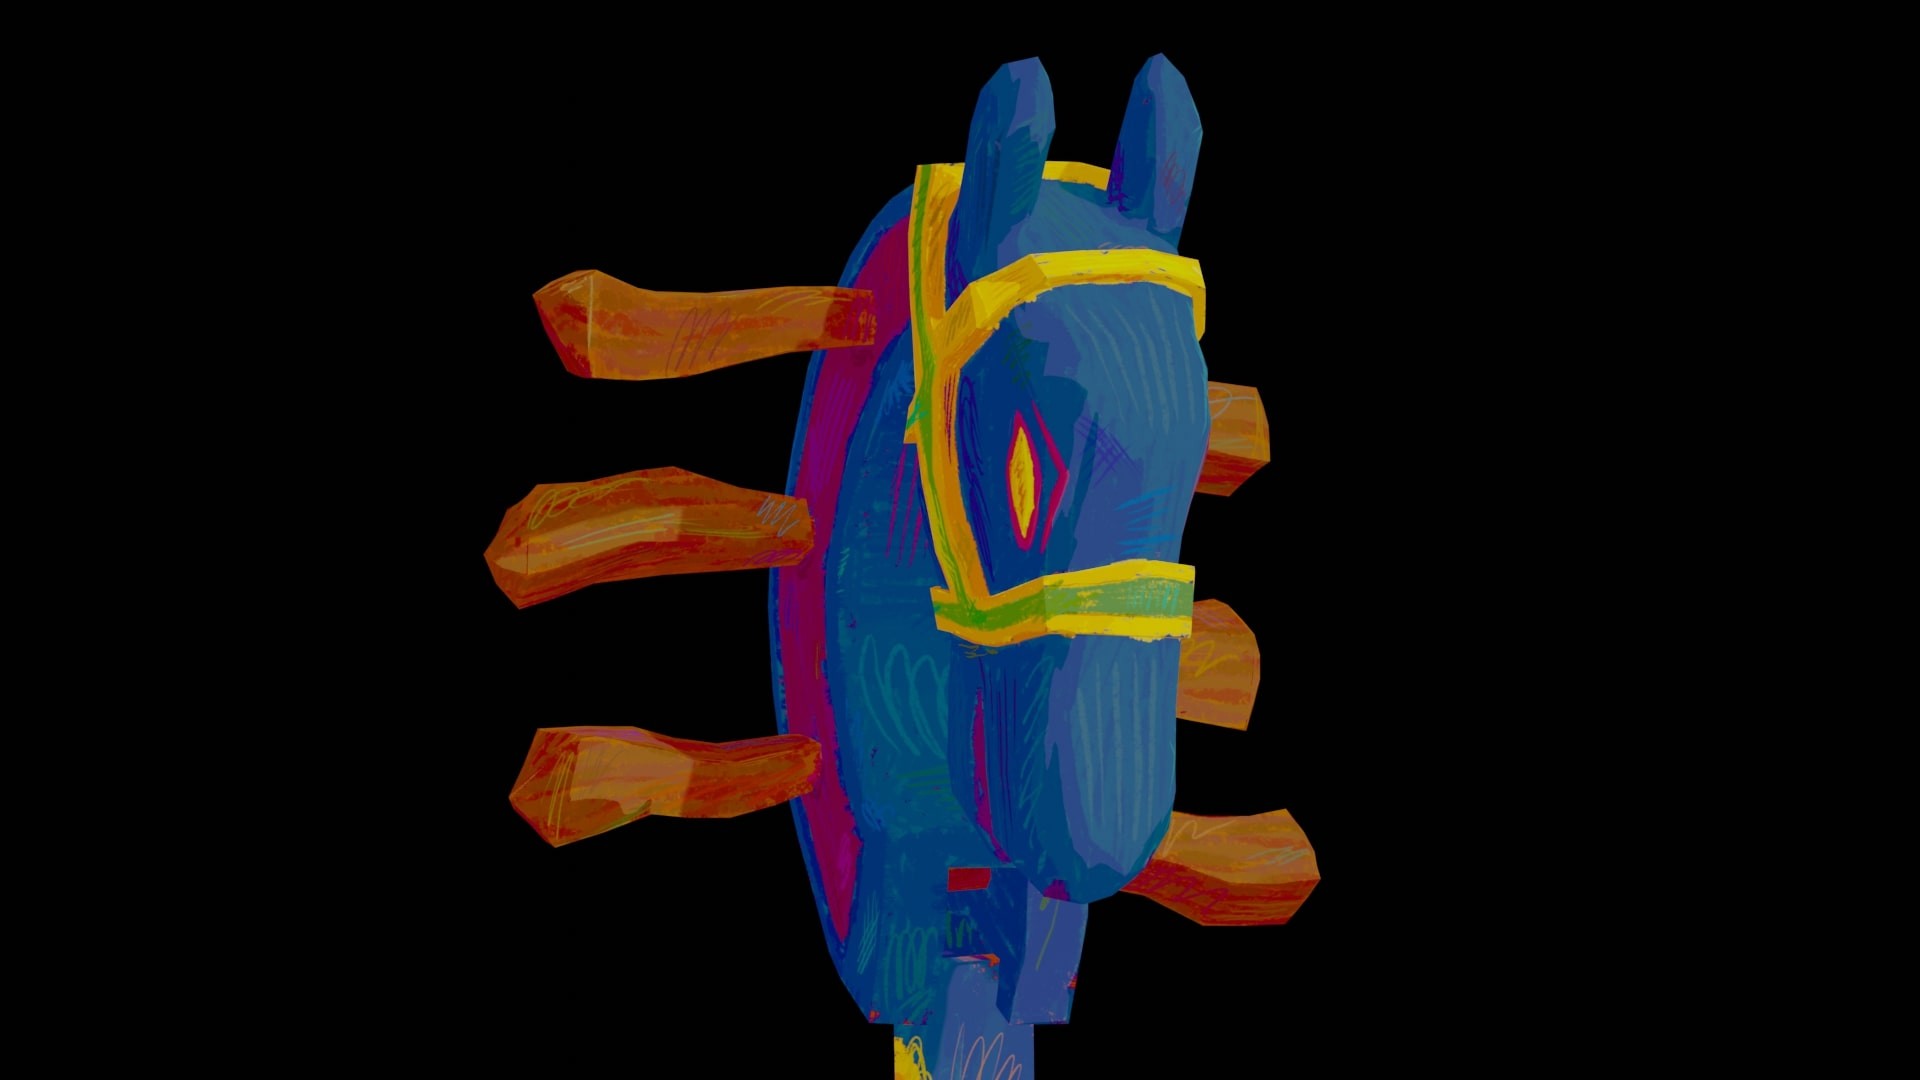
Even though I've brought it in for rendering, the work doesn't stop there! I'm also attempting to make the some of the scribbles 'float' above the mesh to break up how smooth it is. Like below:
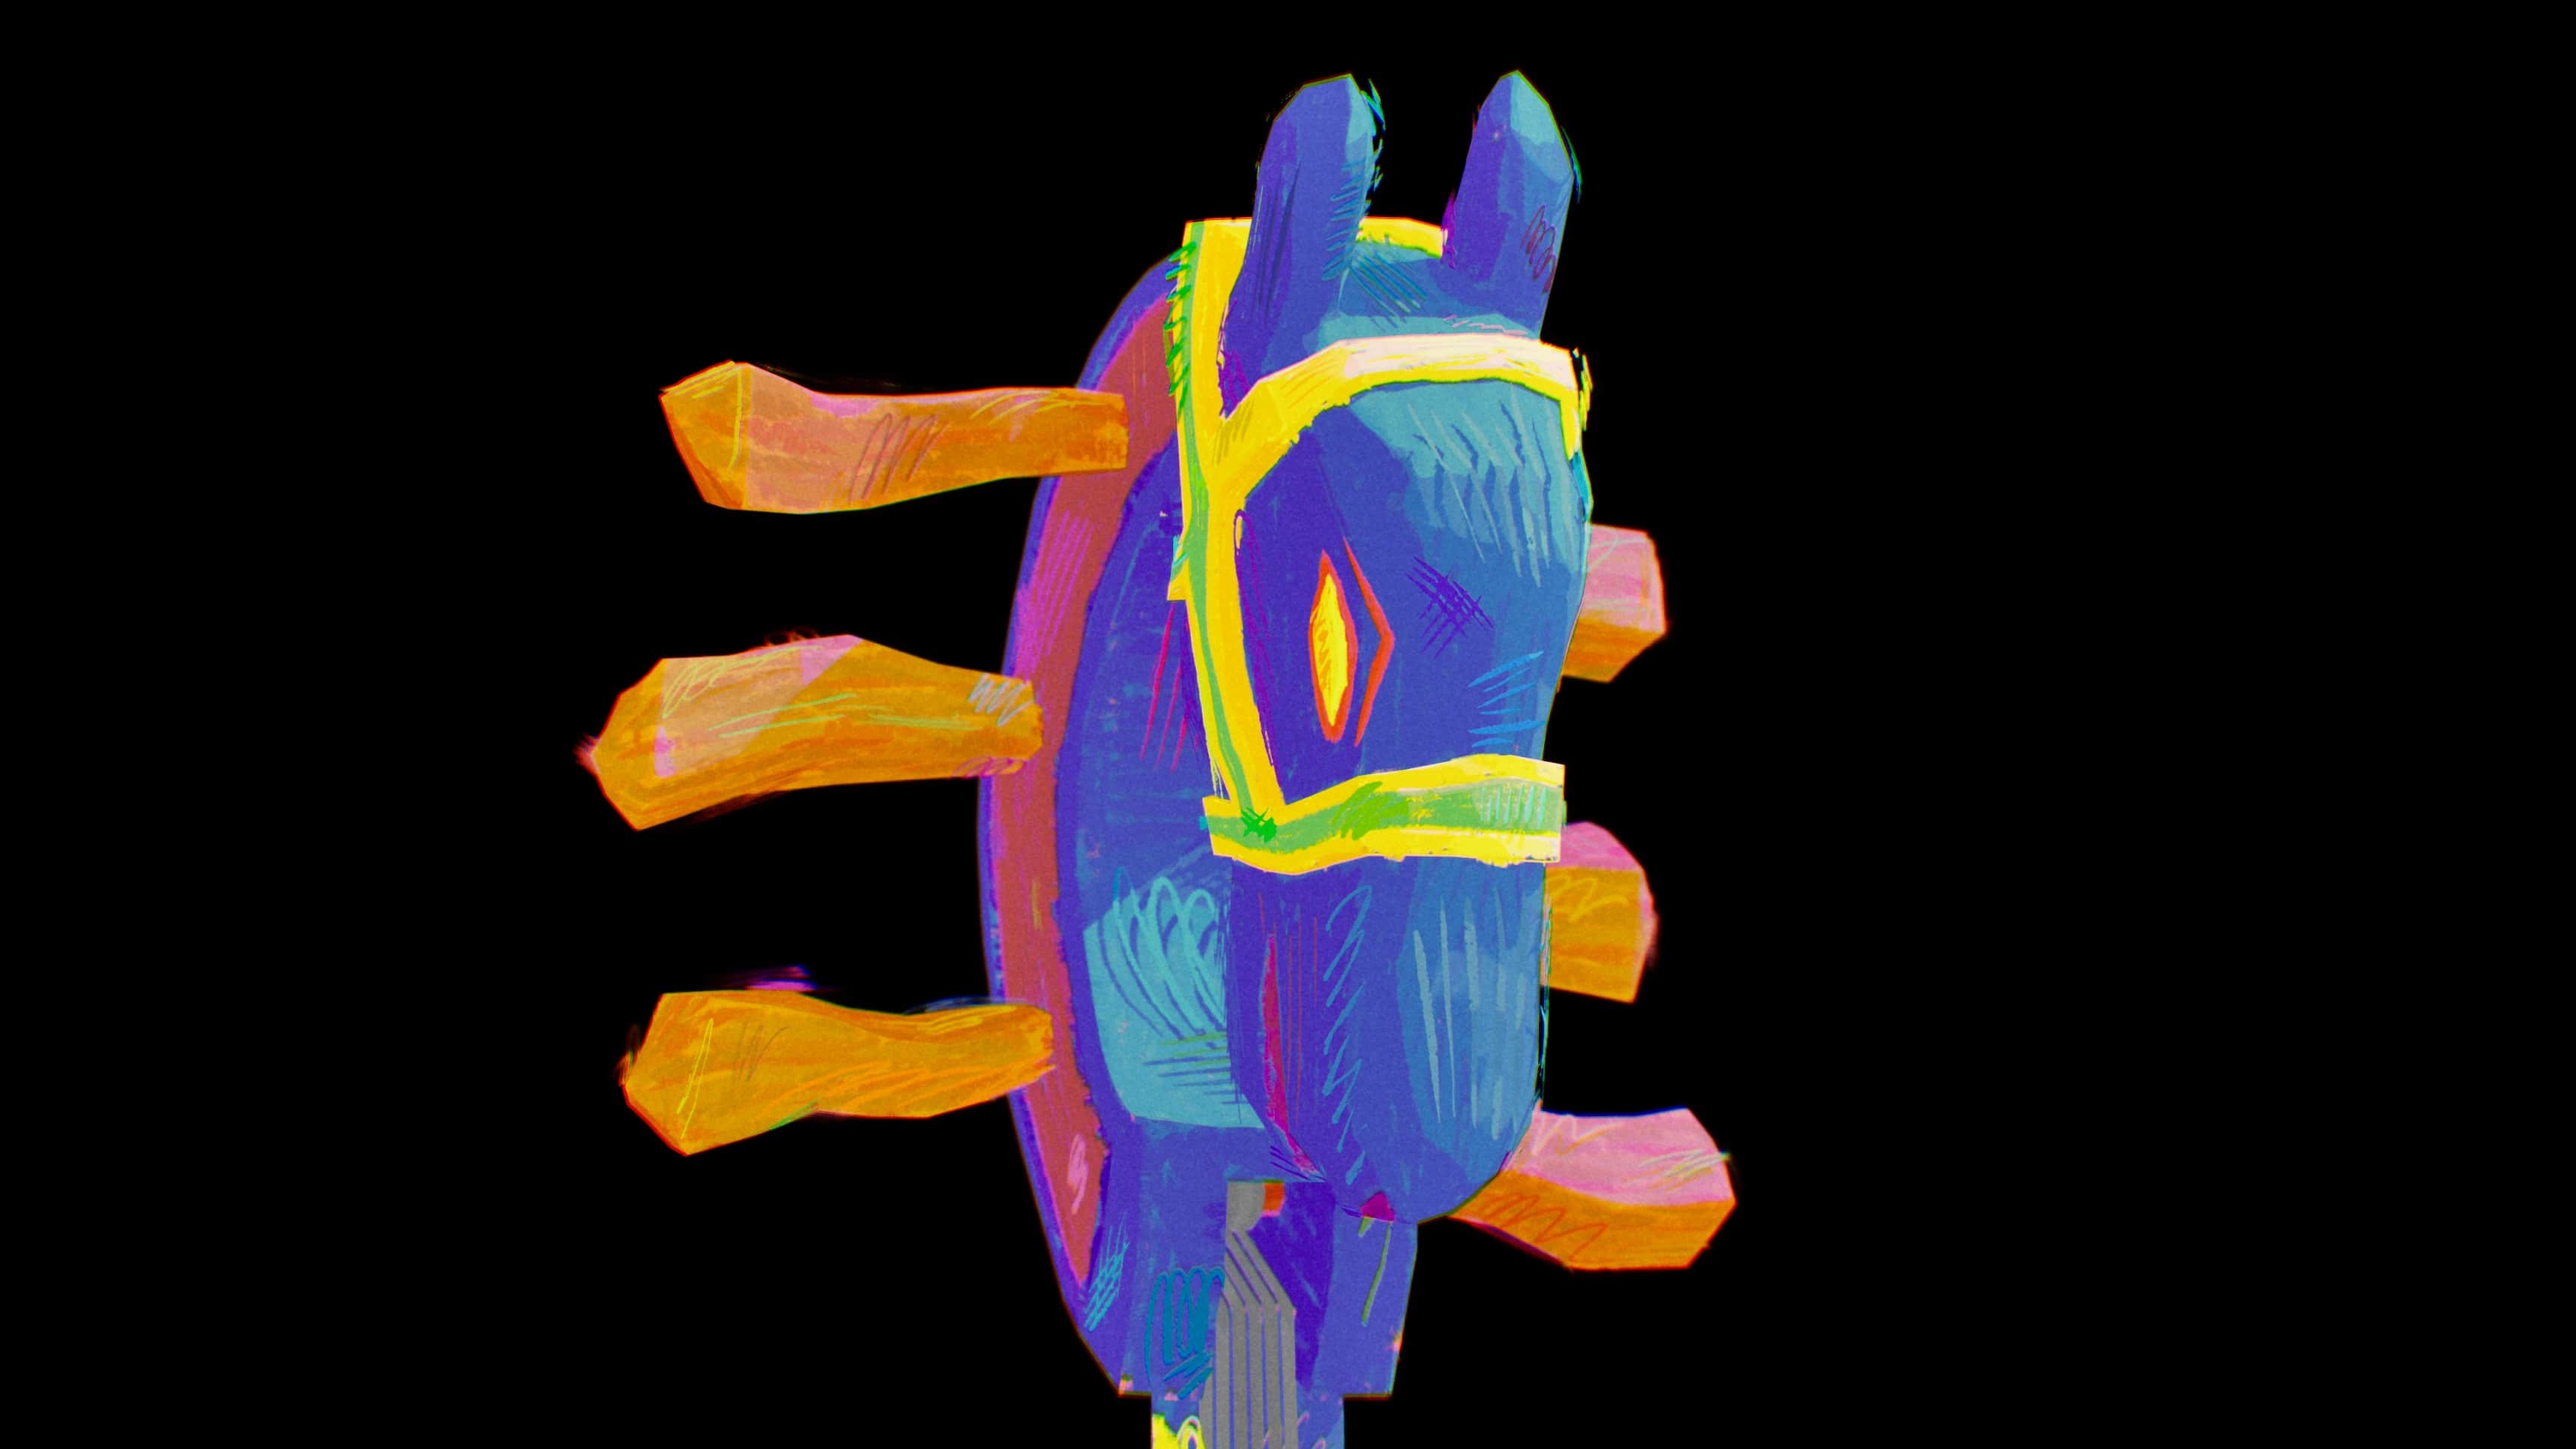
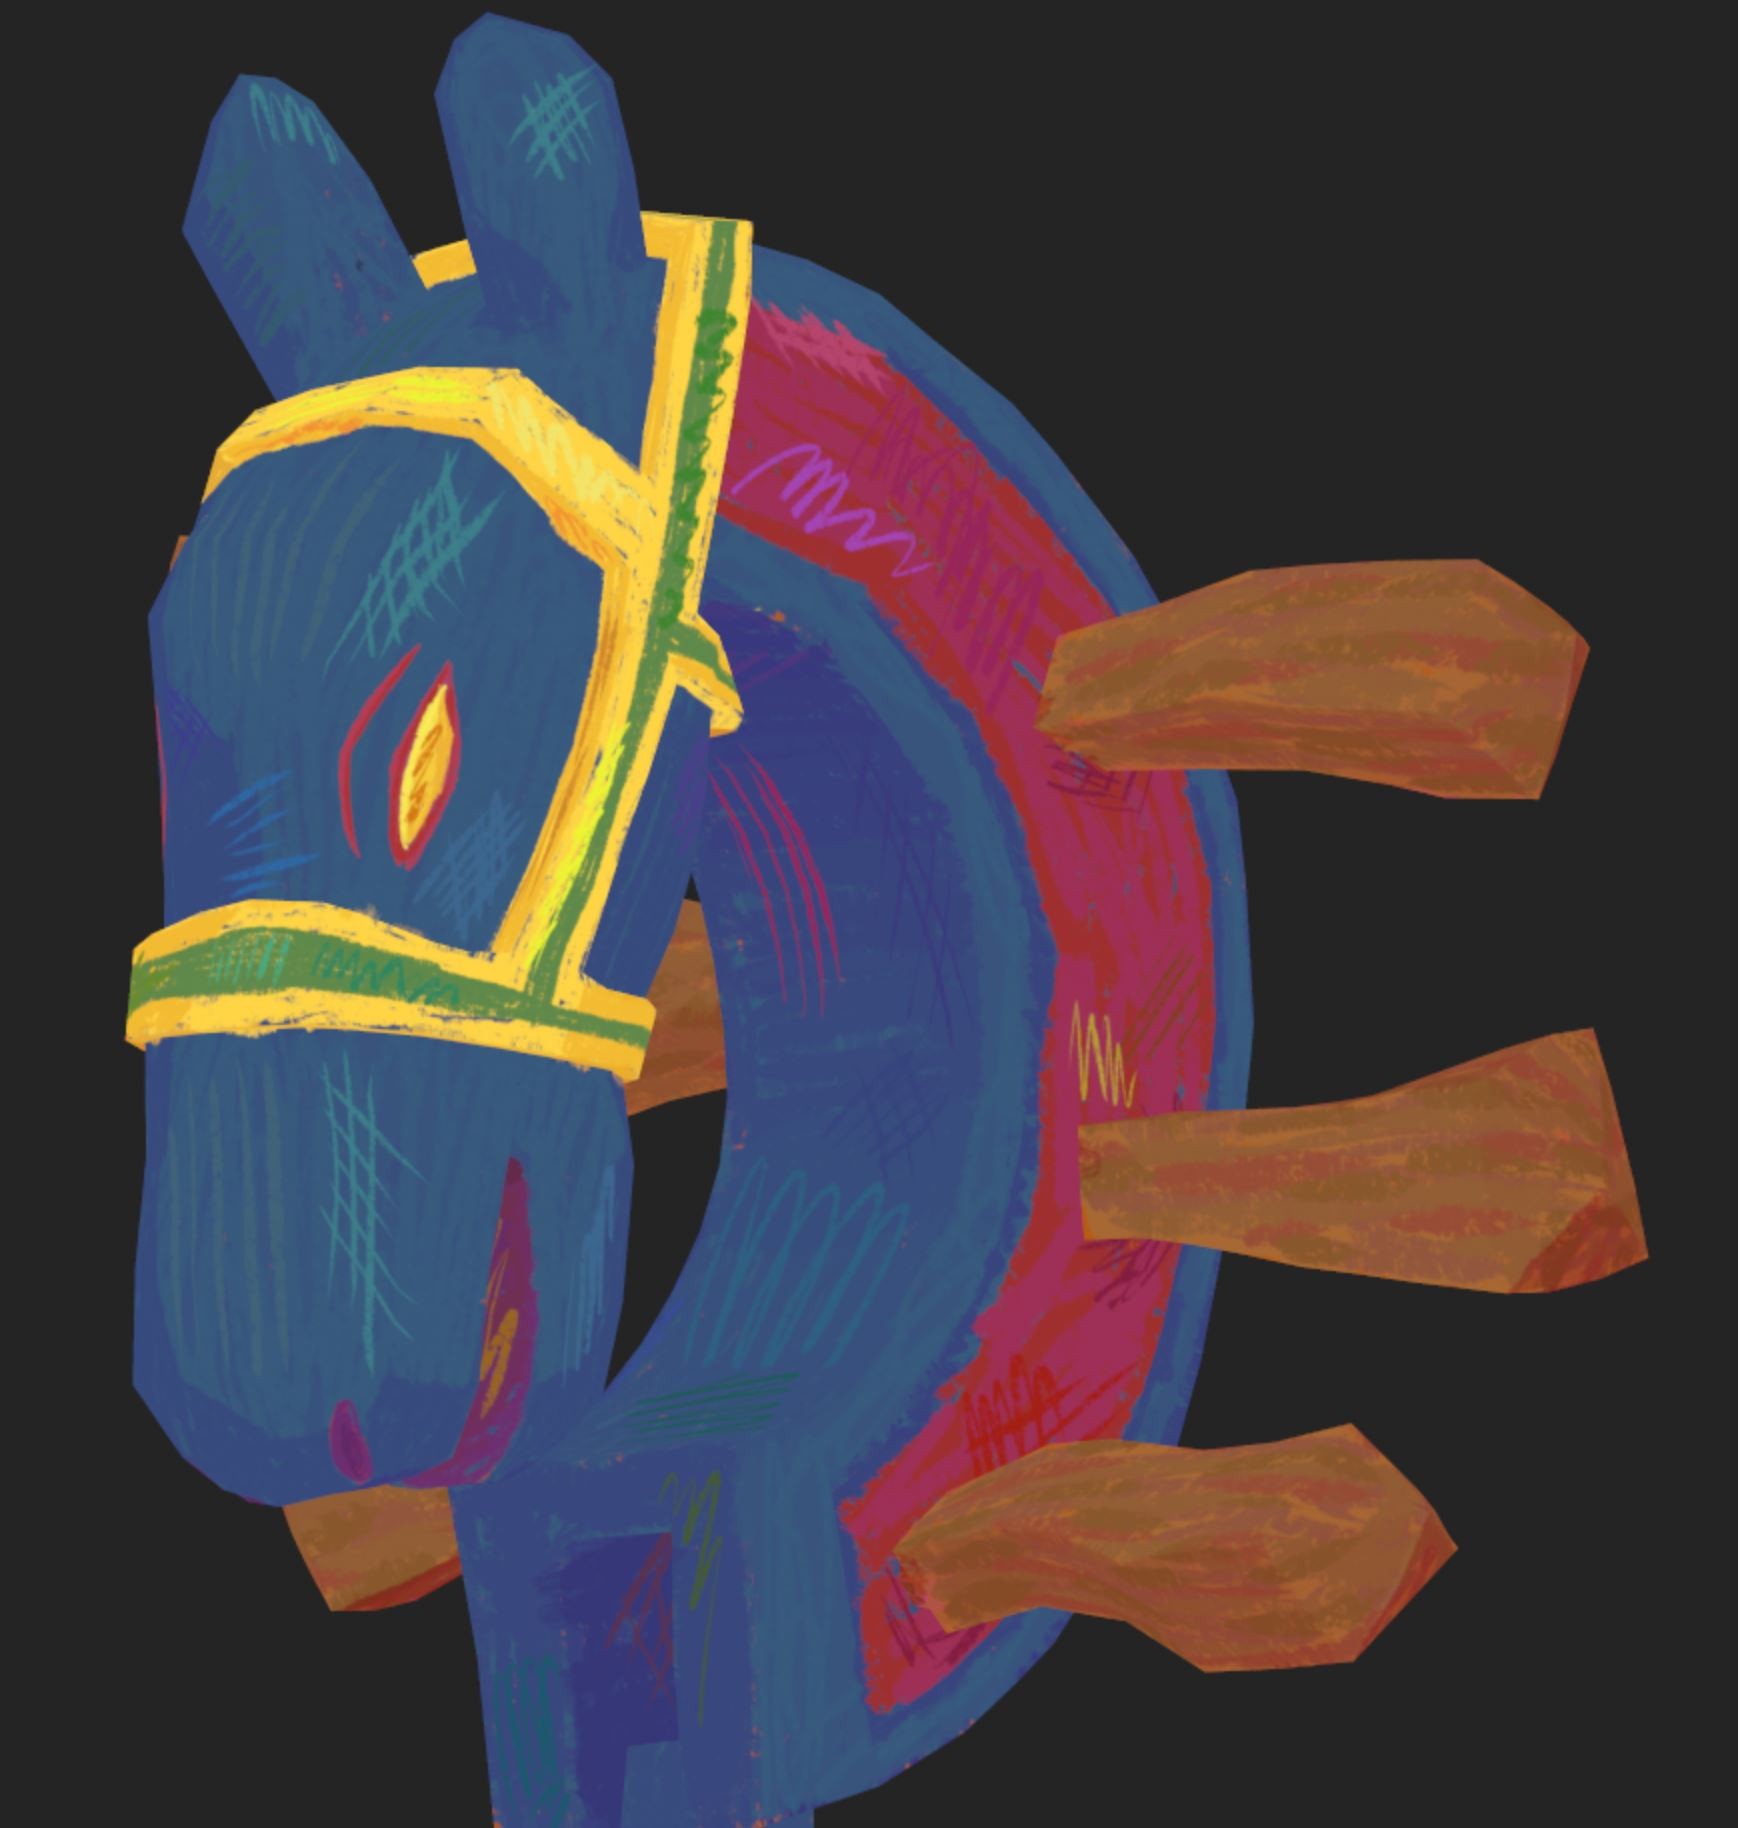
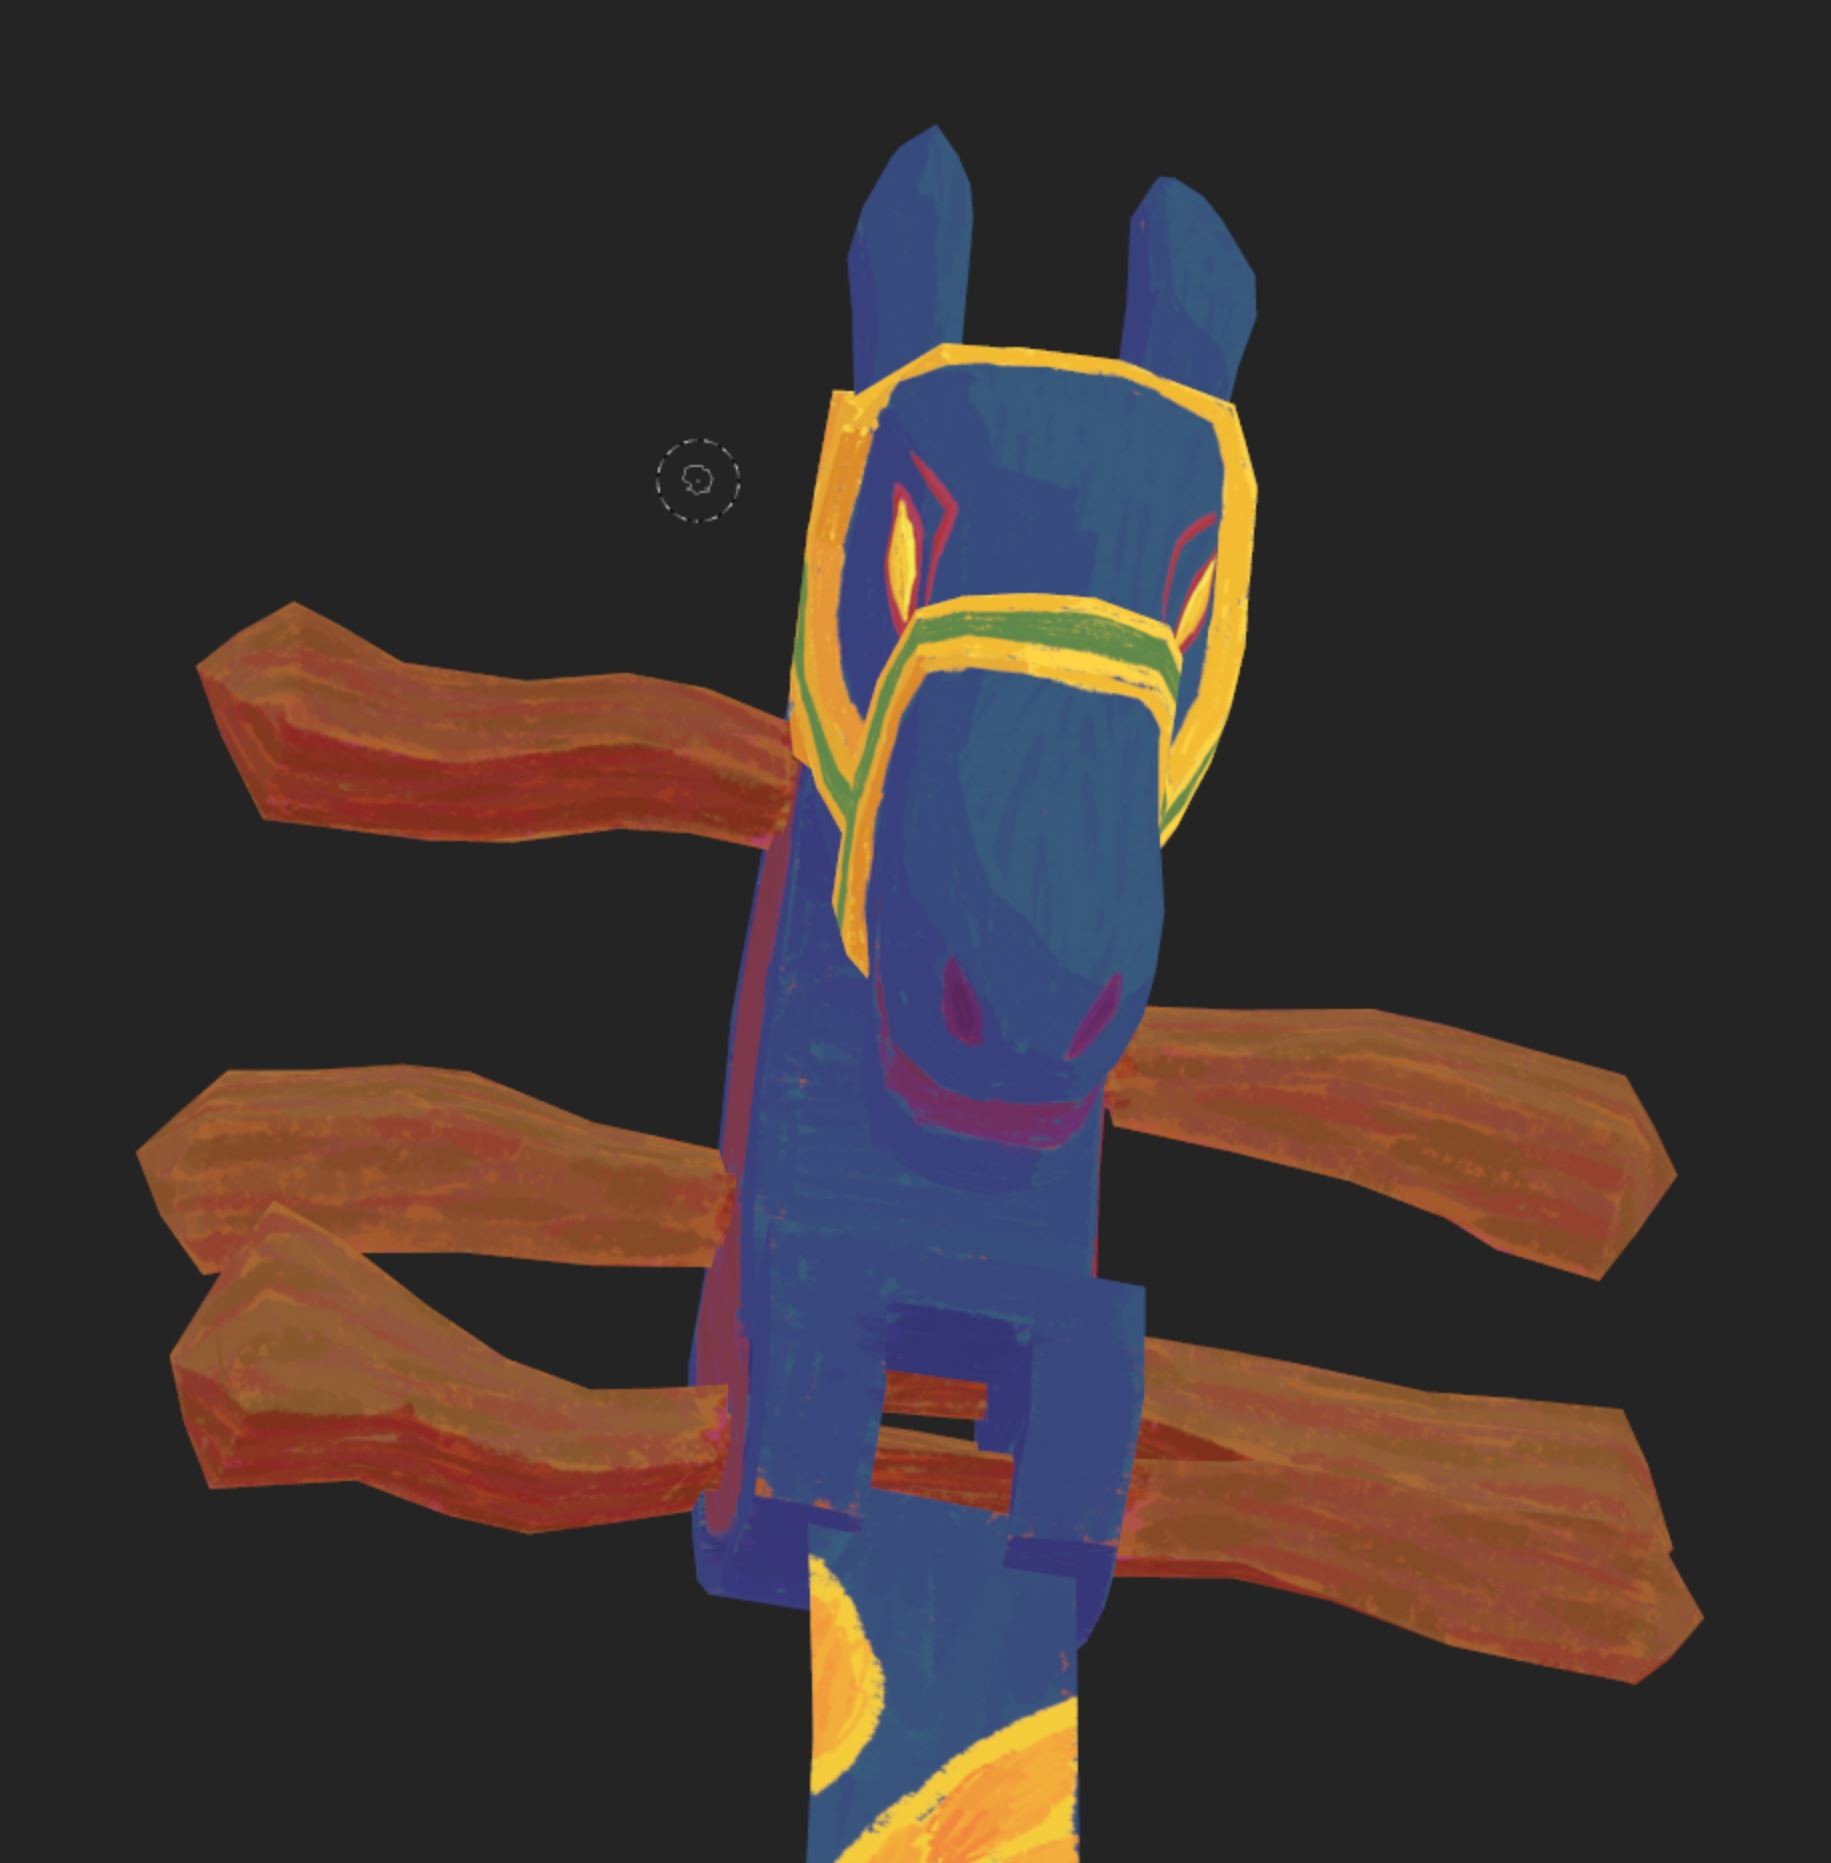
Another quick update but this time giving the main body the scratch-y treatment
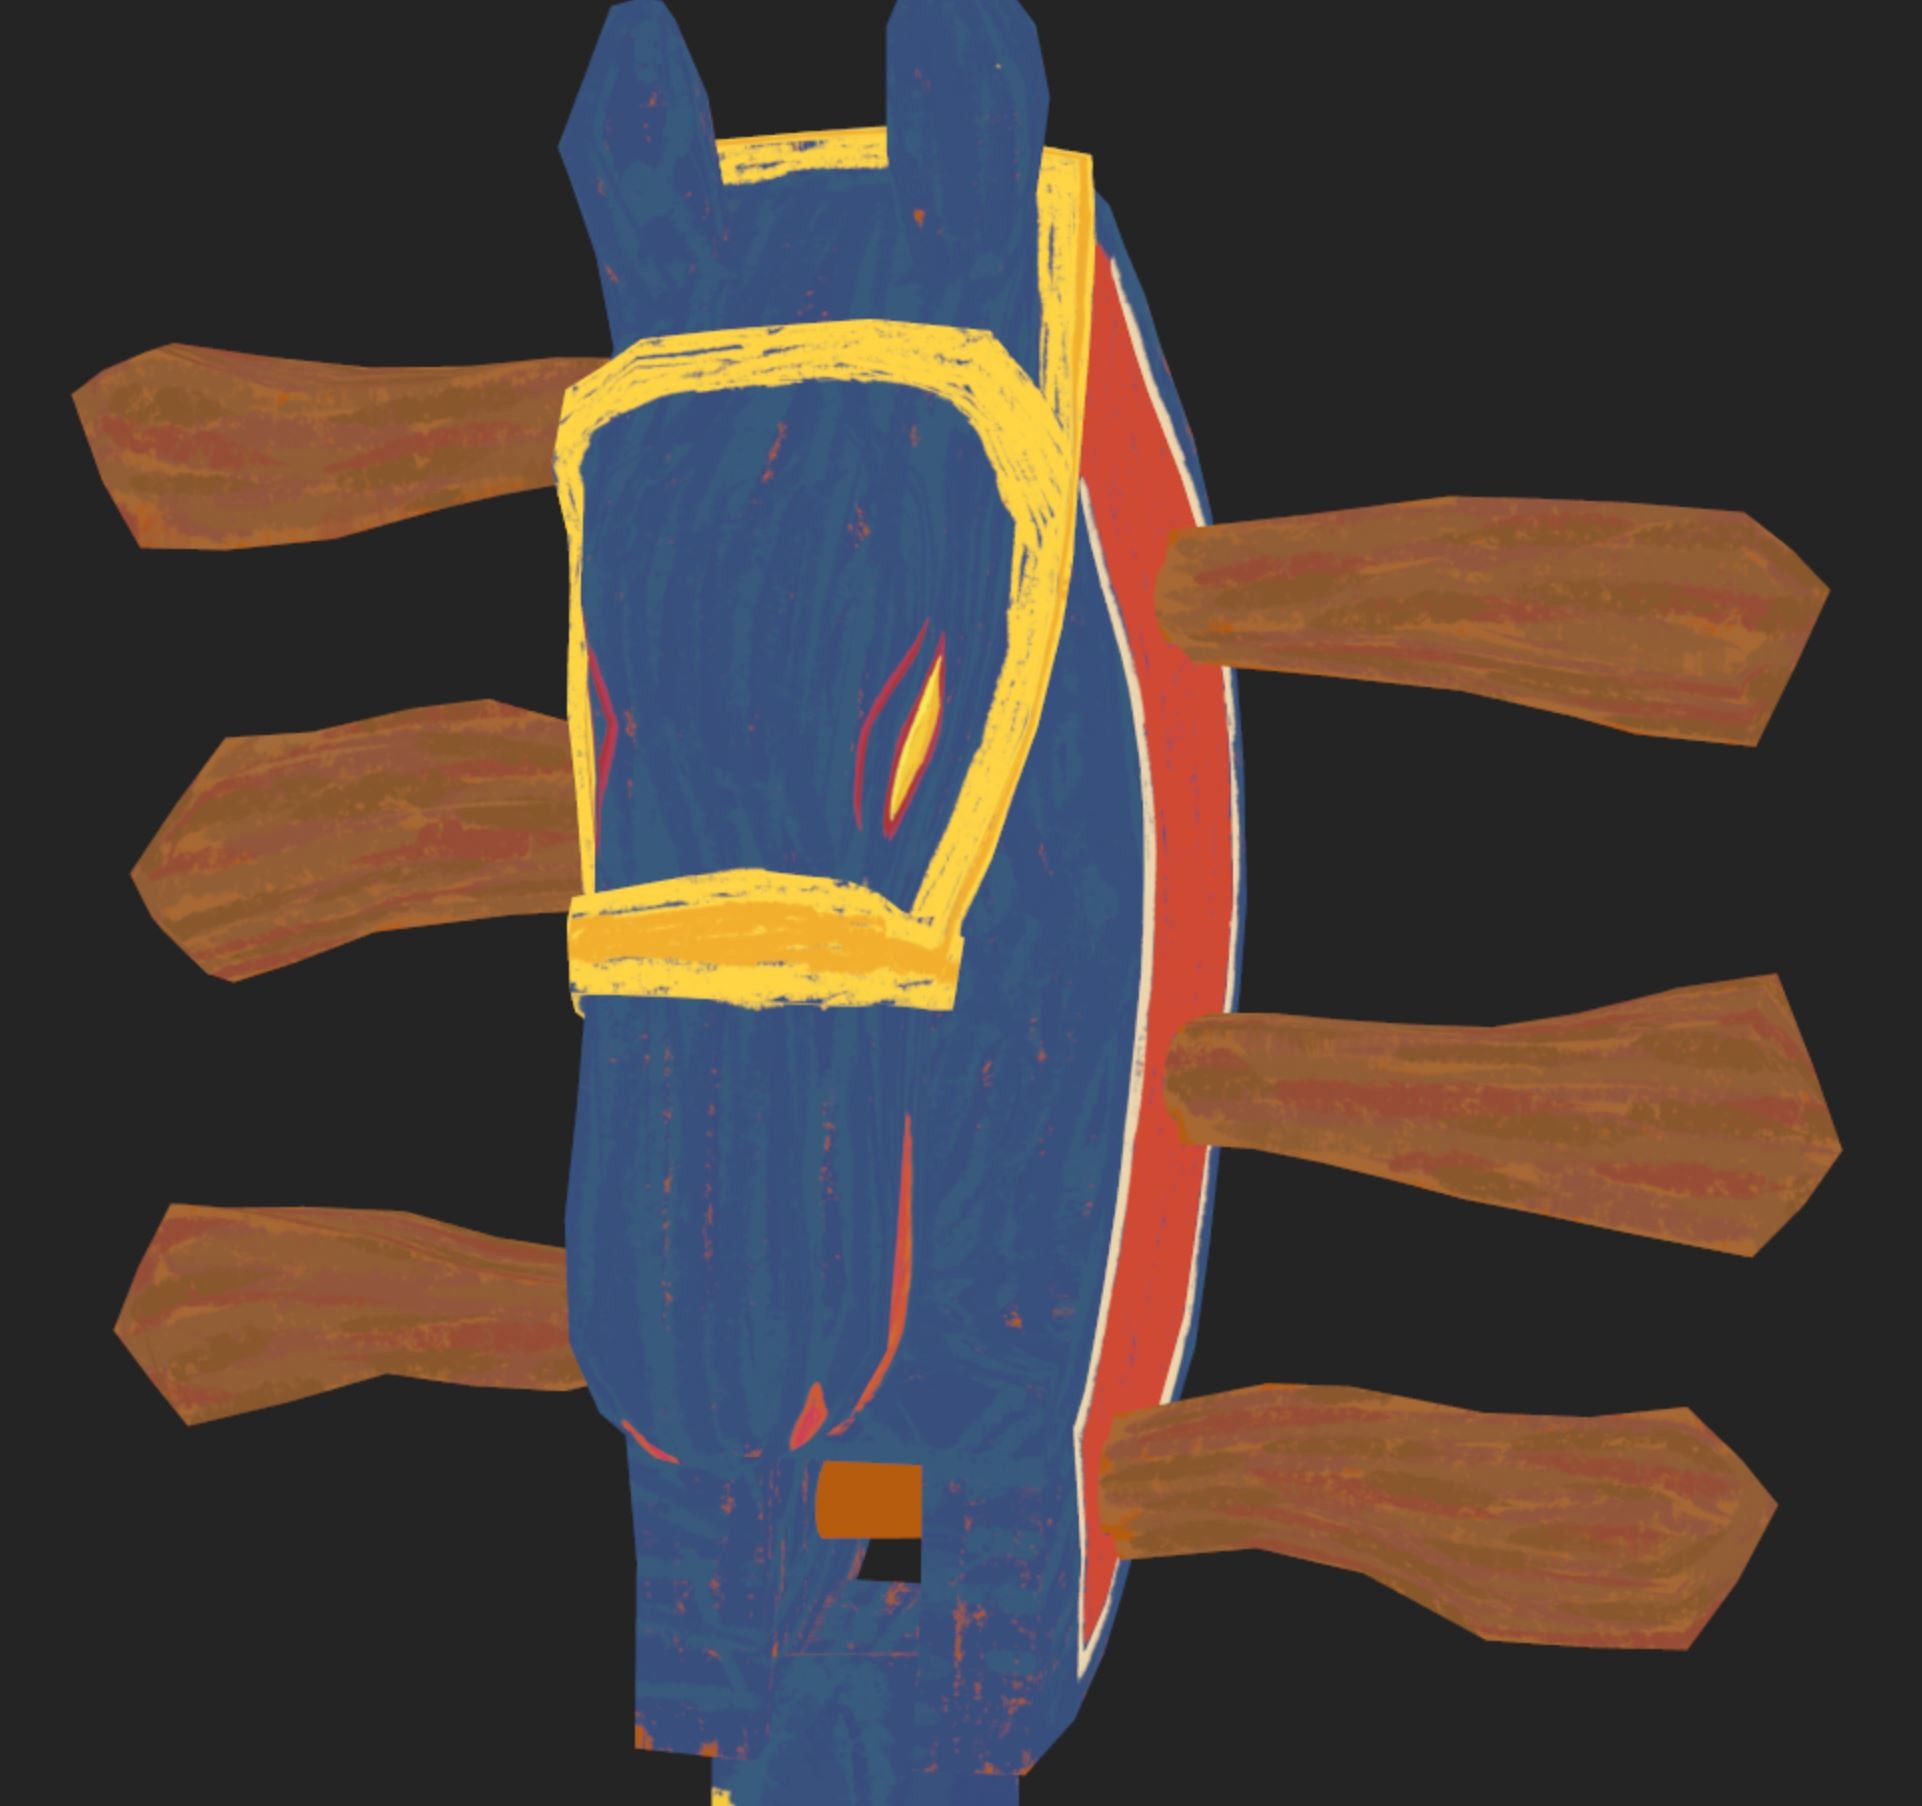
Here's a look at the "scratches" that are key to the TMNT style I'm trying to emulate for the prop. From afar the prop seems the same, but on a closer view the chaos of the scratches is evident.

I've painted in the shadows!
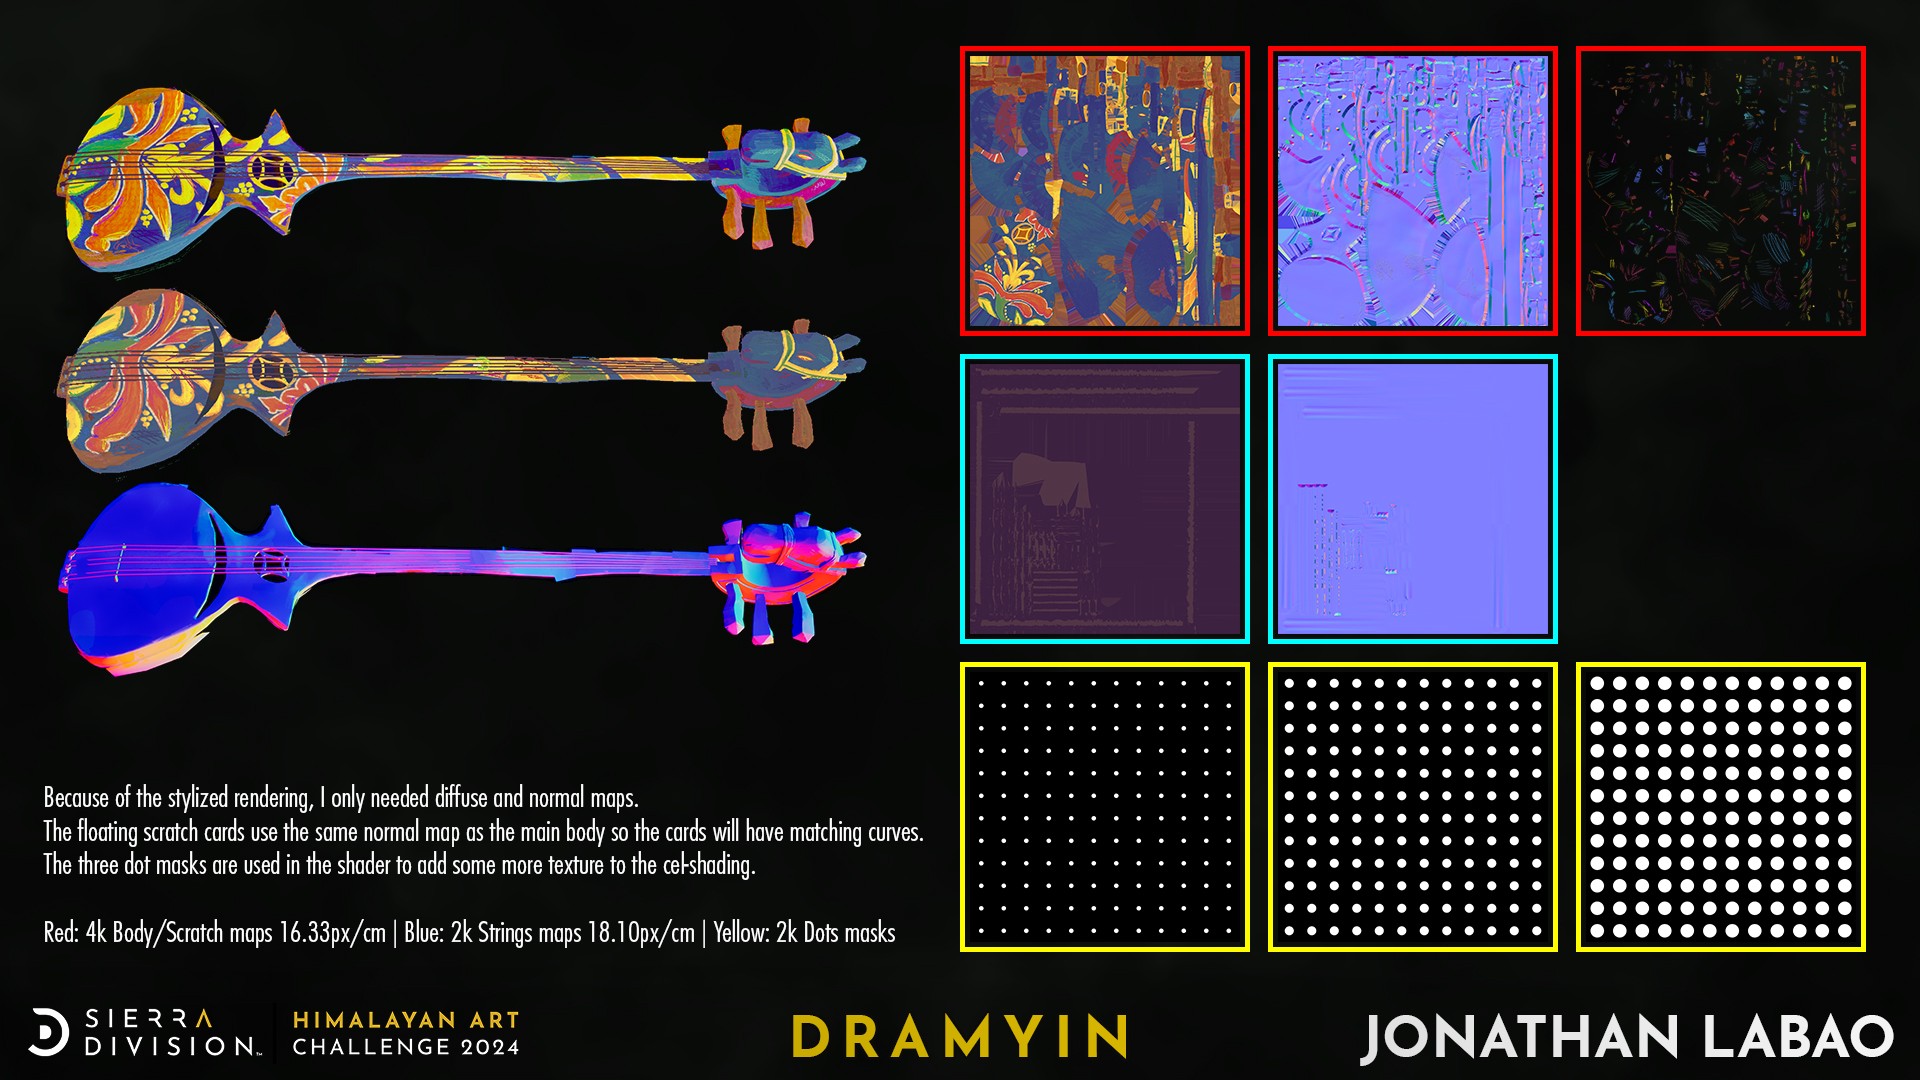
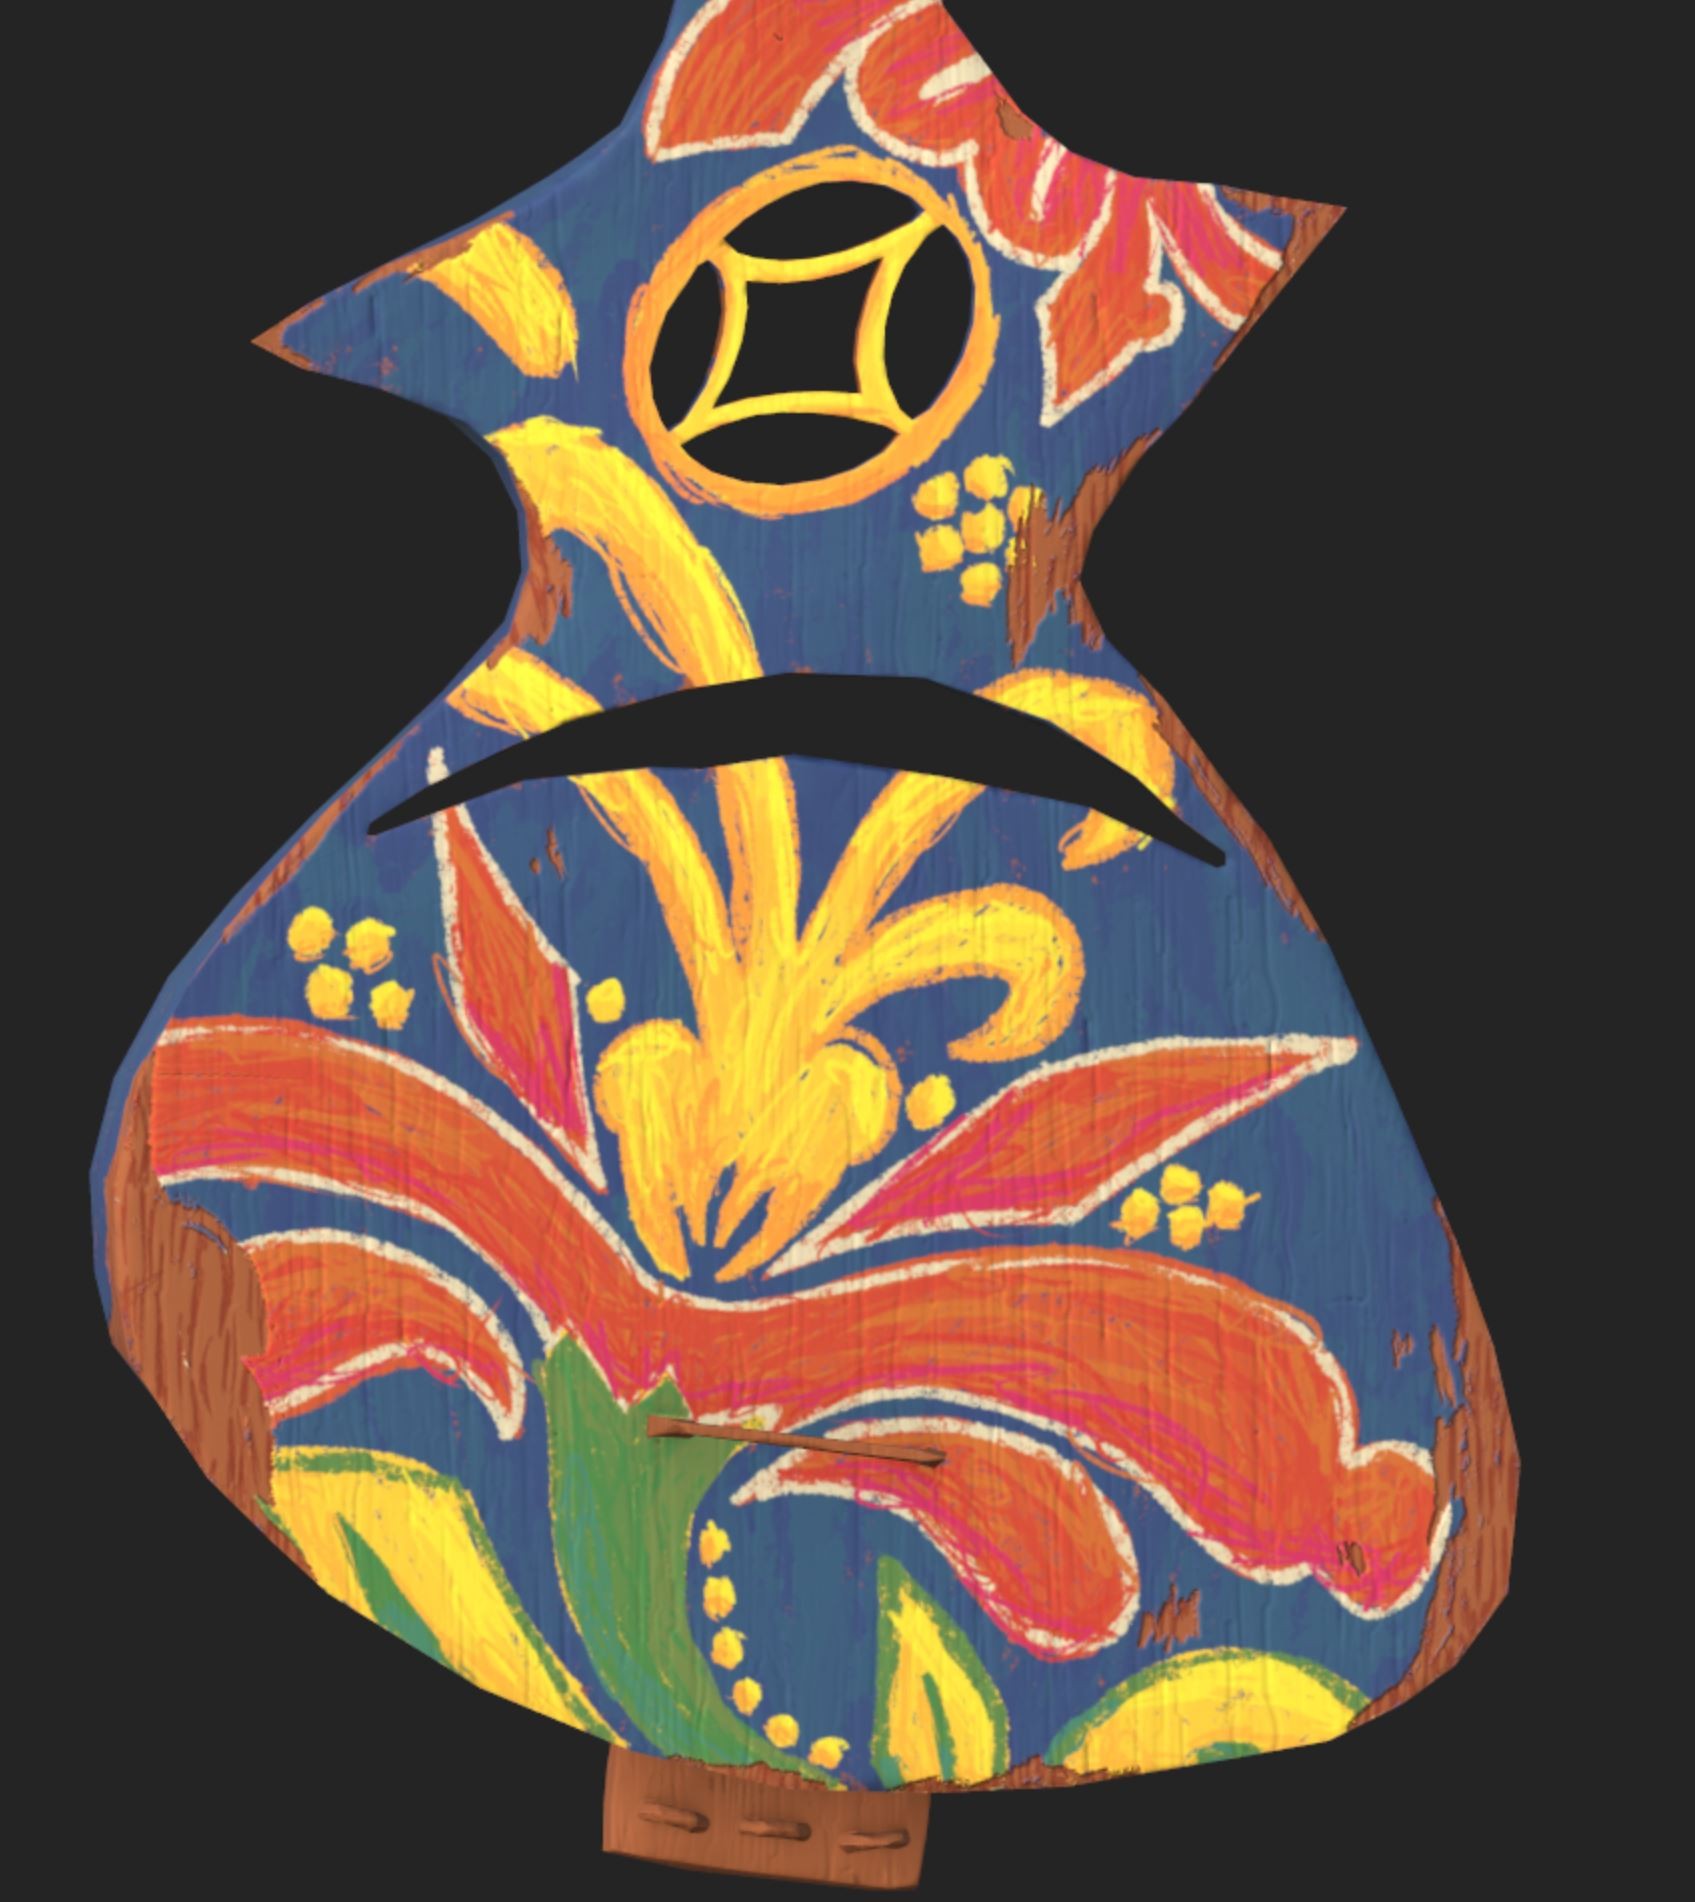
Here's a quick look at the handpainted wood texture I have. The first picture is of what it looks like when viewing the prop in its entirety and the second is what the texture looks like up close.
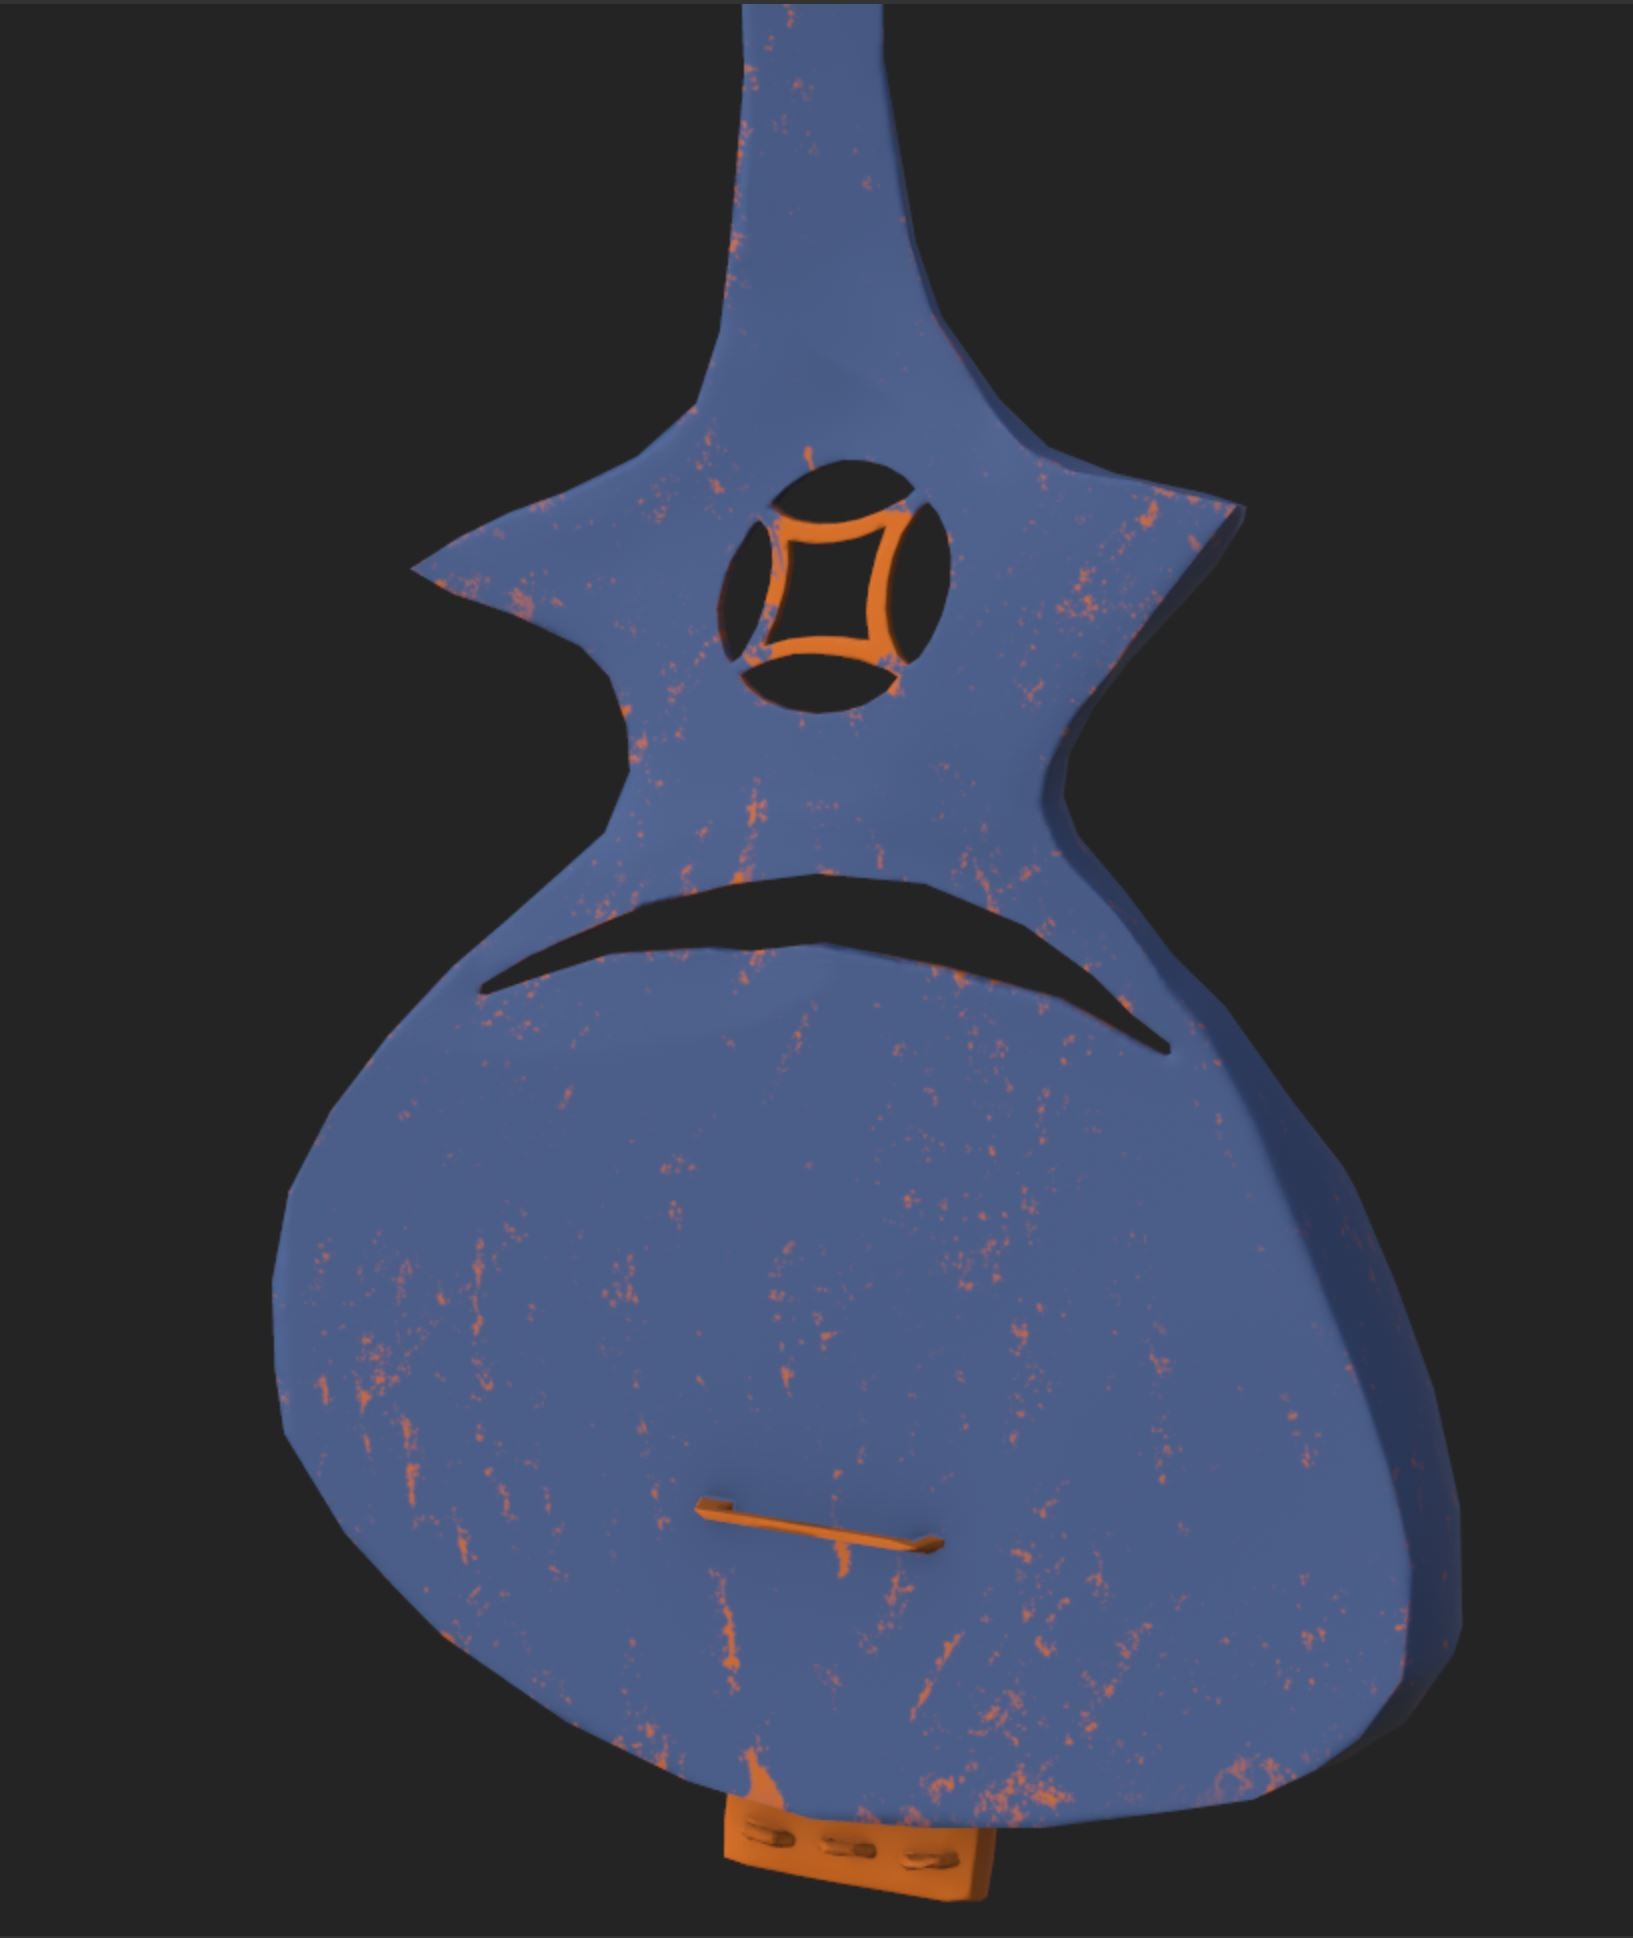
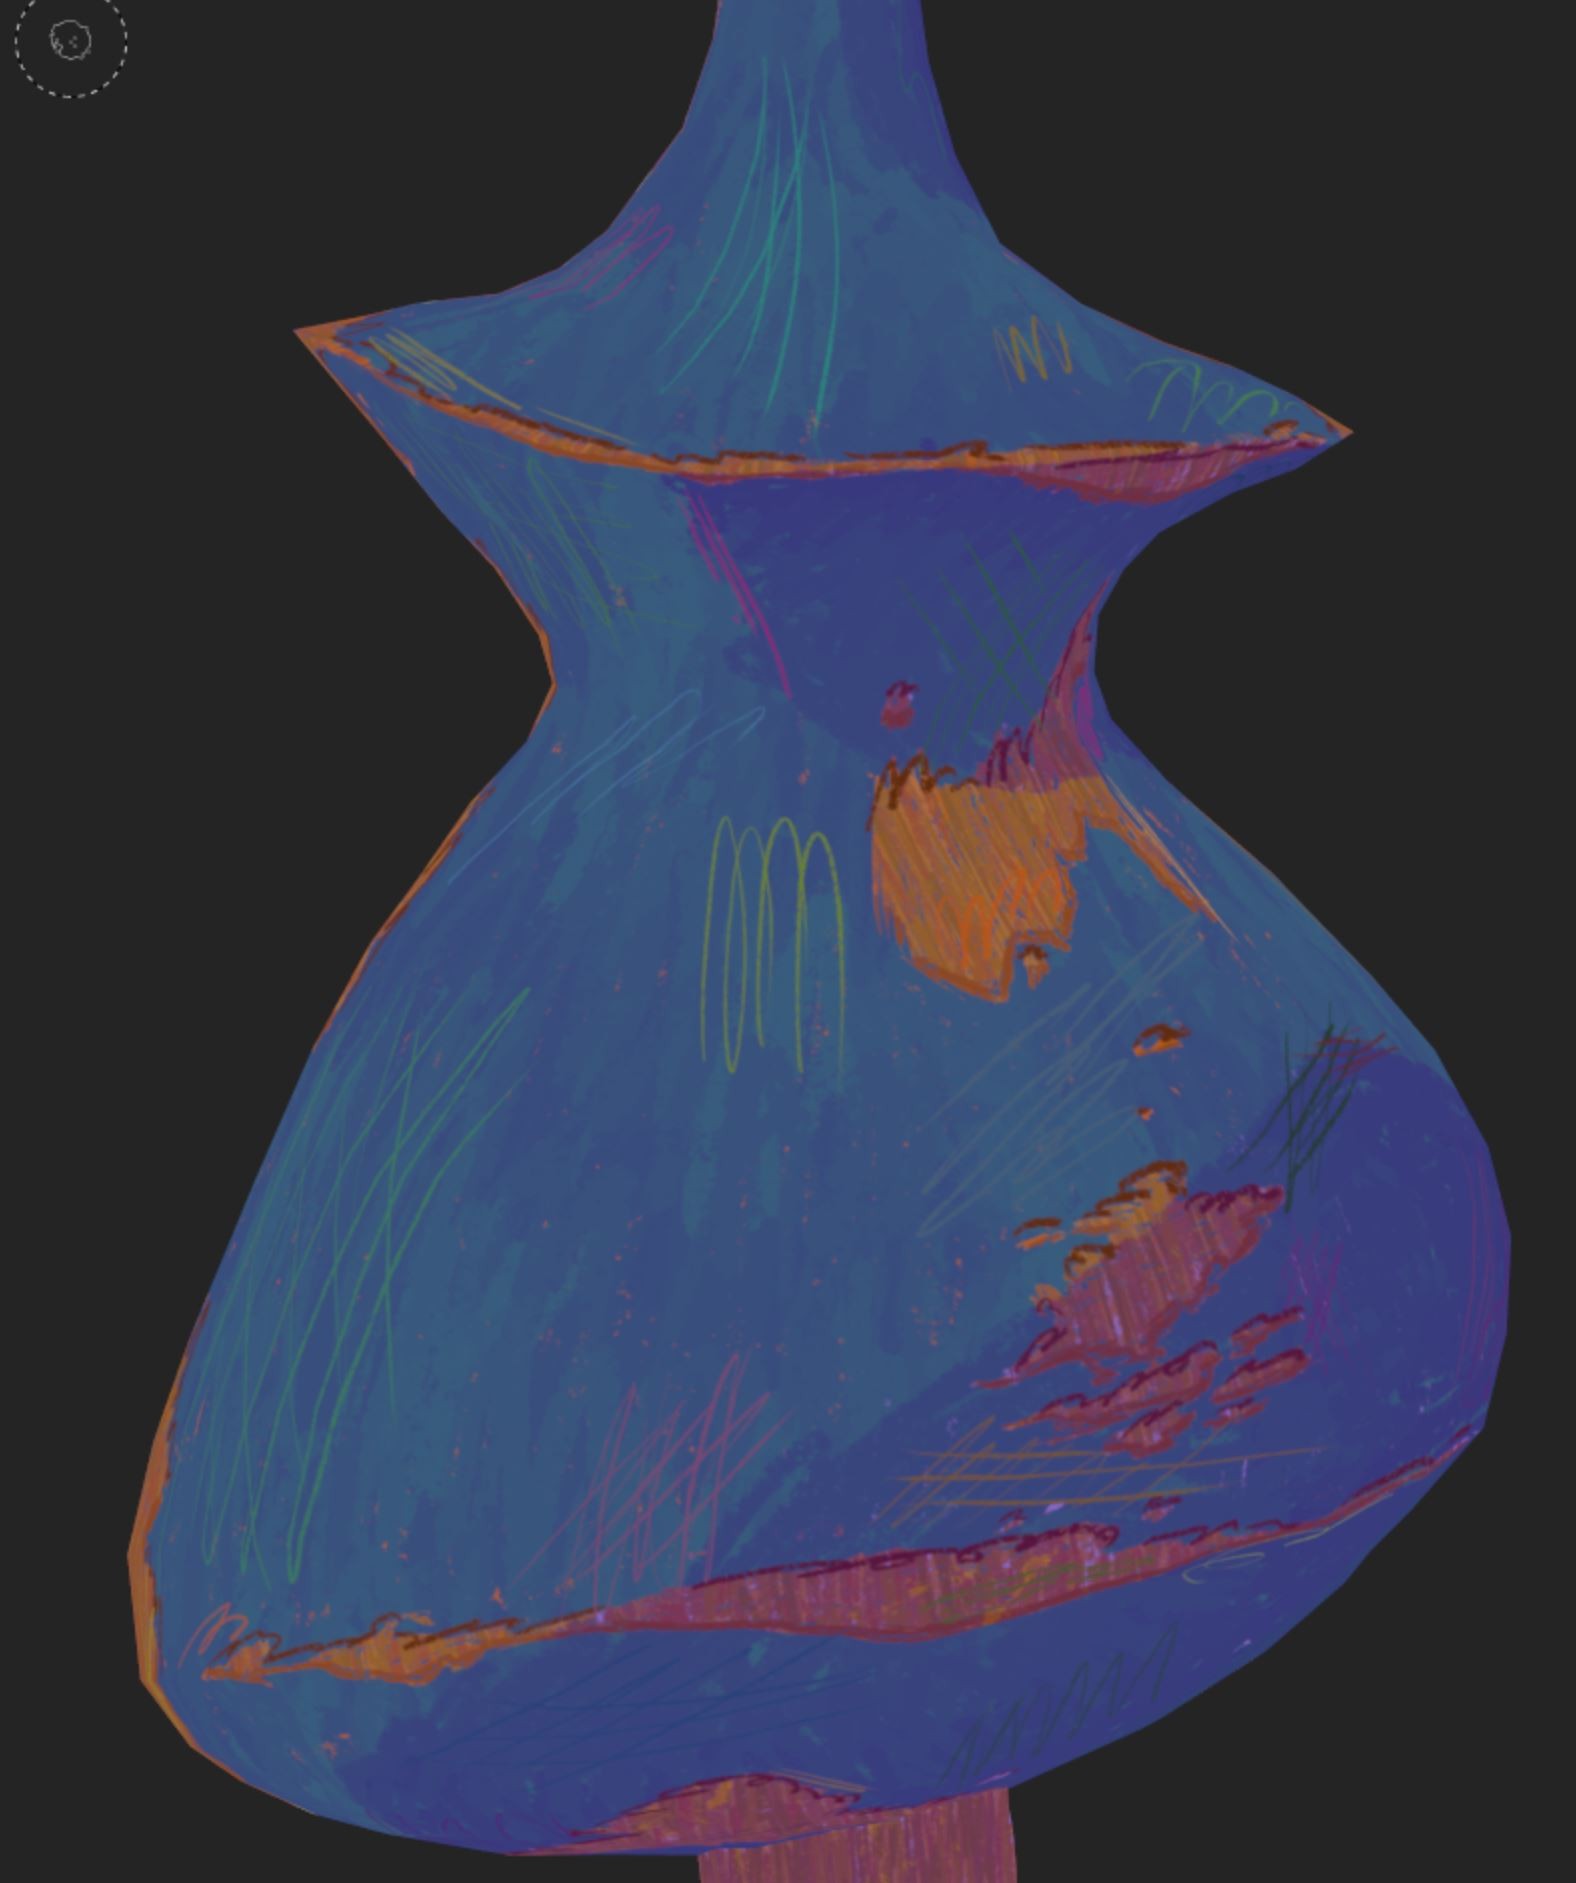
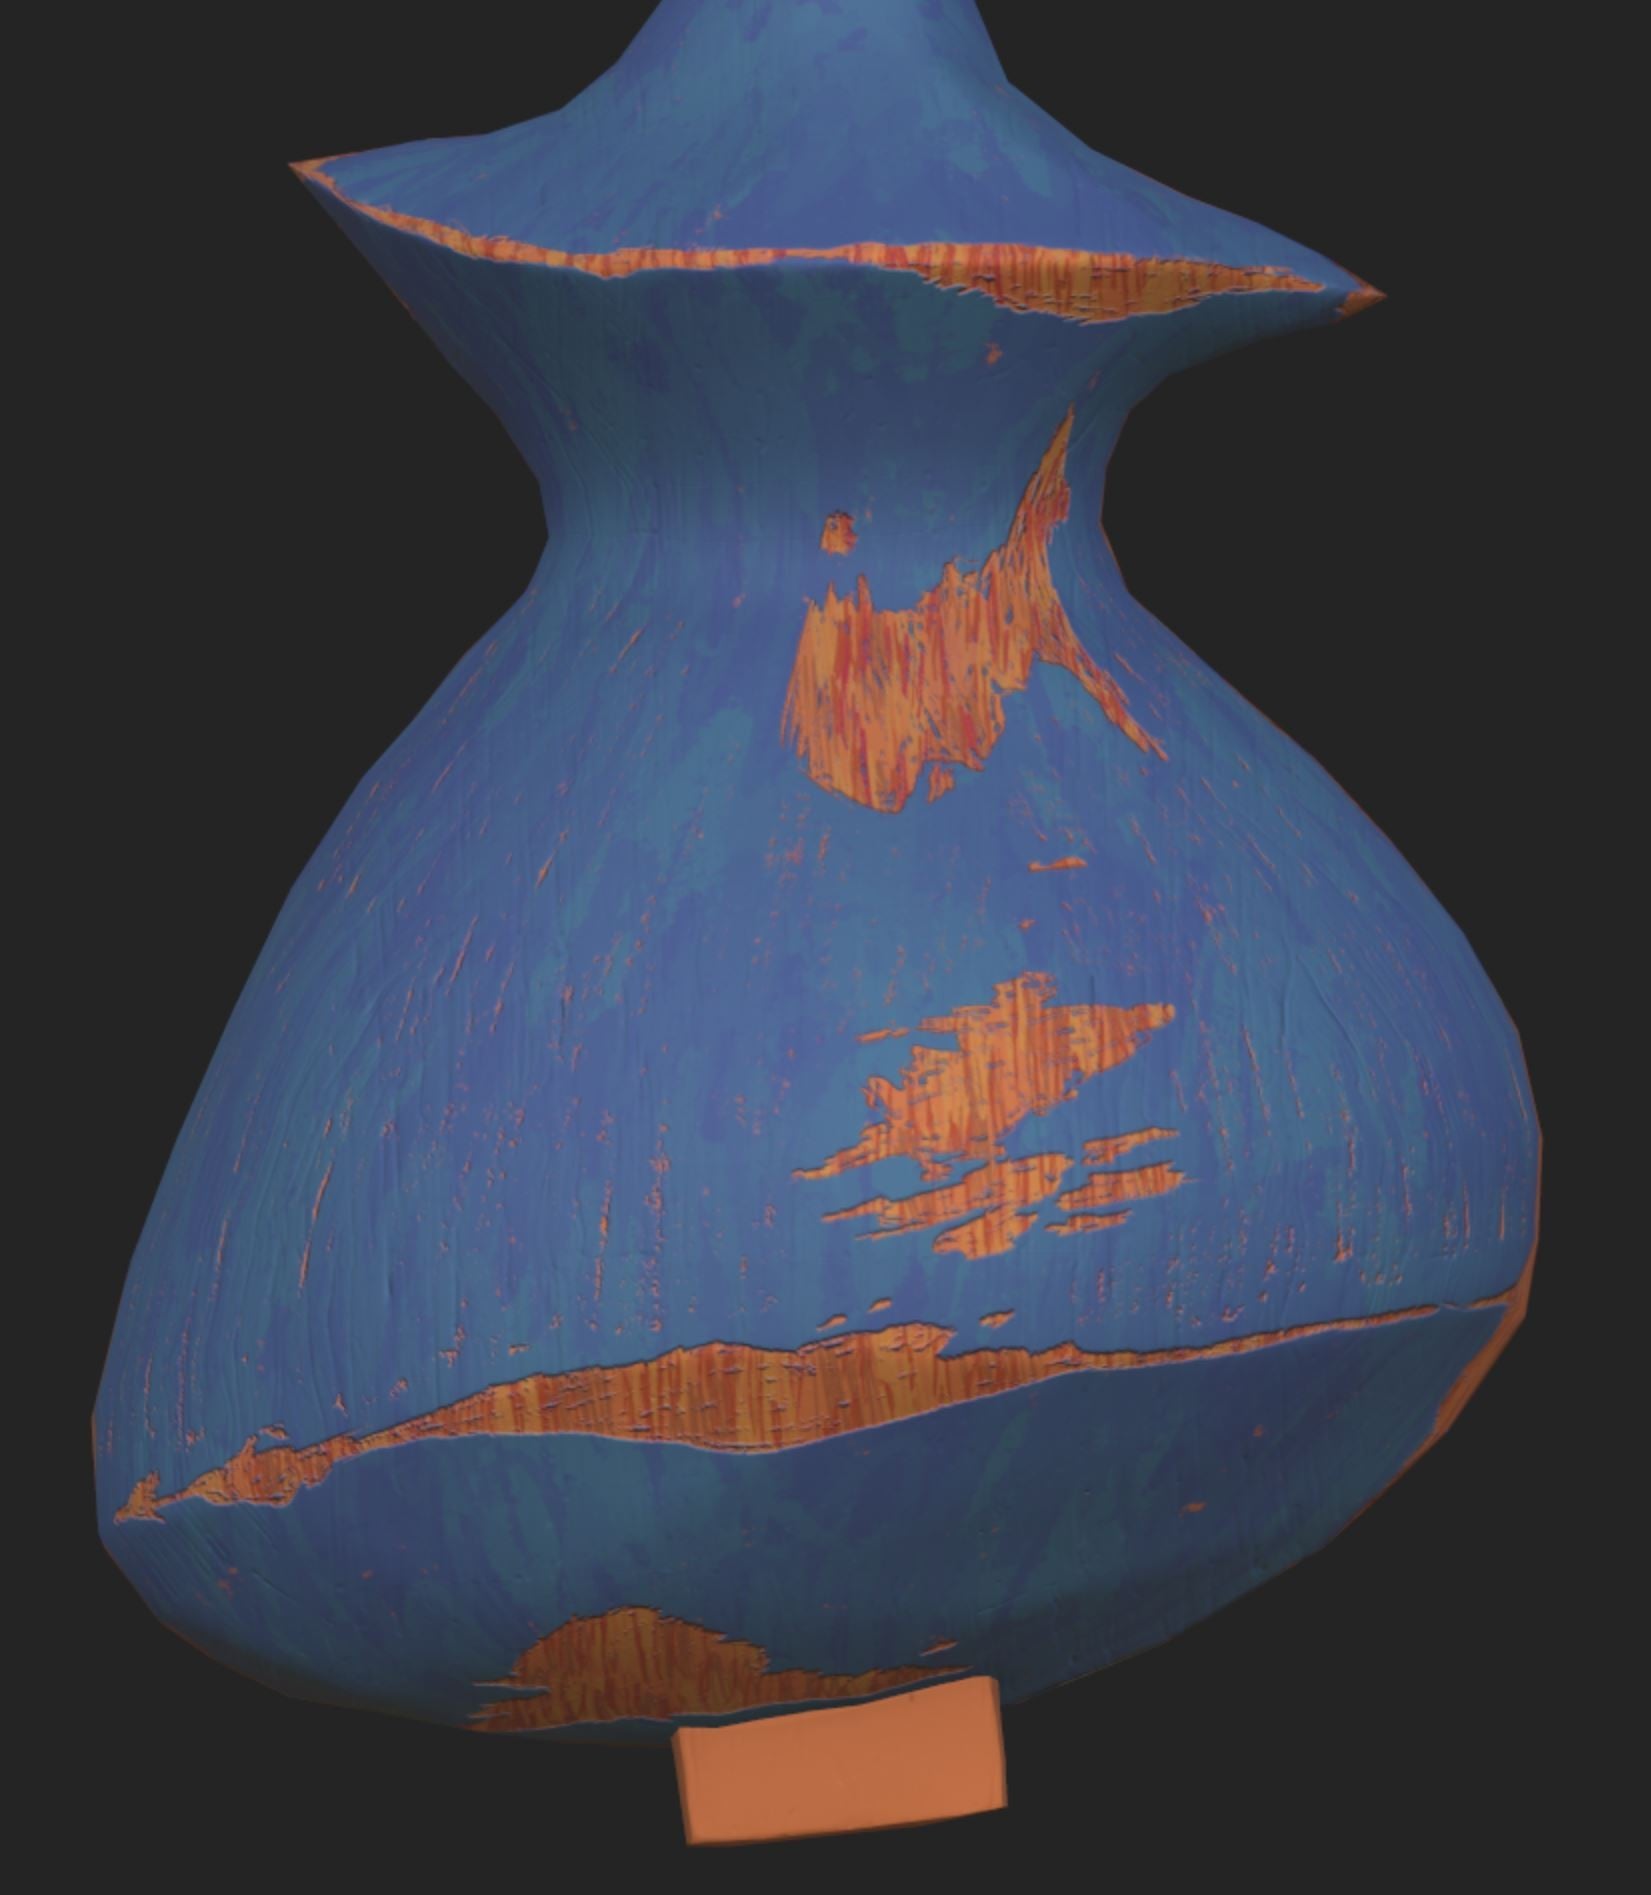
Been busy lately but here's a quick update where I've started playing around with "antiquing" the instrument by hand painting some damage in the paint to show the wood underneath.
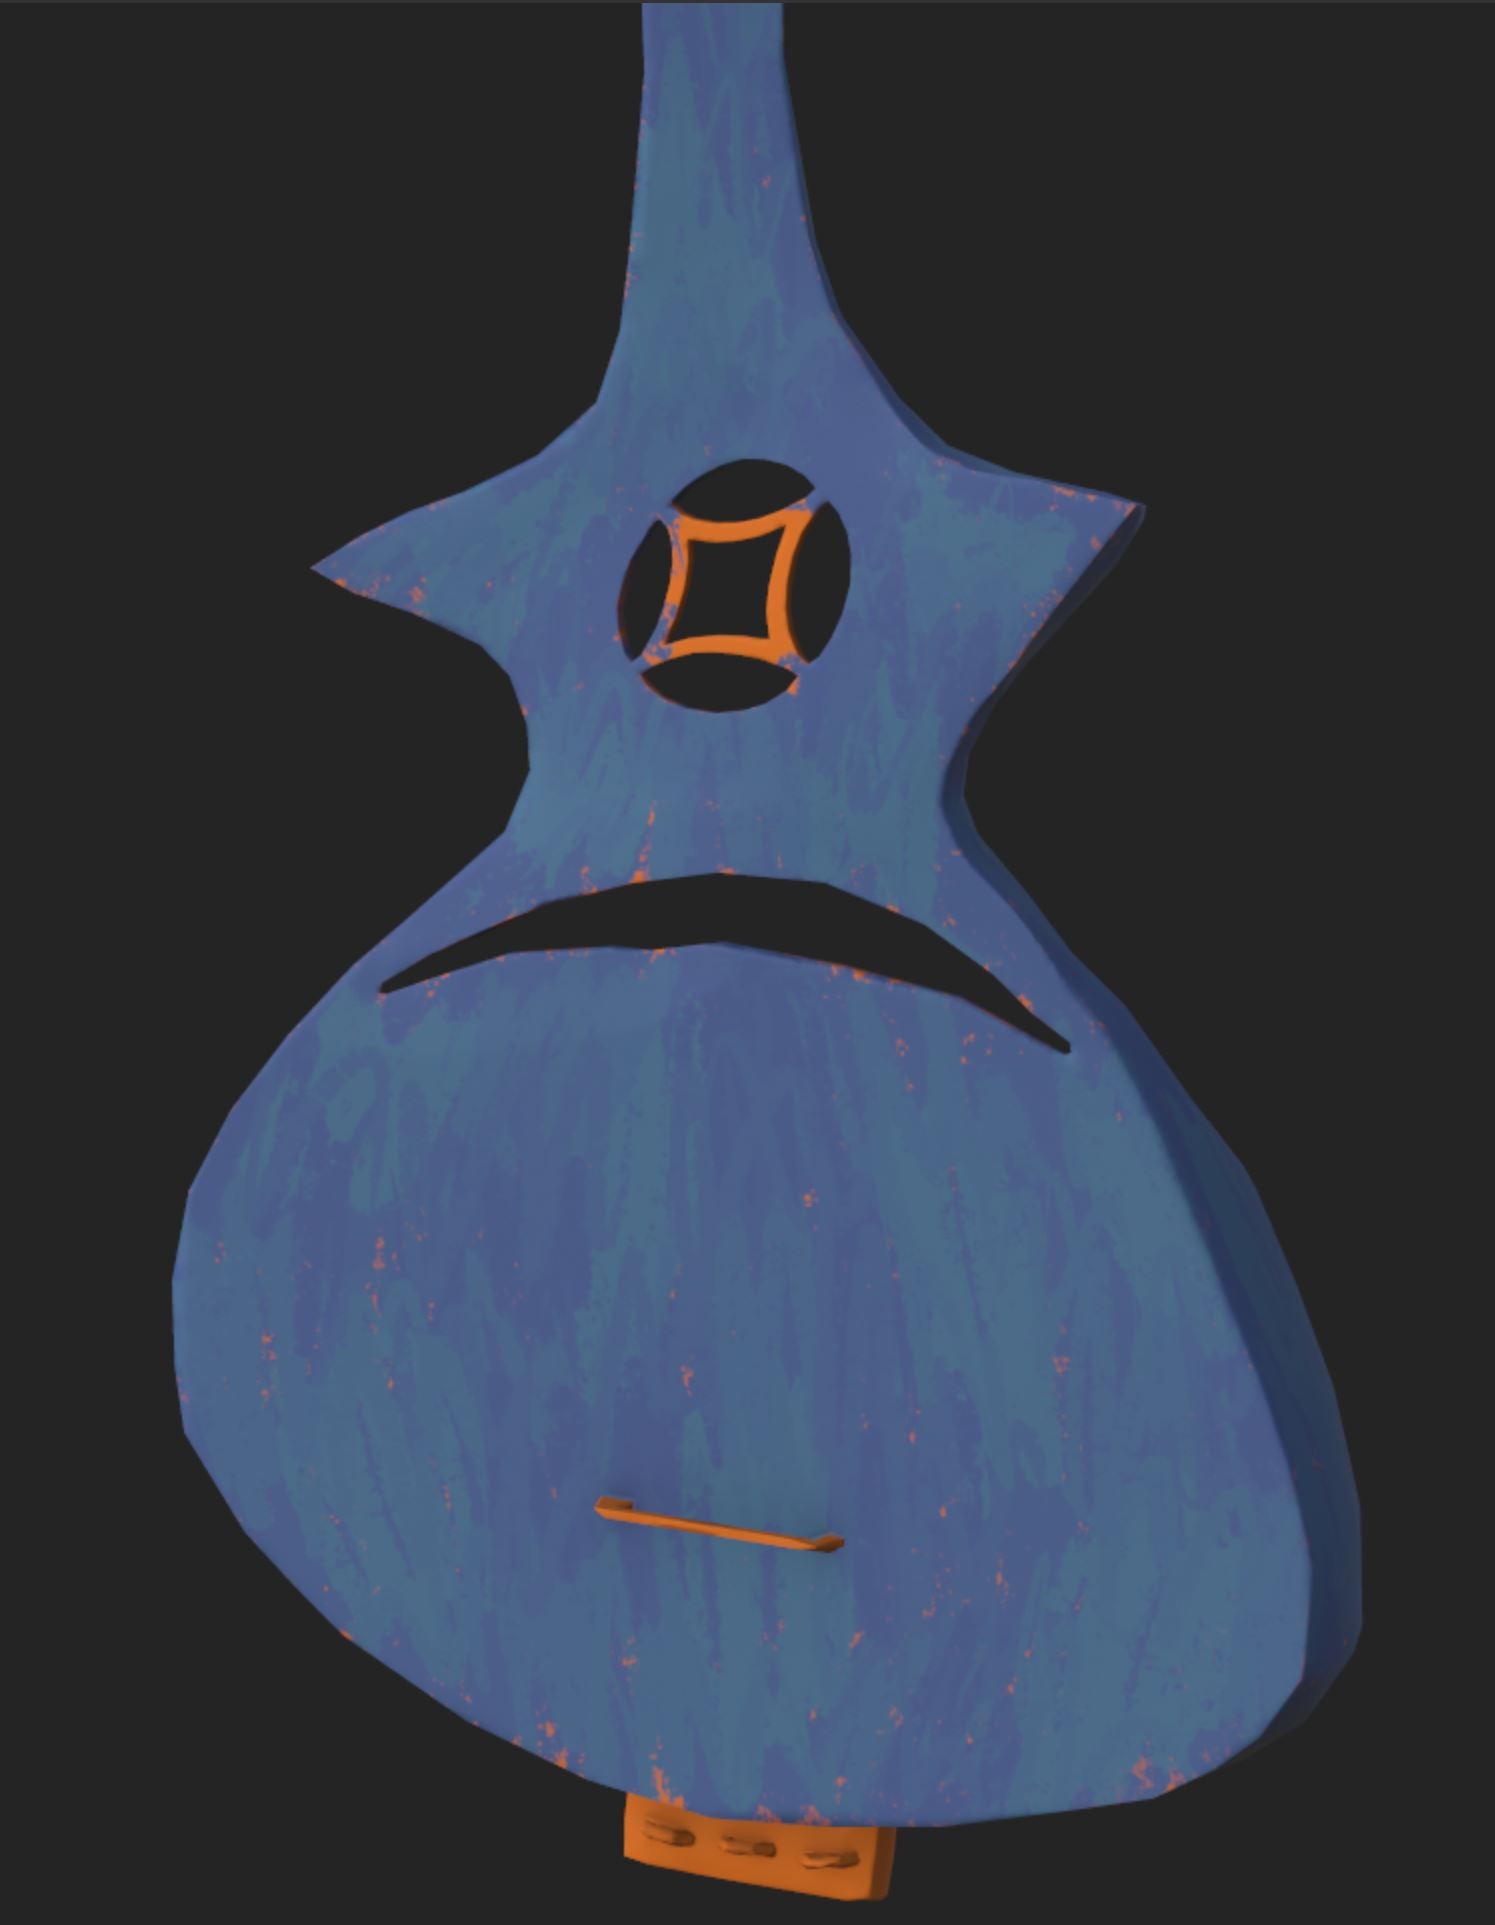
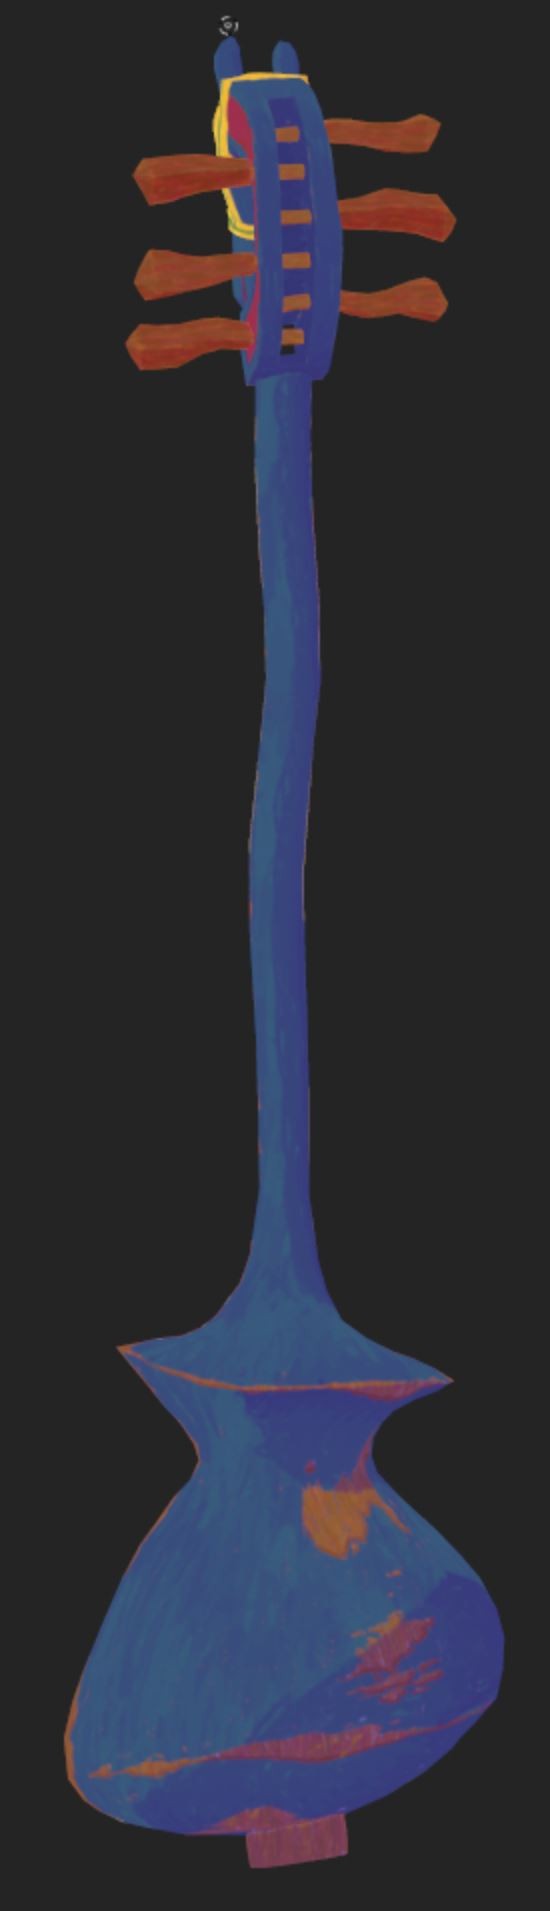
Started texturing today and here's a quick overview of my process so far. First I start with an underpaint in a color that contrasts what I'm going to paint on top:
Then I paint a very rough base coat on top:
Then I add some variation to the base coat:
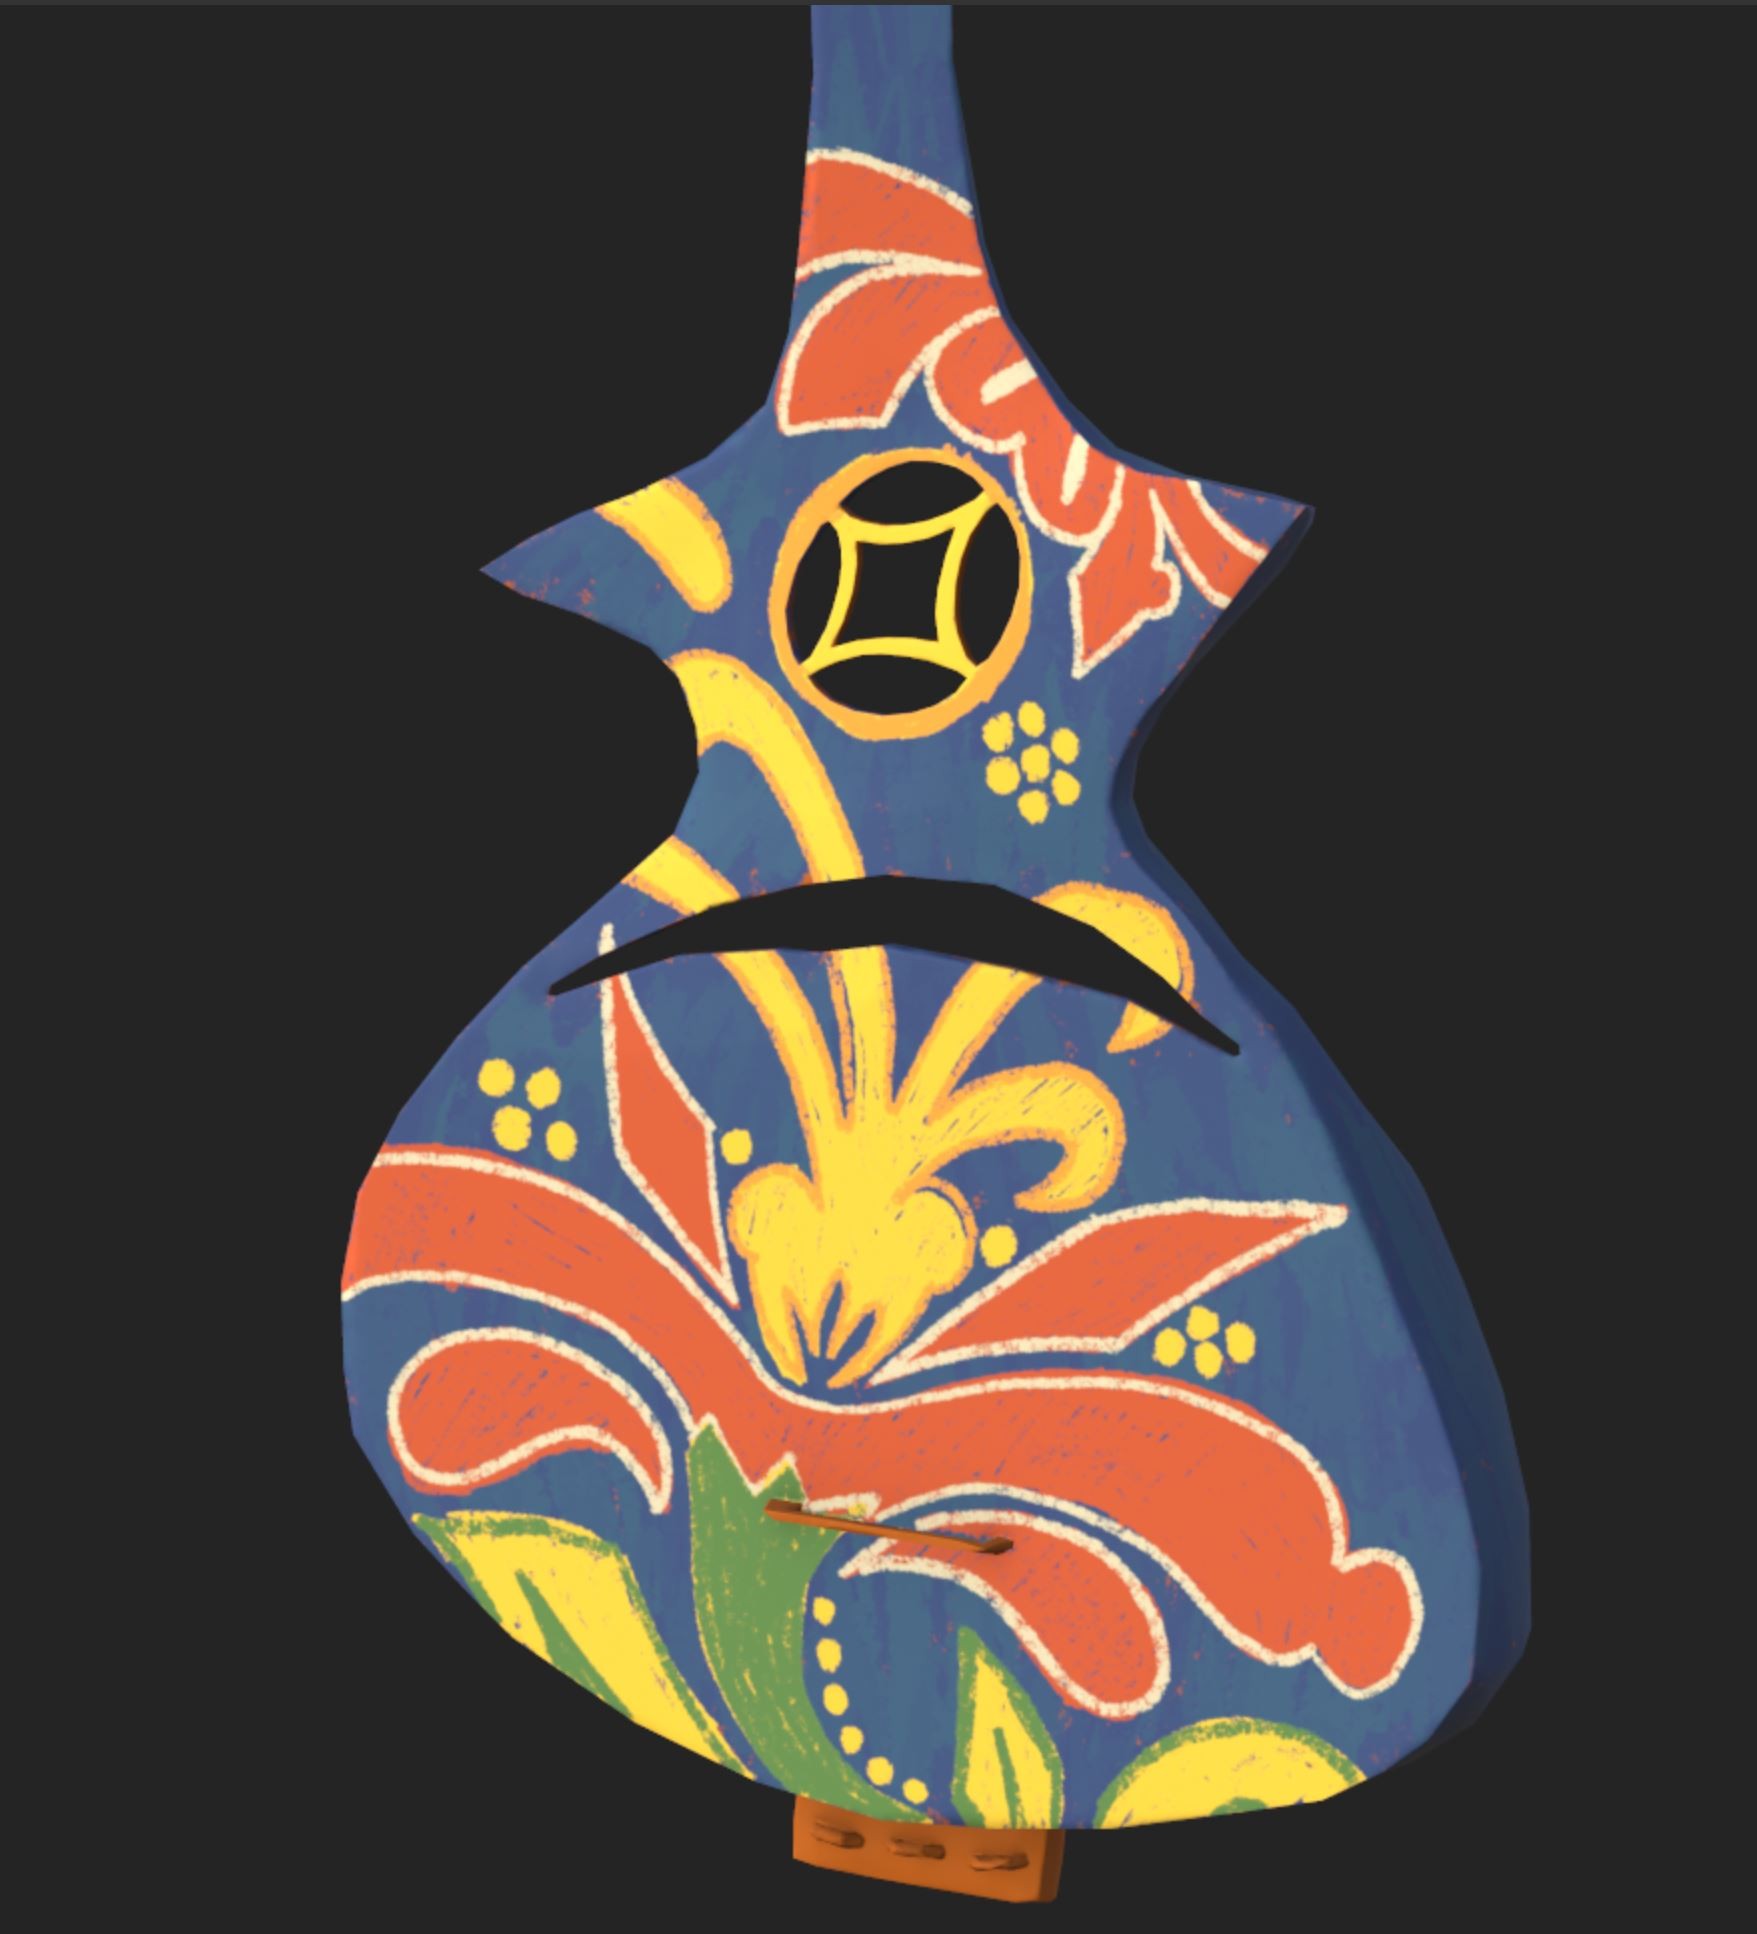
Next I paint the design I sketched out earlier:
And then I add some scratchy lines and colors on top of that:
There's still more to do but I more or less follow this and repeat throughout before I start painting in any shadows, reflections, highlights or dents. It's a lot of work for what I consider to be the foundation of the final texture but it's well worth it.
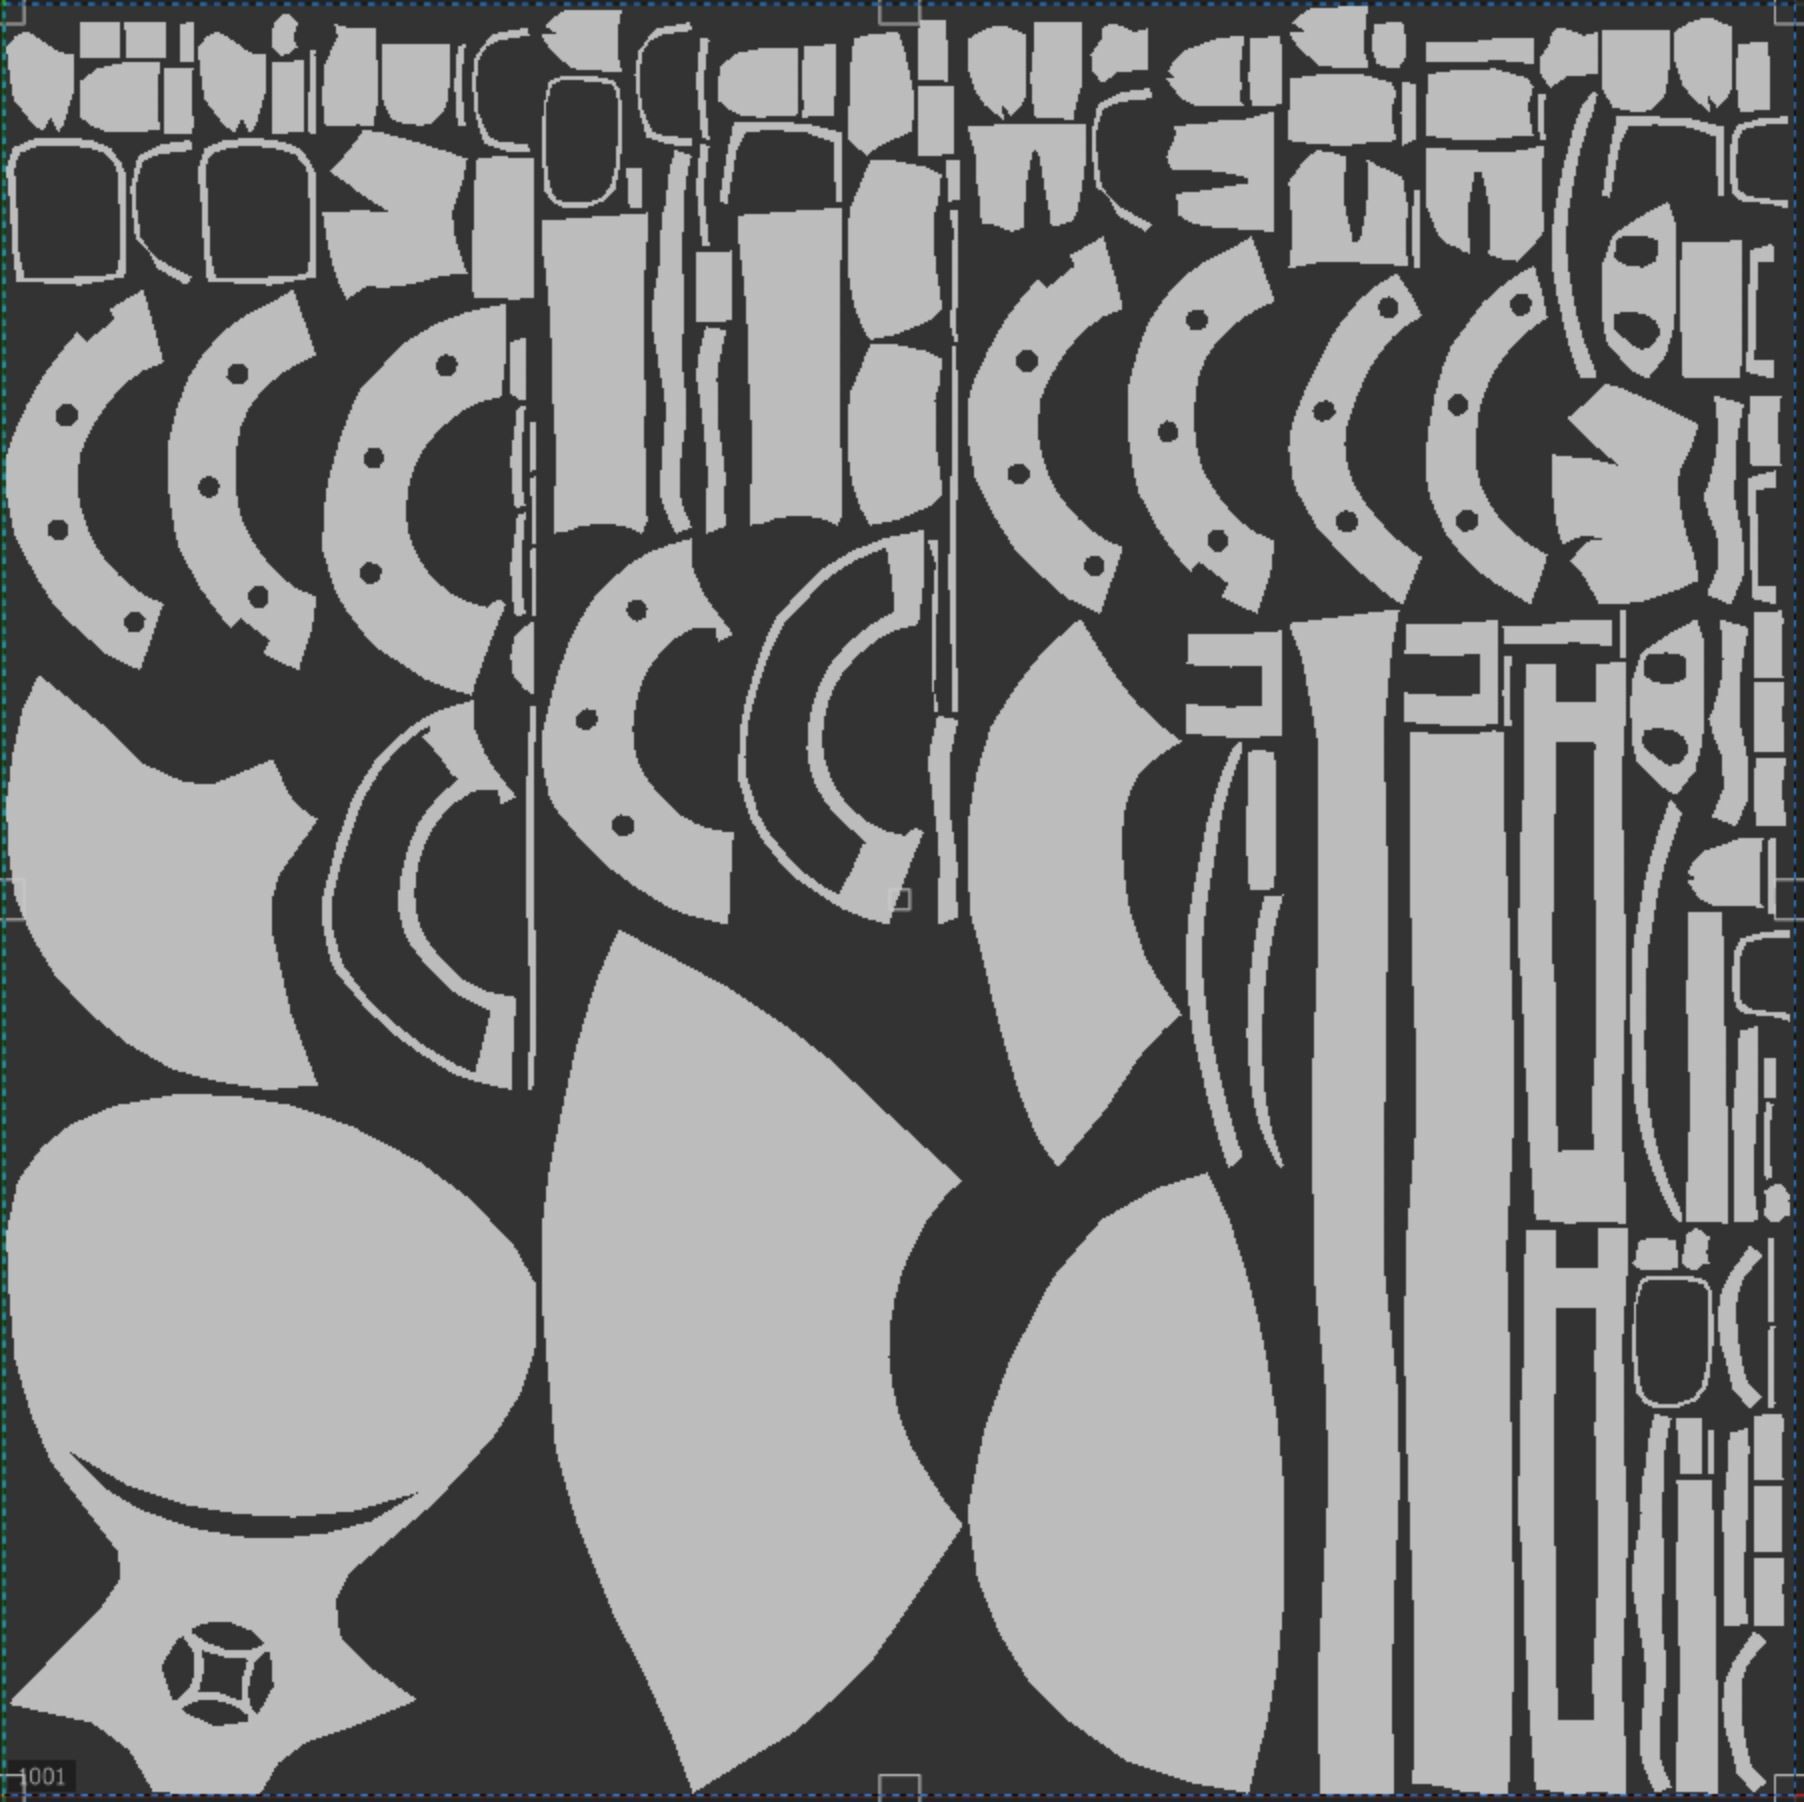
I forgot to post it earlier but here's what my UVs look like:
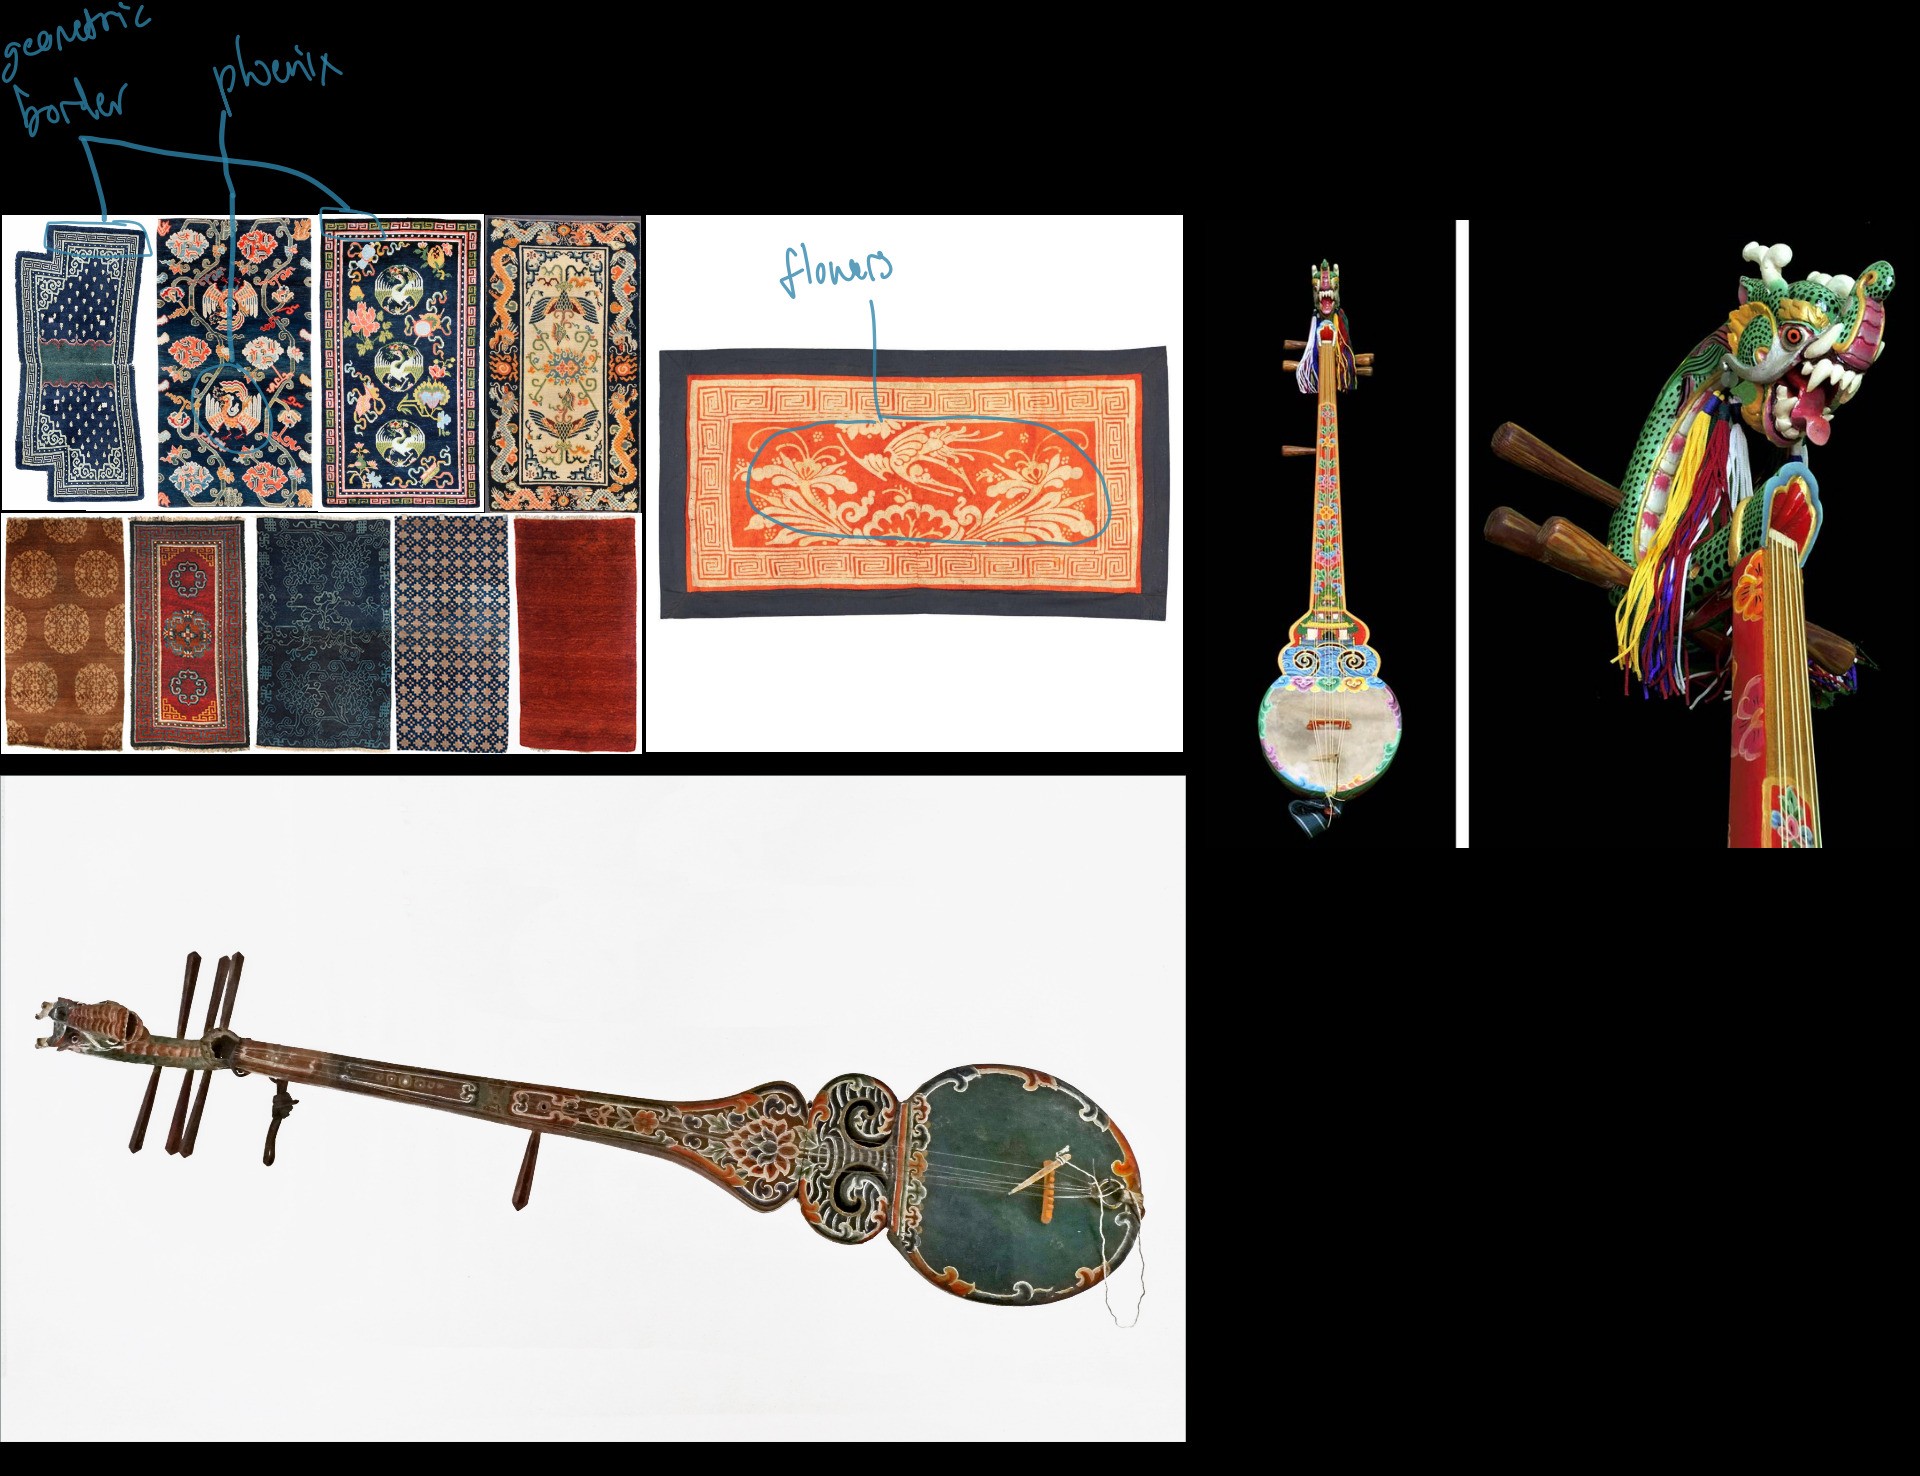
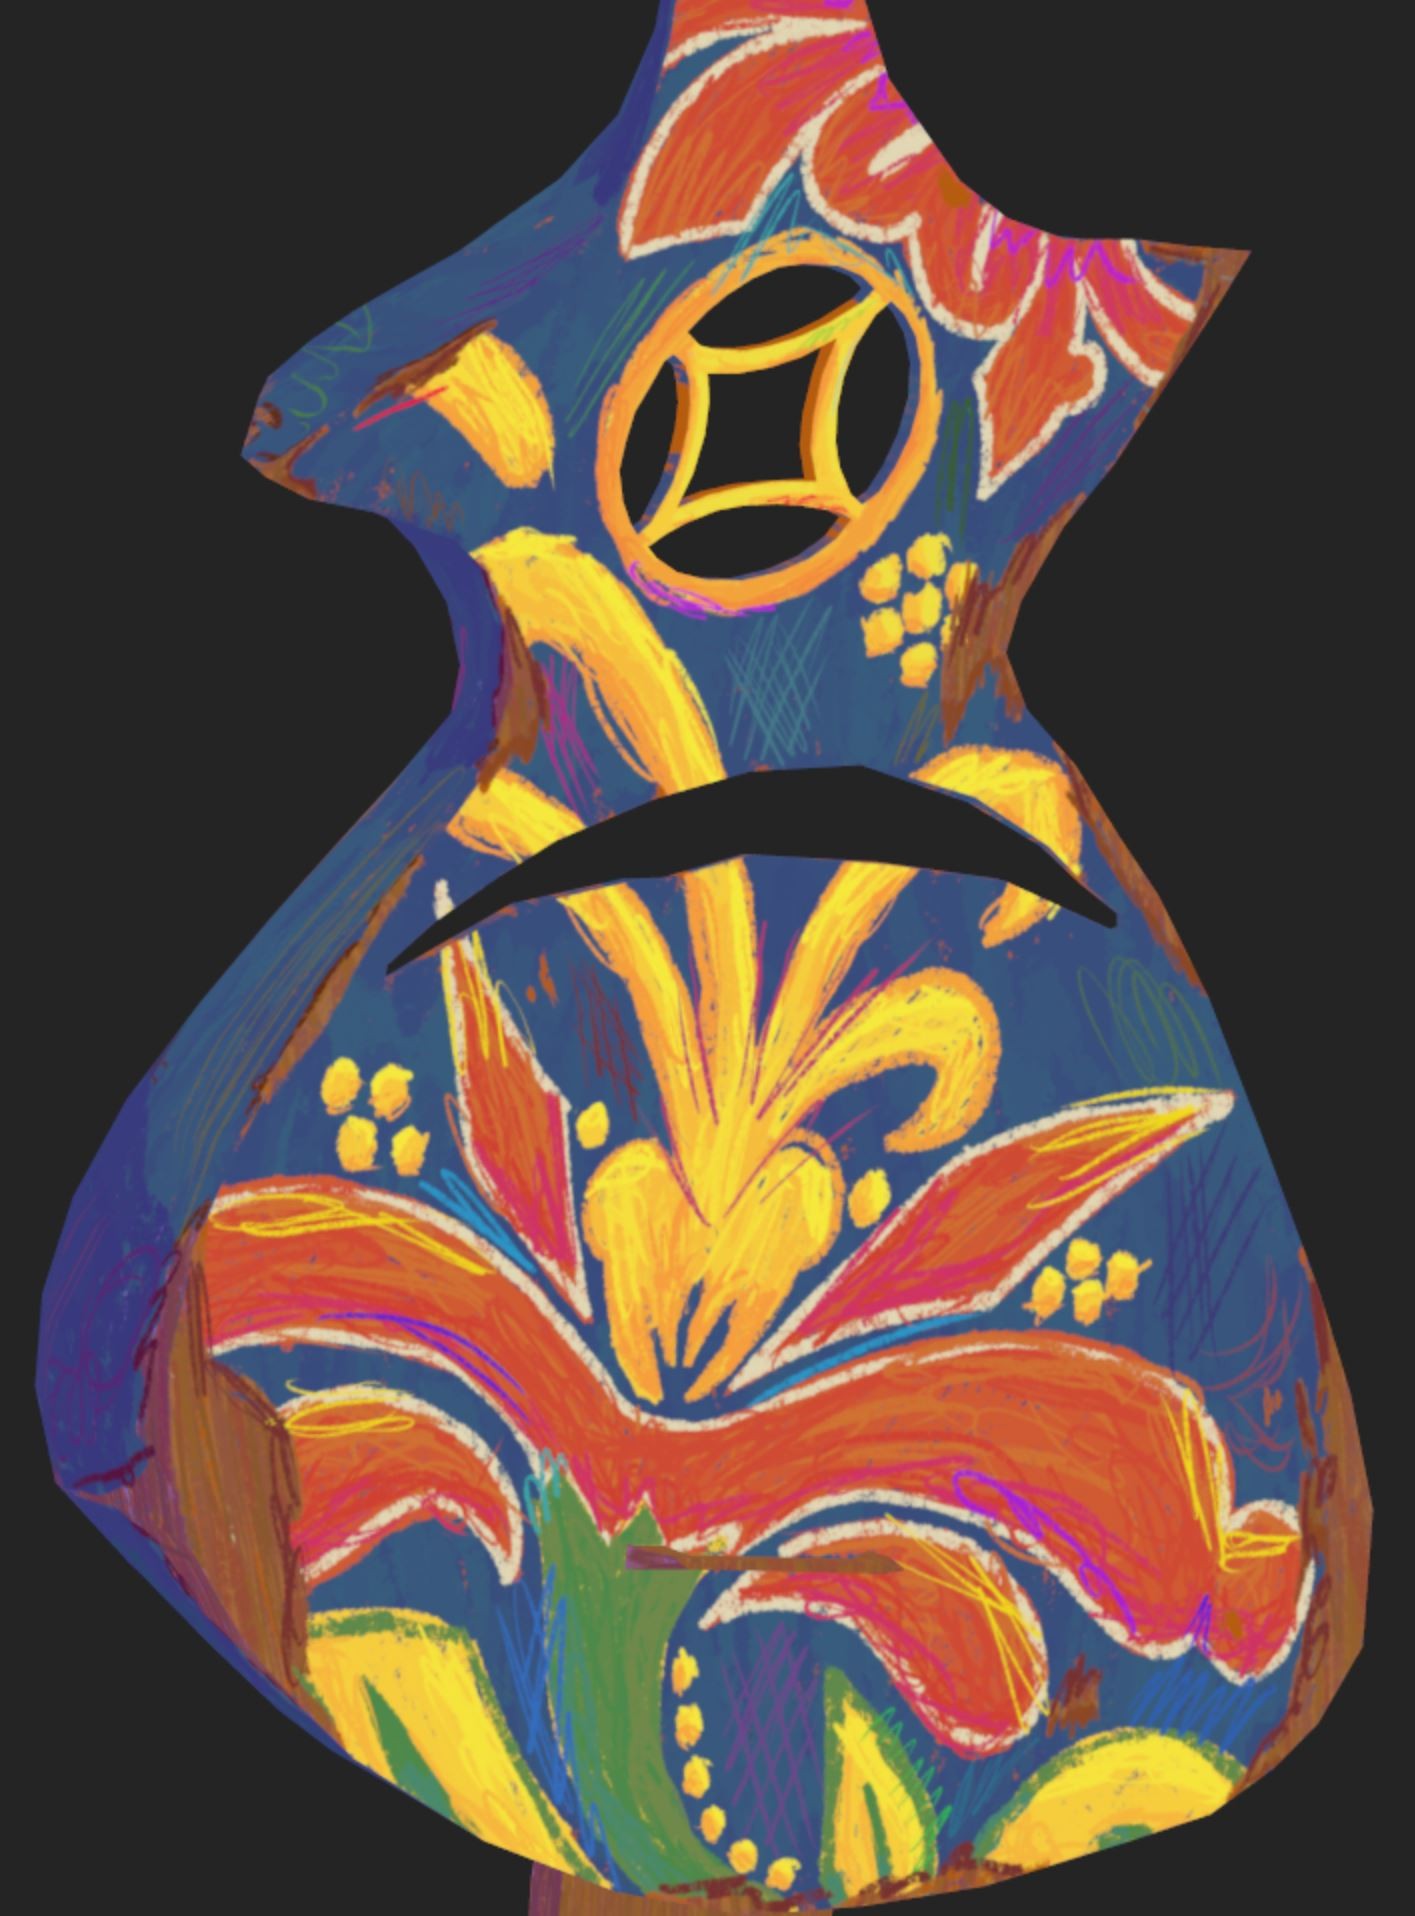
As for the actual texturing, like usual I start with a collection of references. When creating my design I wanted to bring in some more Tibetan art so I took inspiration from traditional textiles, particularly rugs.
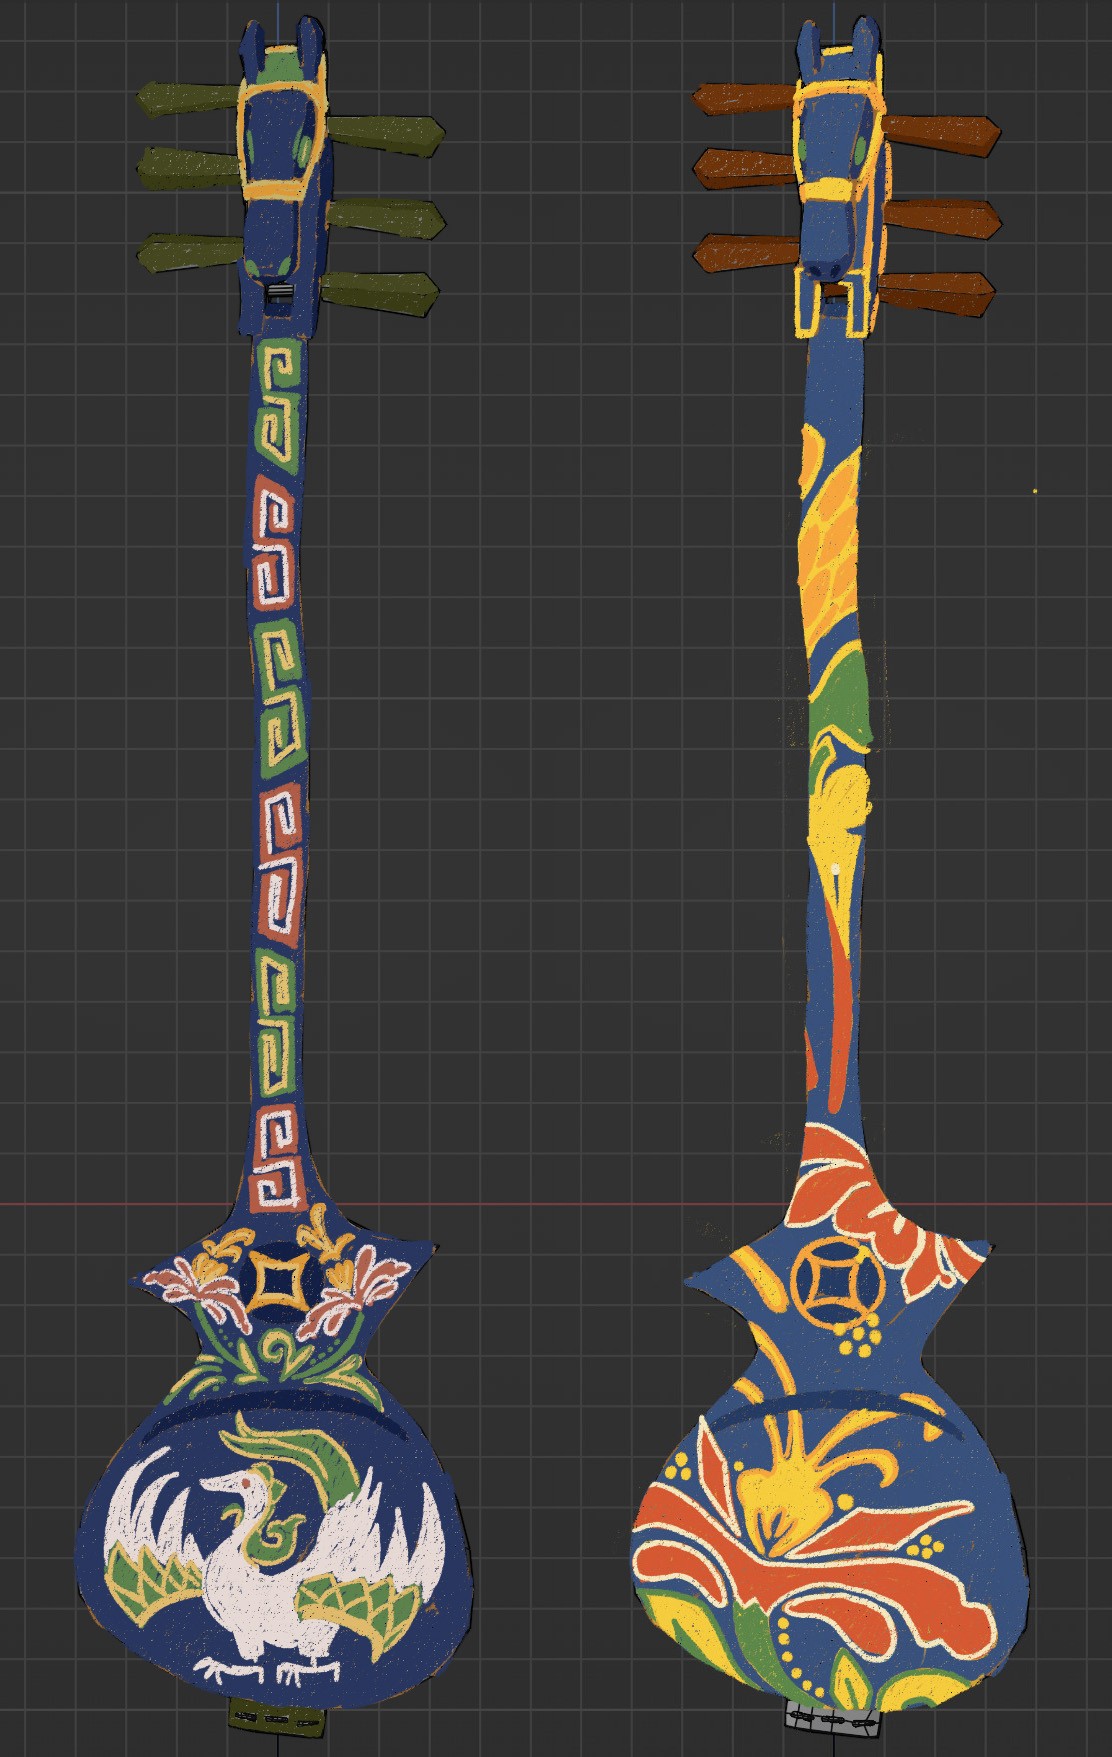
I've come up with two designs so far (which I've drawn up in Photoshop) using the color schemes of the rugs. The one on the left was my first attempt which mashed designs from various rugs together, while the one on the right primarily draws from the large flower rug.
I may try and come up with another design, but so far I like the one on the right. I also plan on adding some weathering where the wood underneath will show through, but before I get to that I'll have to finalize my design first.
After UVing the model I brought it into substance painter for baking when I noticed these artifacts:
I added some more topology specifically for the grooves which thankfully fixed the issue:
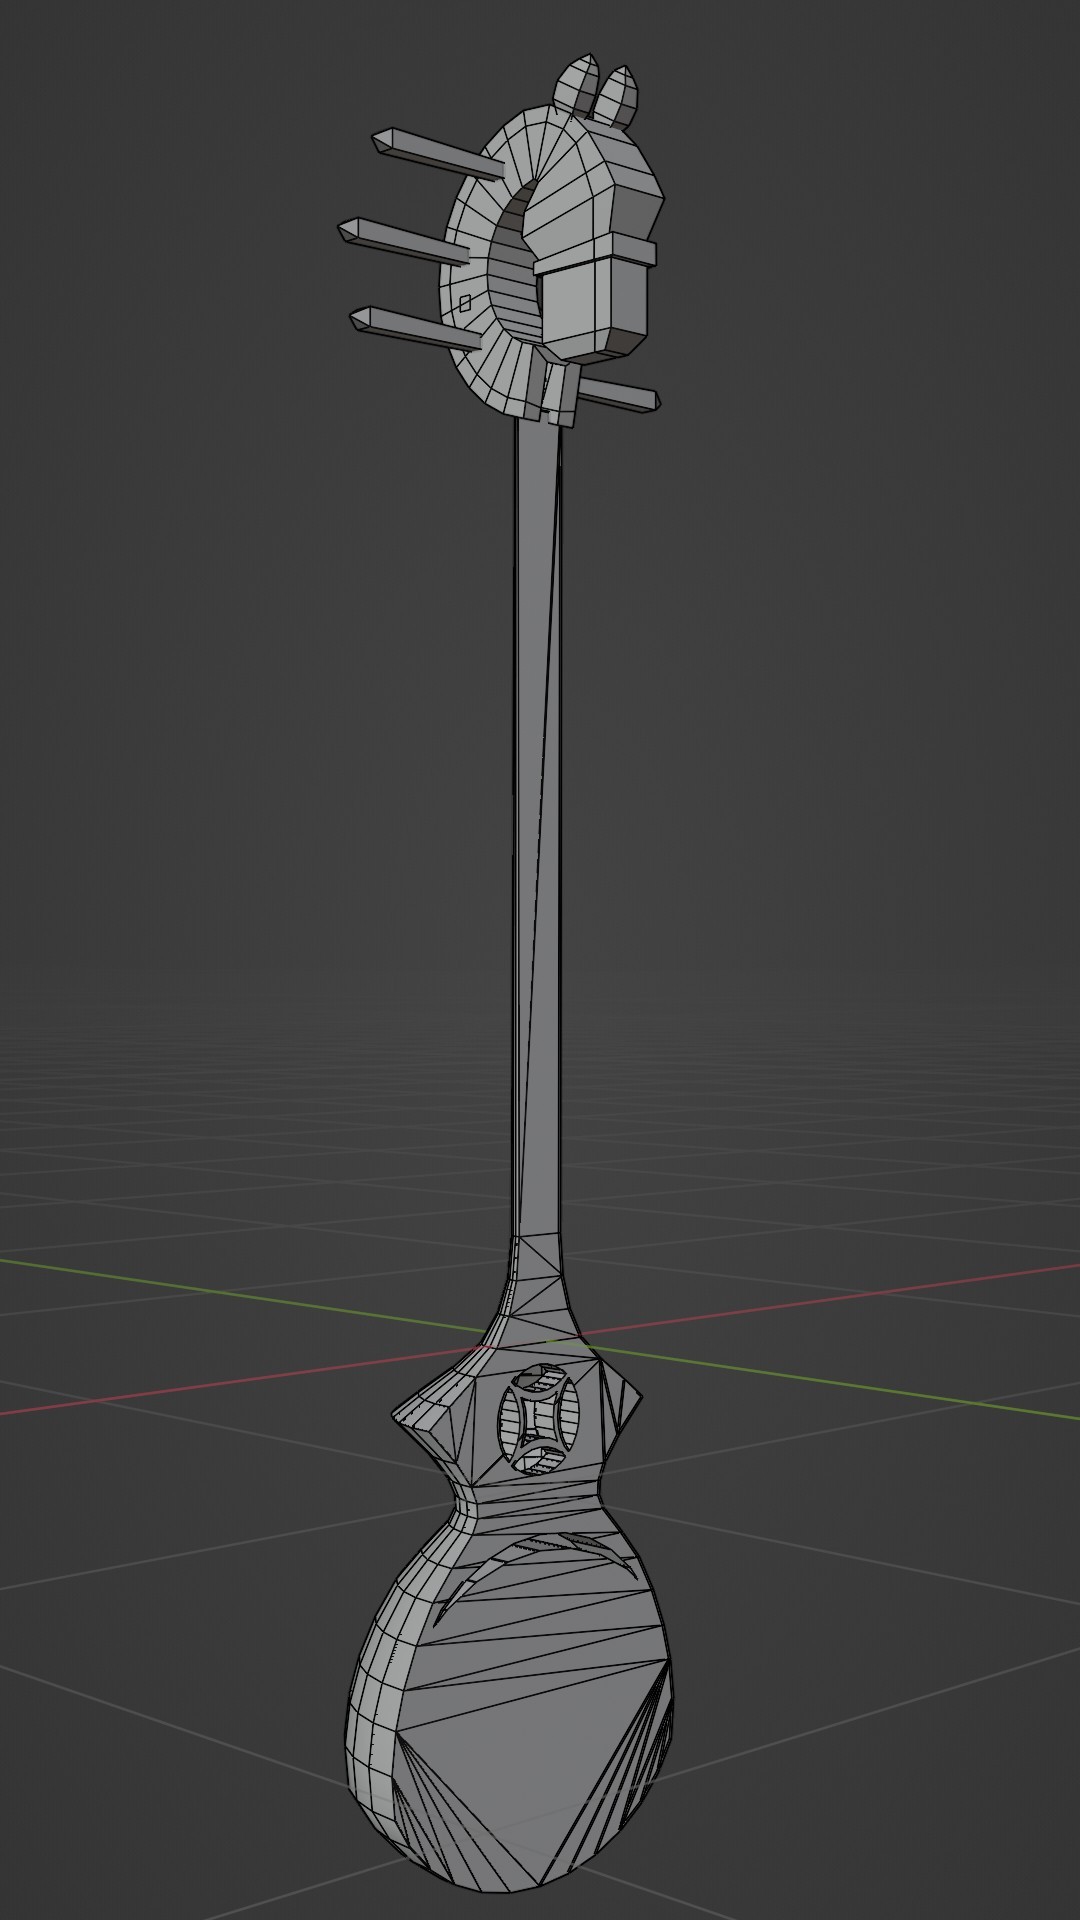
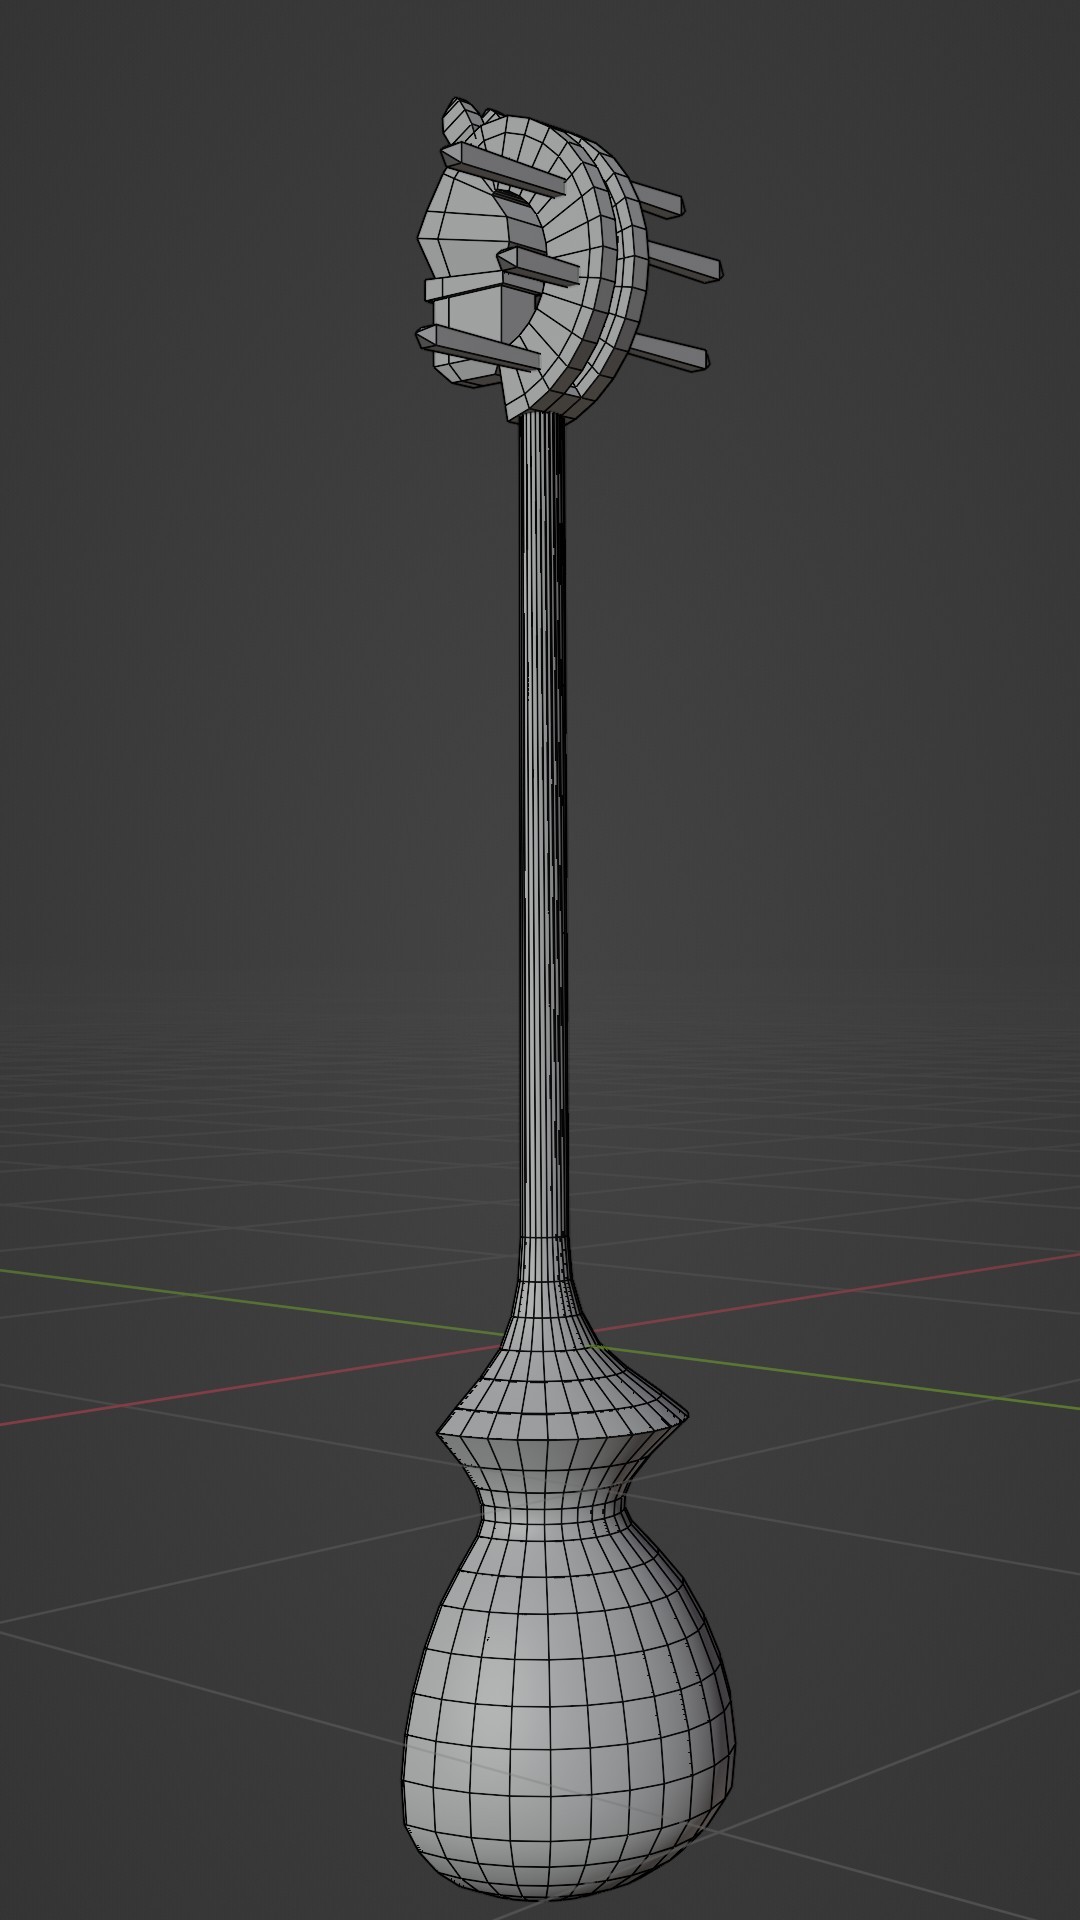
After getting some feedback, I retopologized the sculpt again but got it down to 3.2k this time.
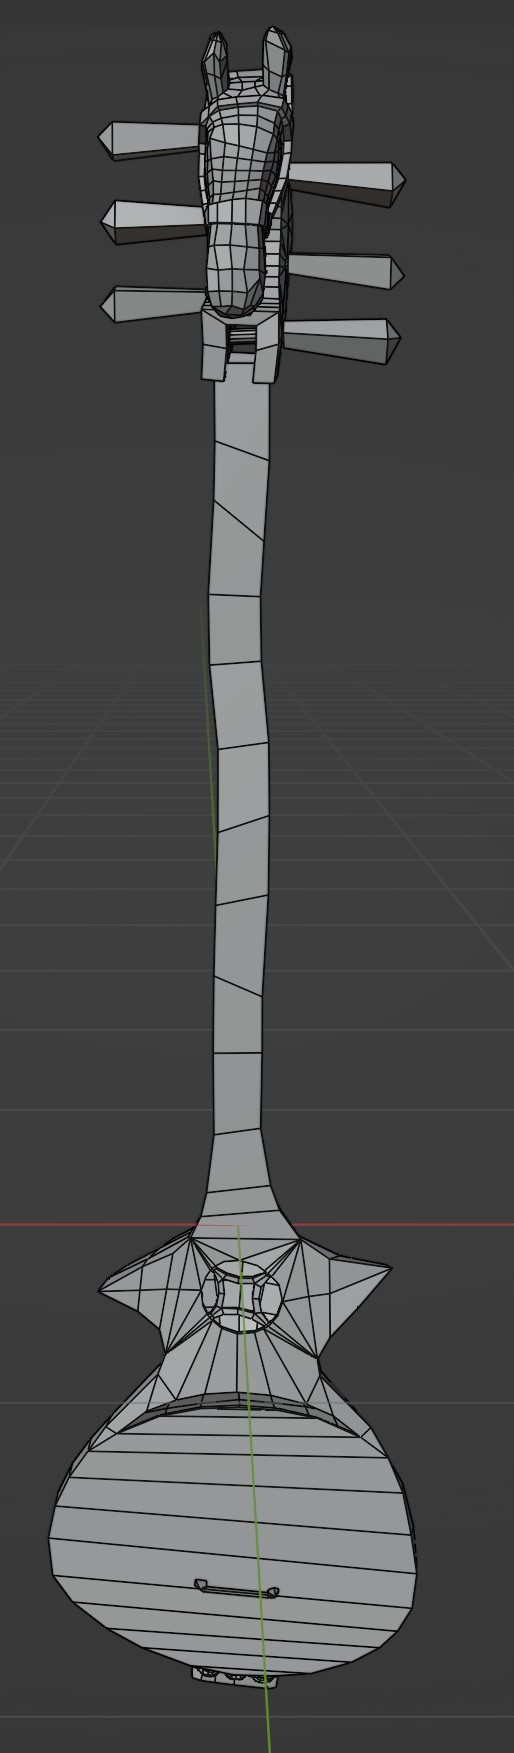
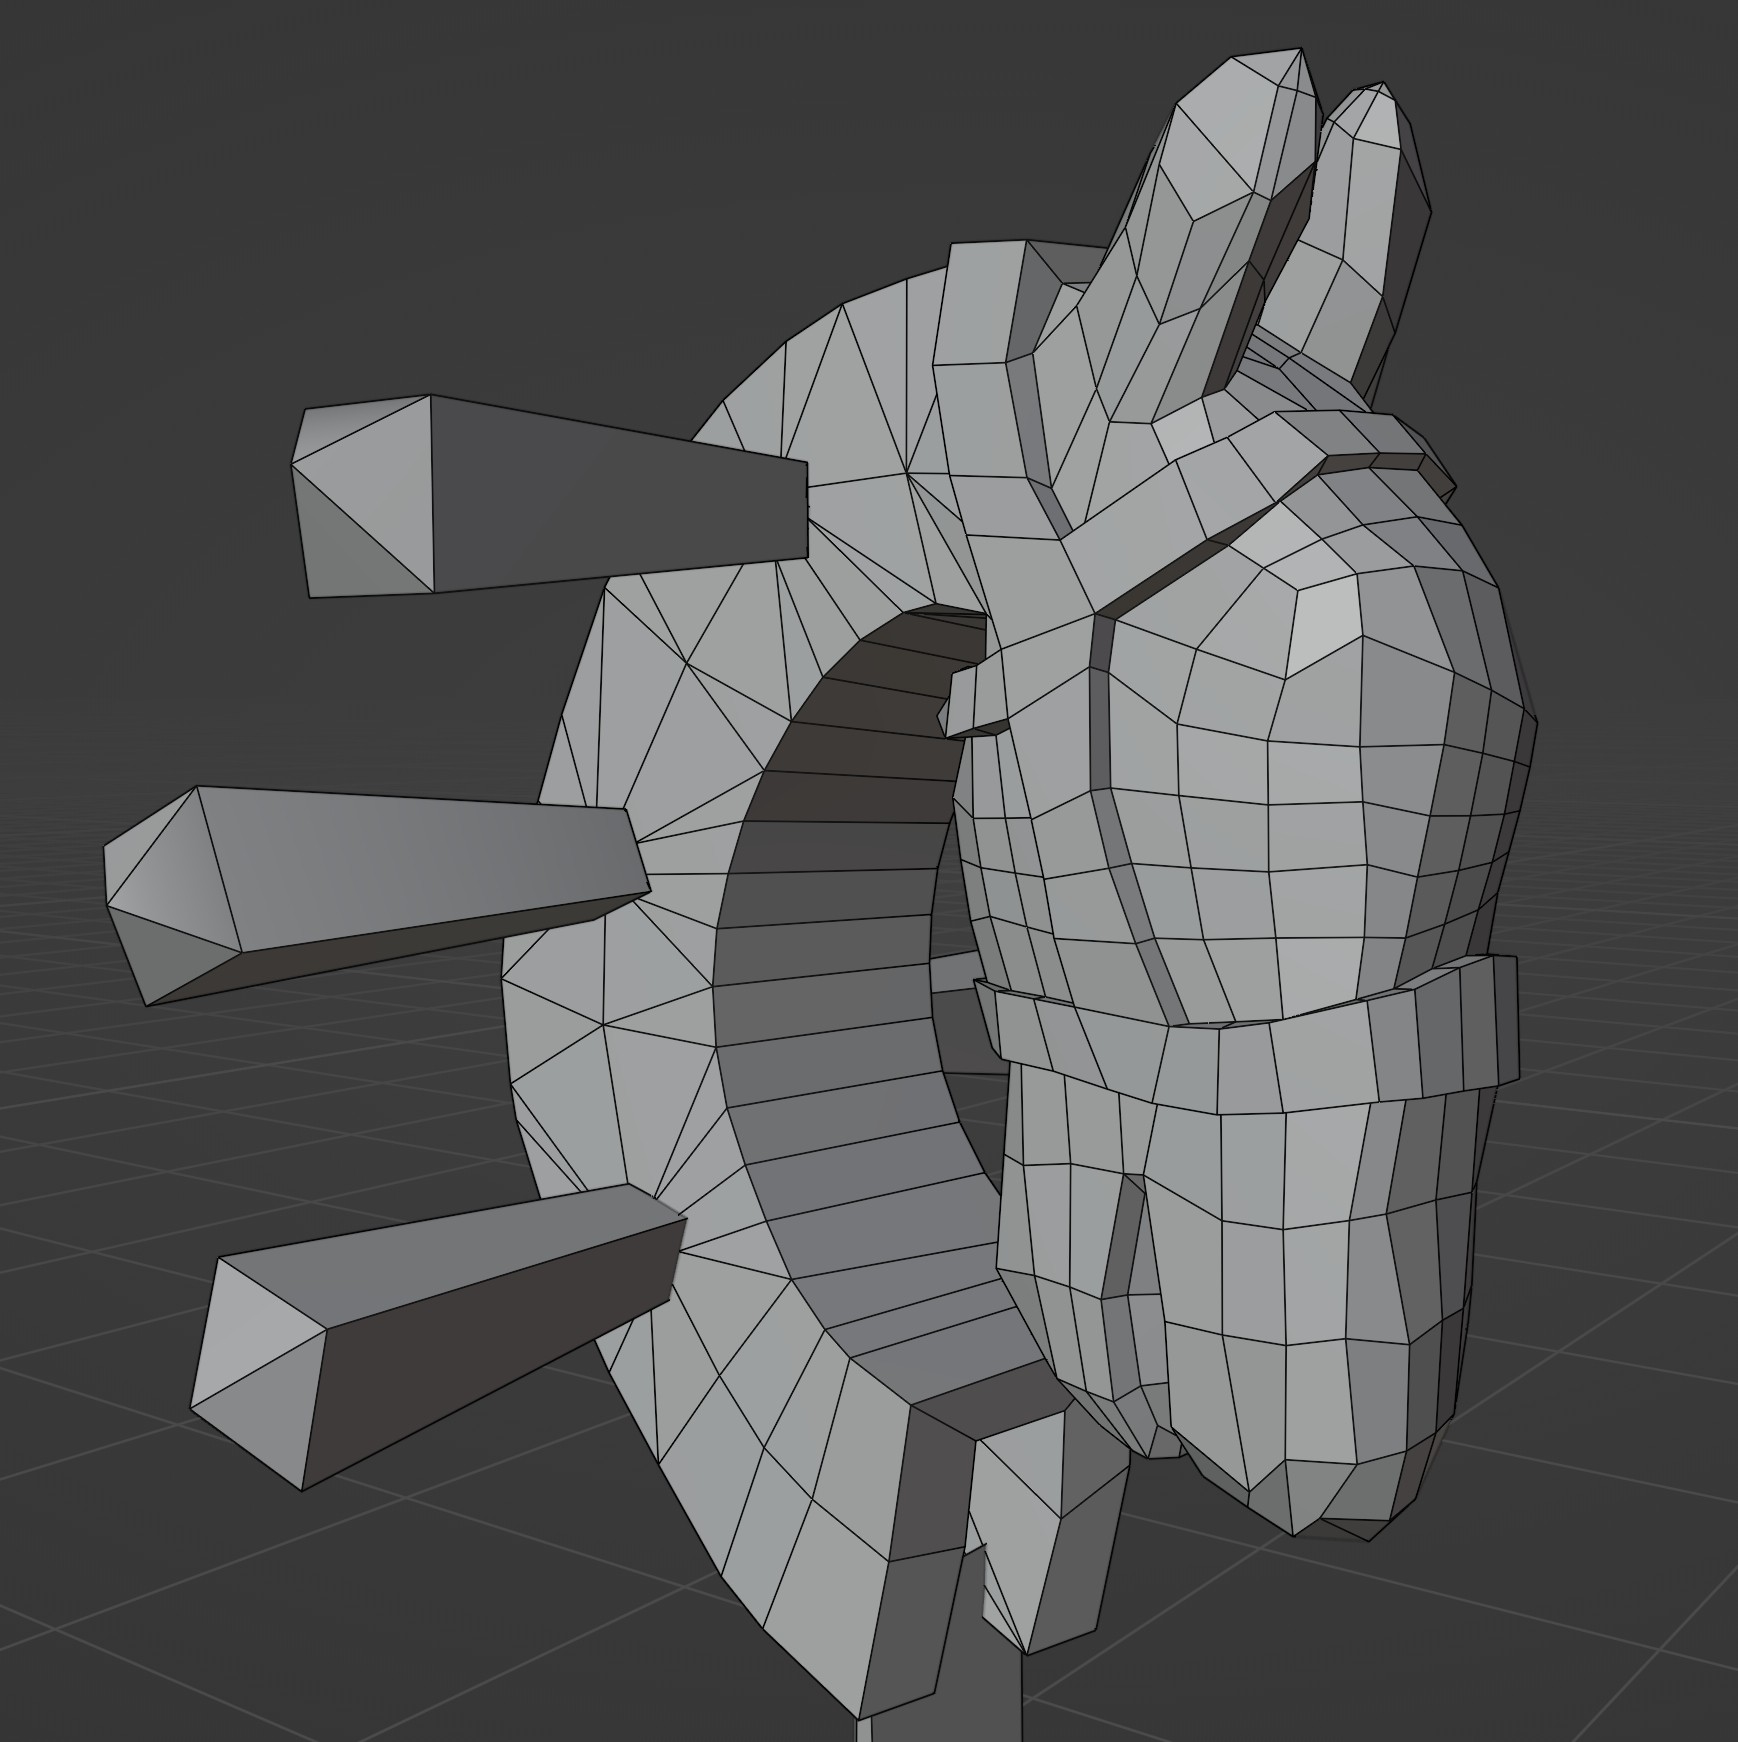
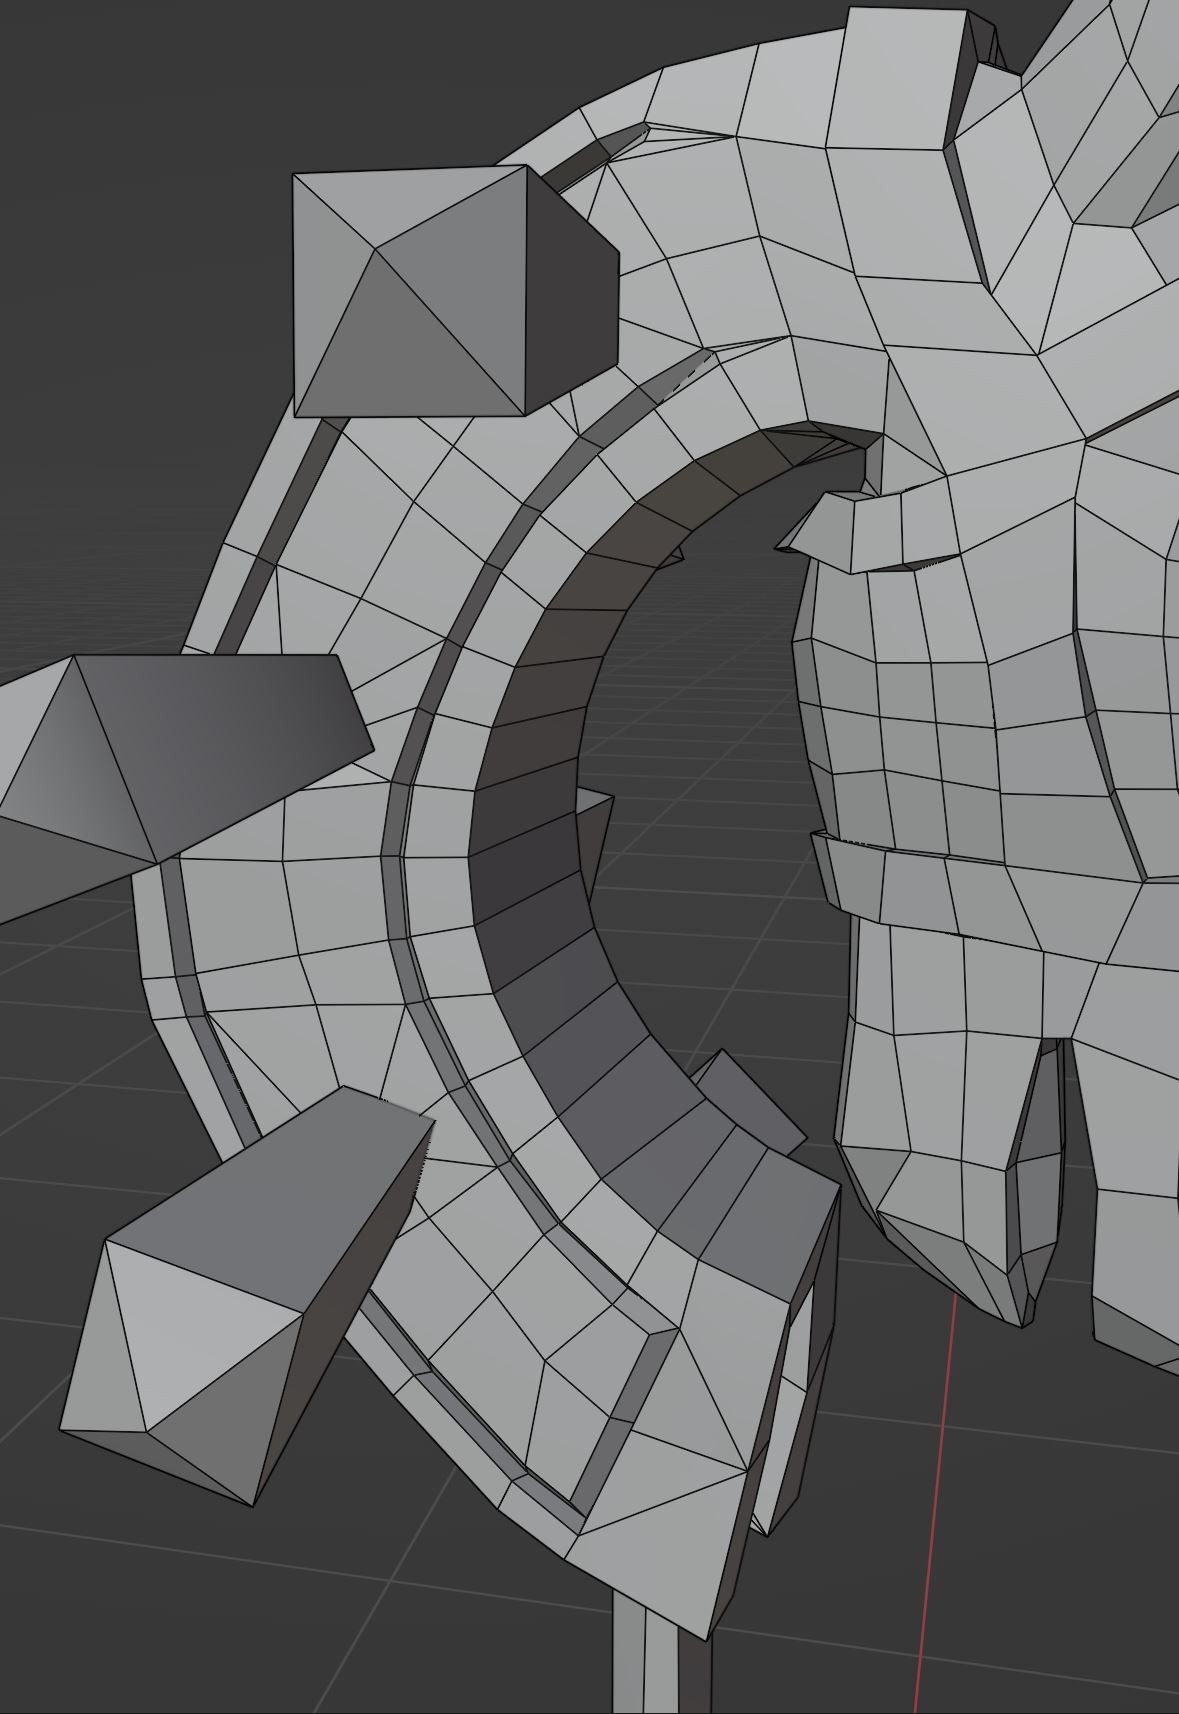
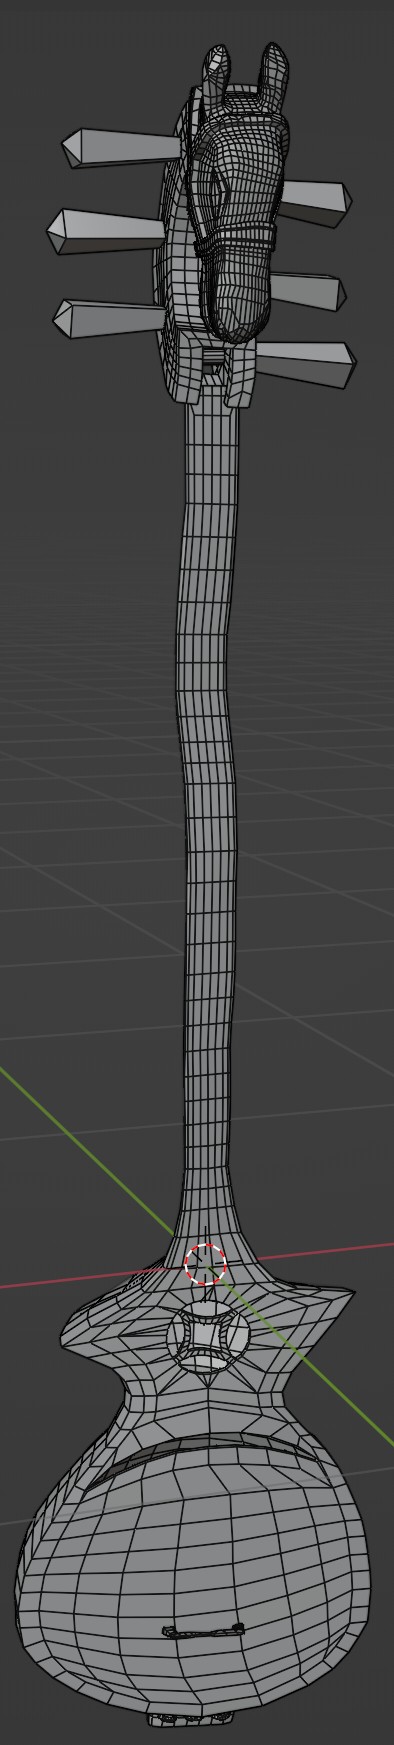
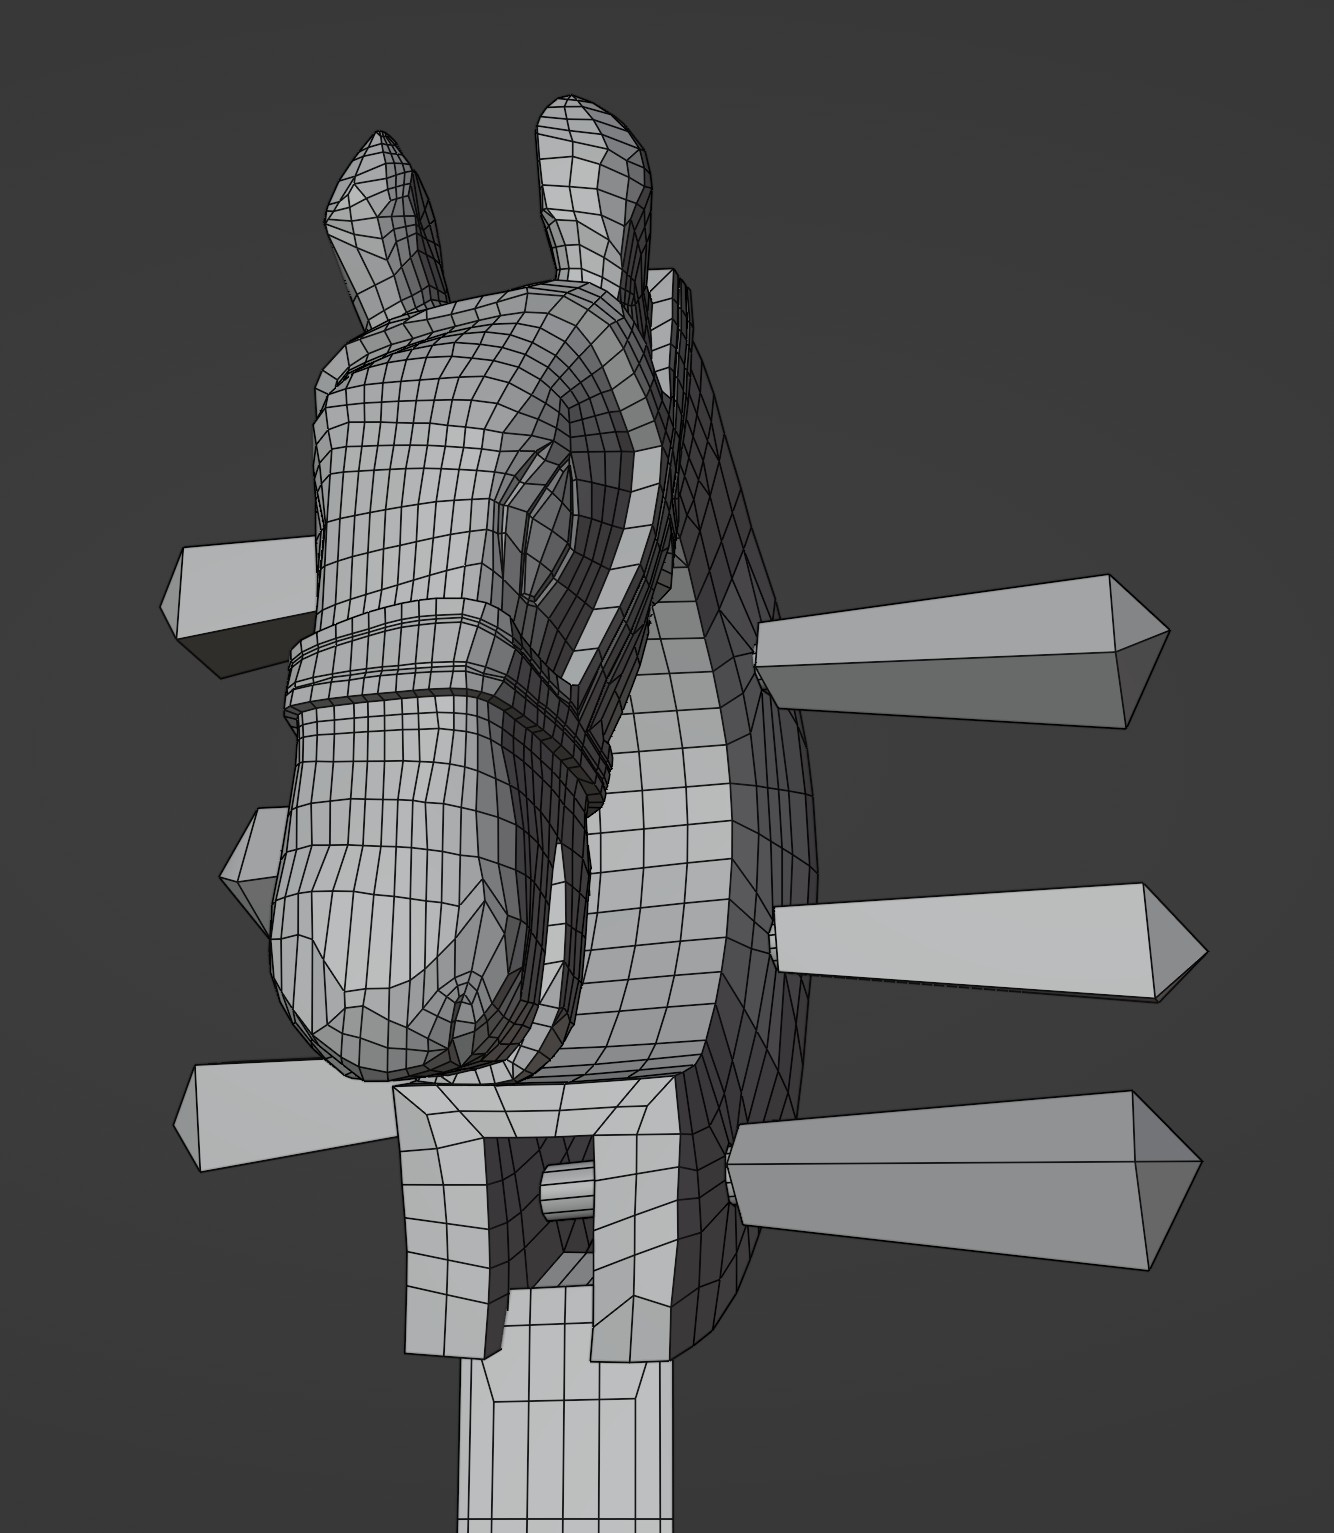
Here's look at the retopologized mesh which currently has around 11.7k triangles.
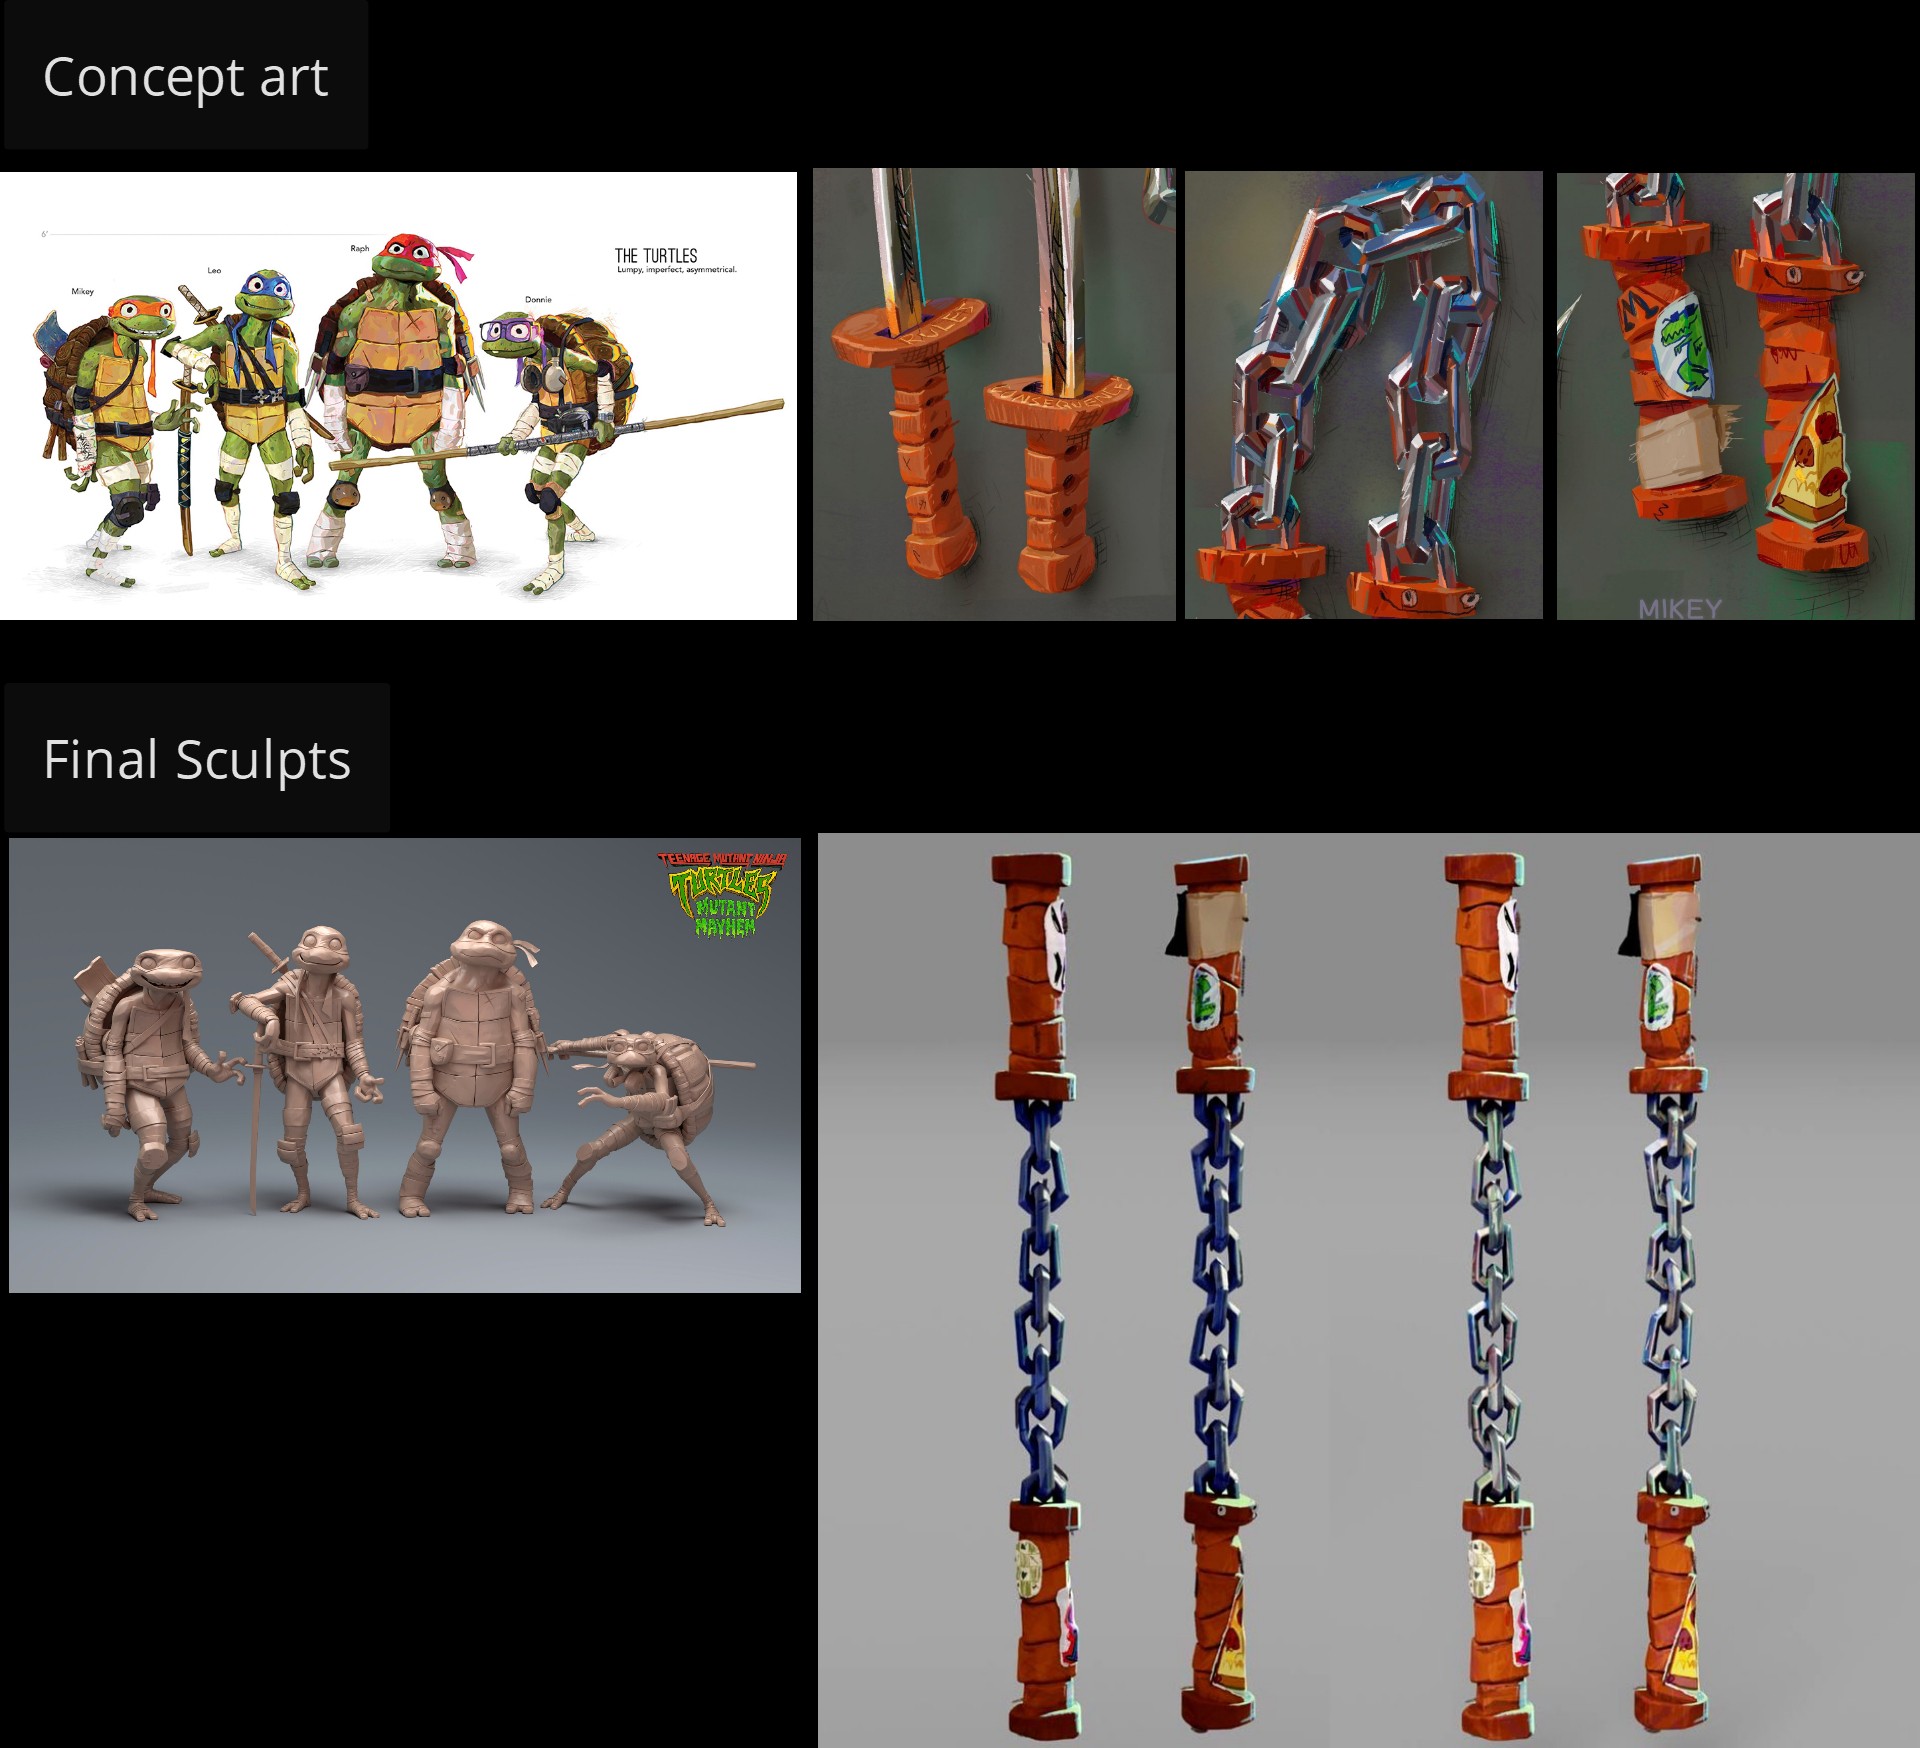
My recent prop art has been attempts to capture the loose, scratchy style of Teenage Mutant Ninja Turtles: Mutant Mayhem (2023), so I thought I'd use this as an opportunity to further explore the style in my sculpting and texturing. Below is my references for sculpts used in the movie:
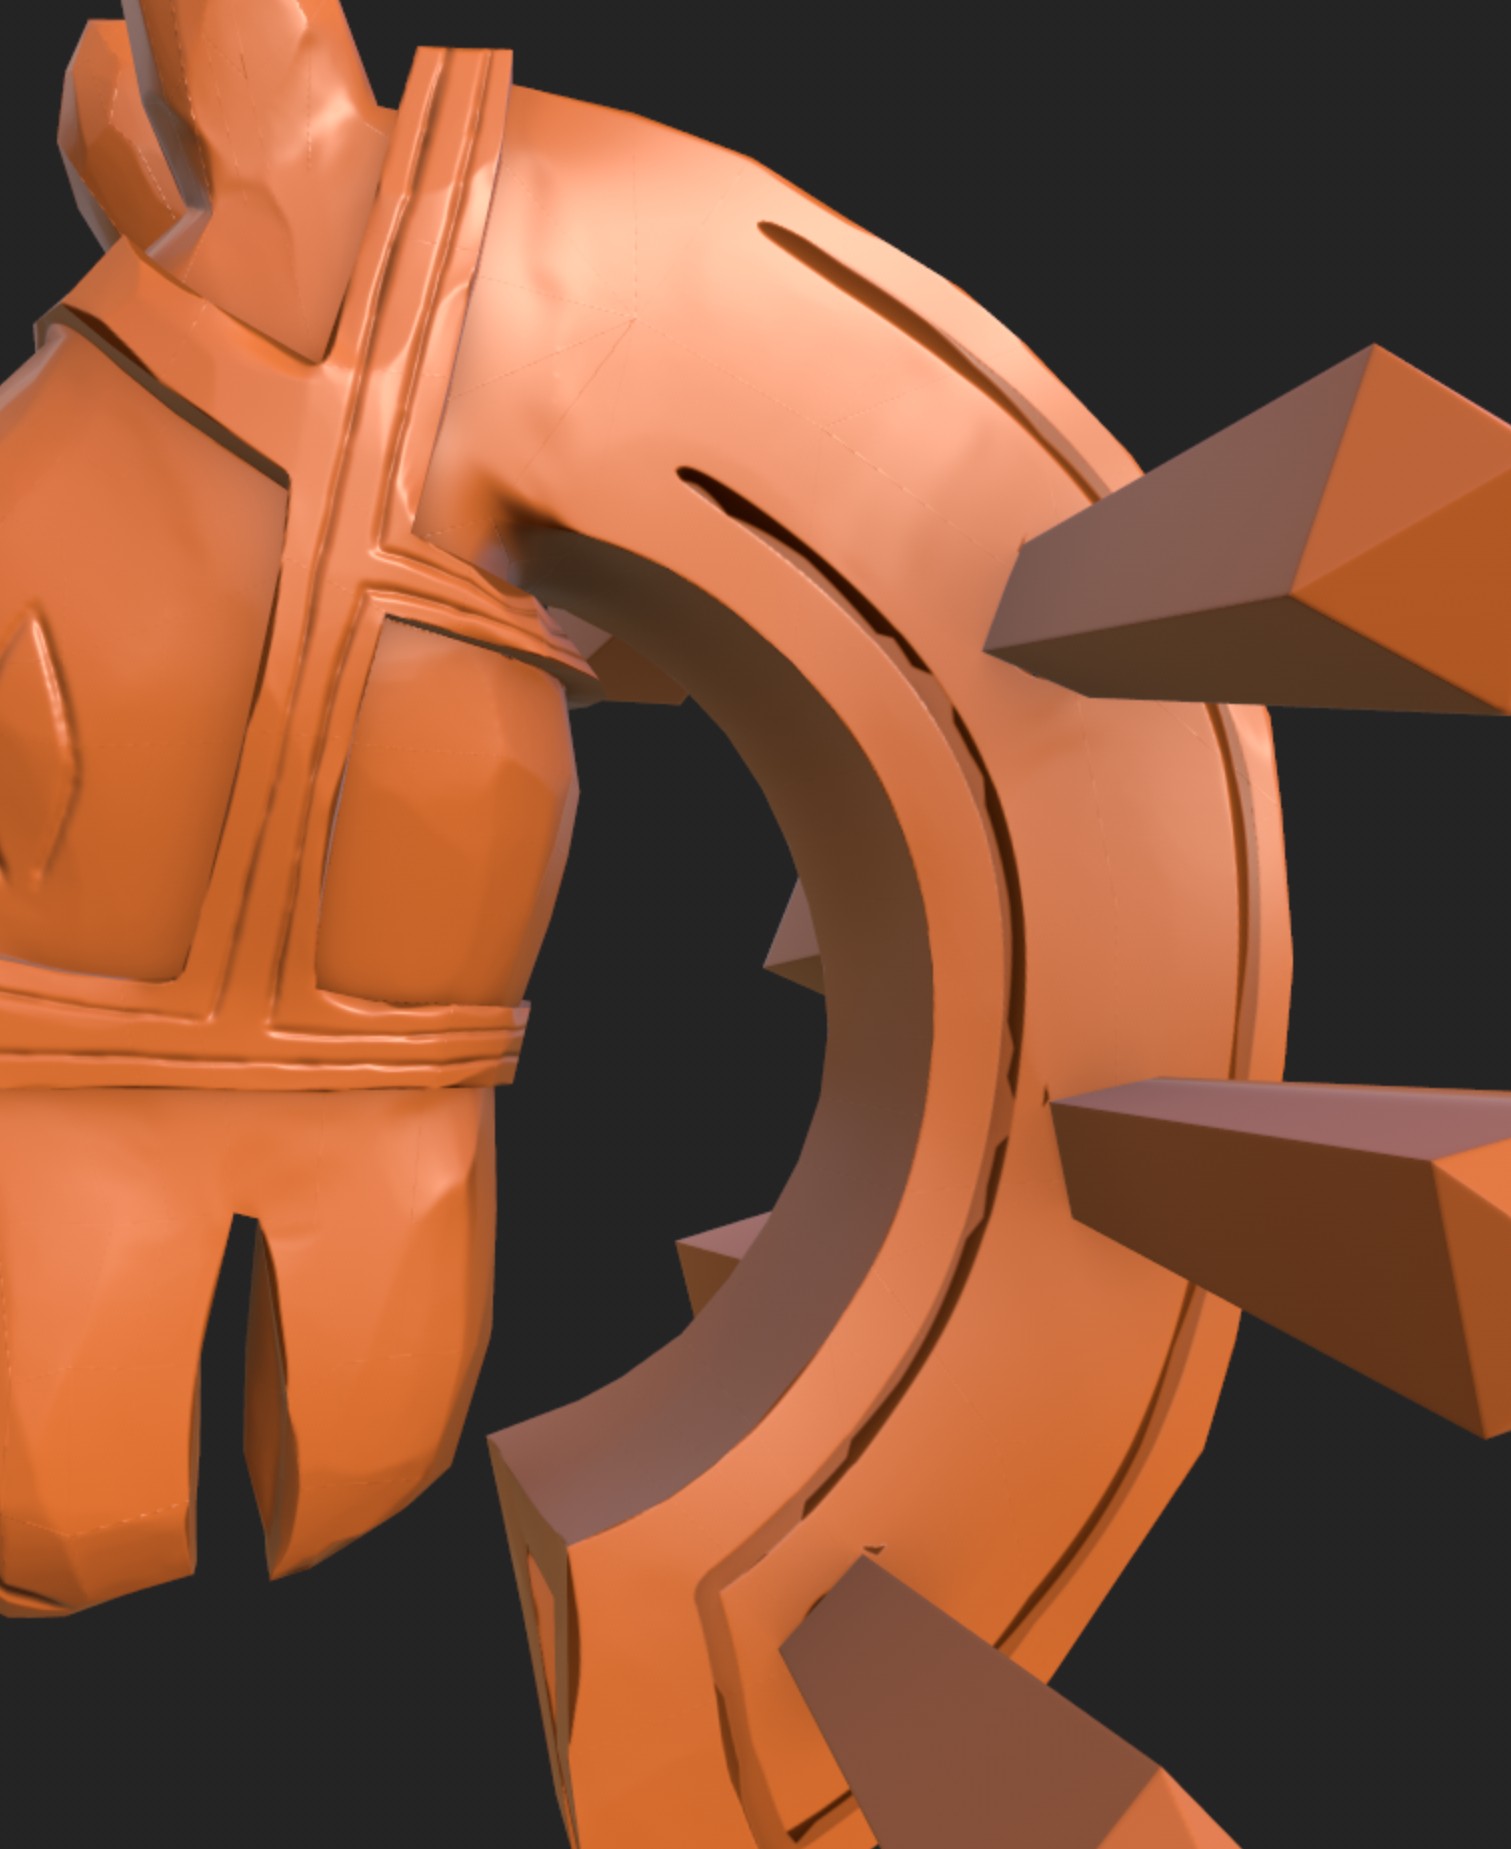
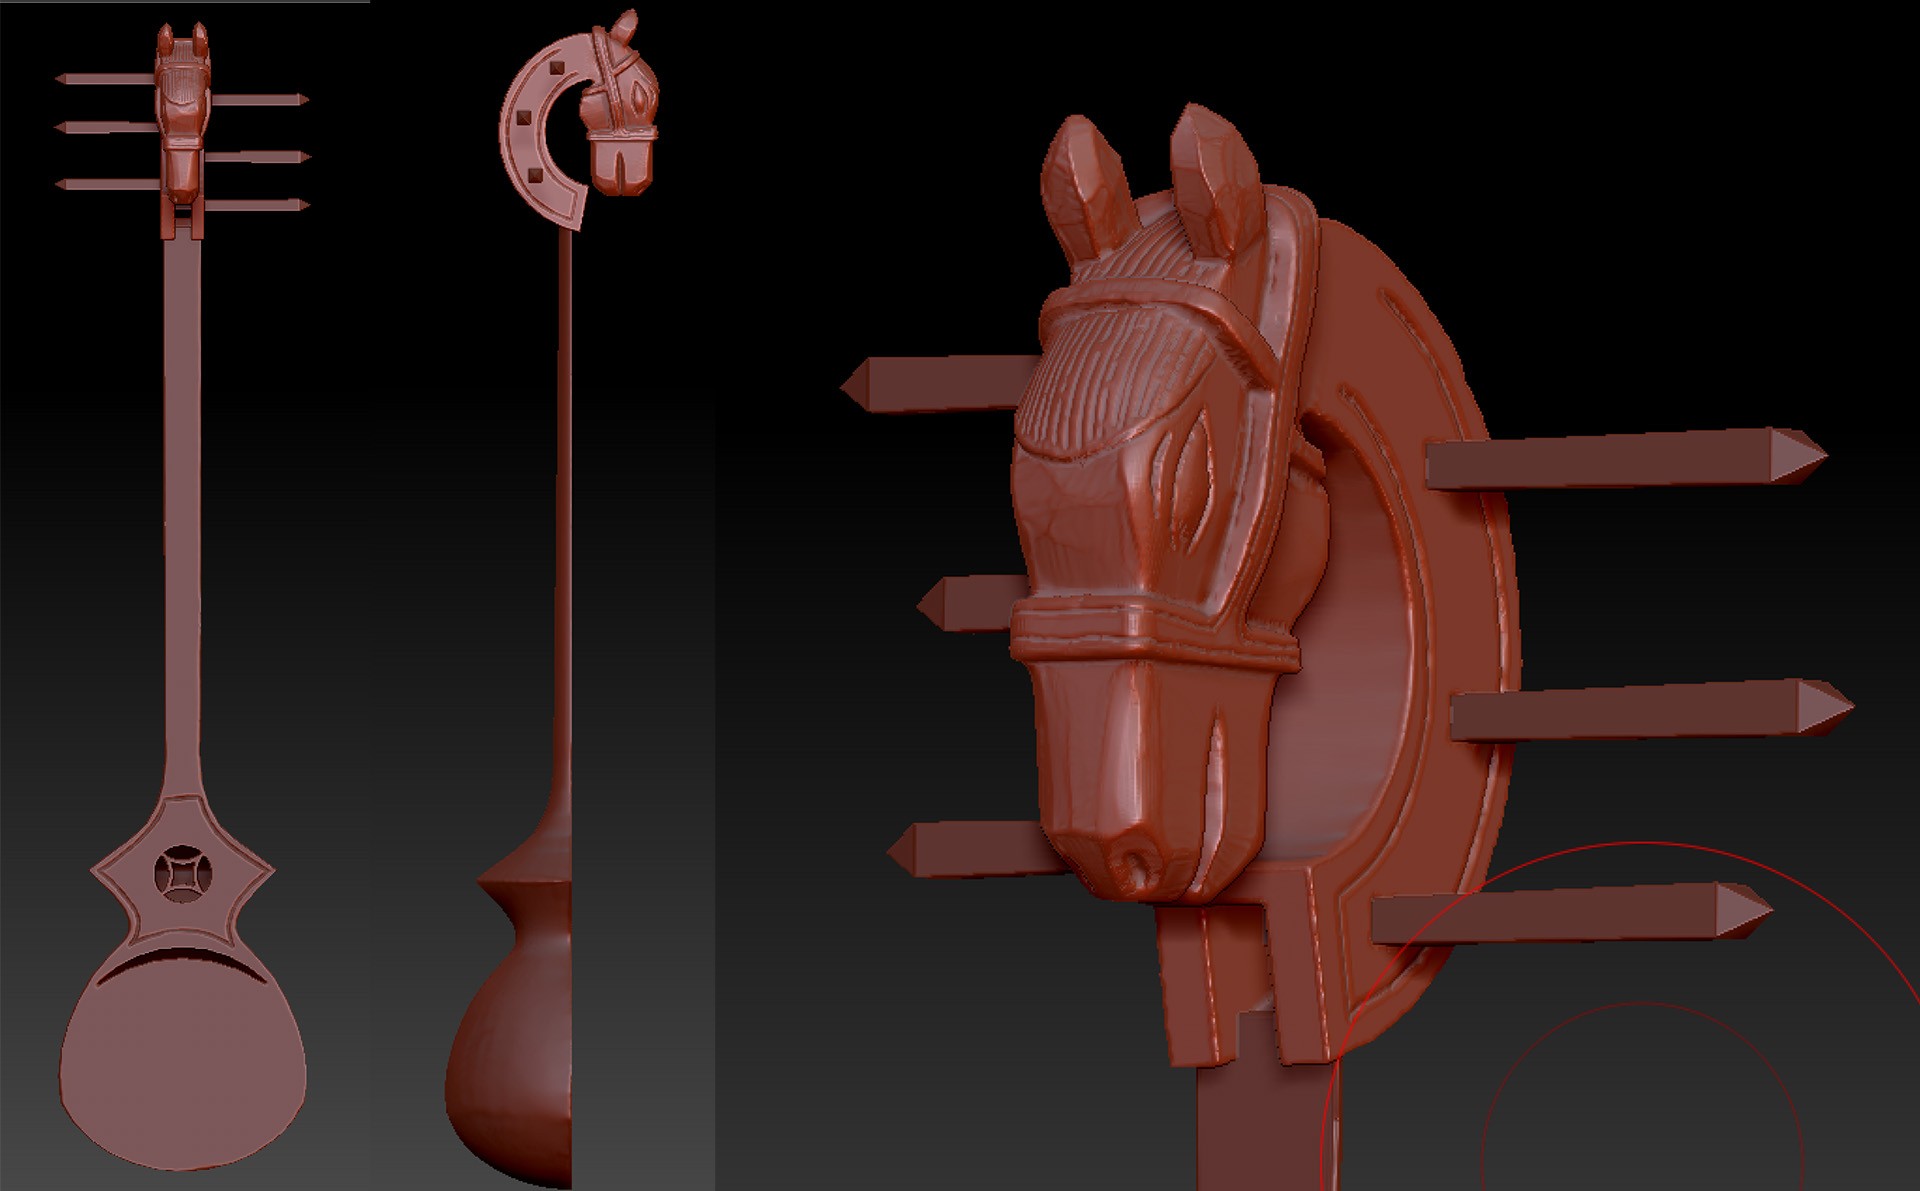
For my own sculpting I use a two pass process. First I sculpt out what the prop would look like if I wasn't going for a stylized look which you can see here:
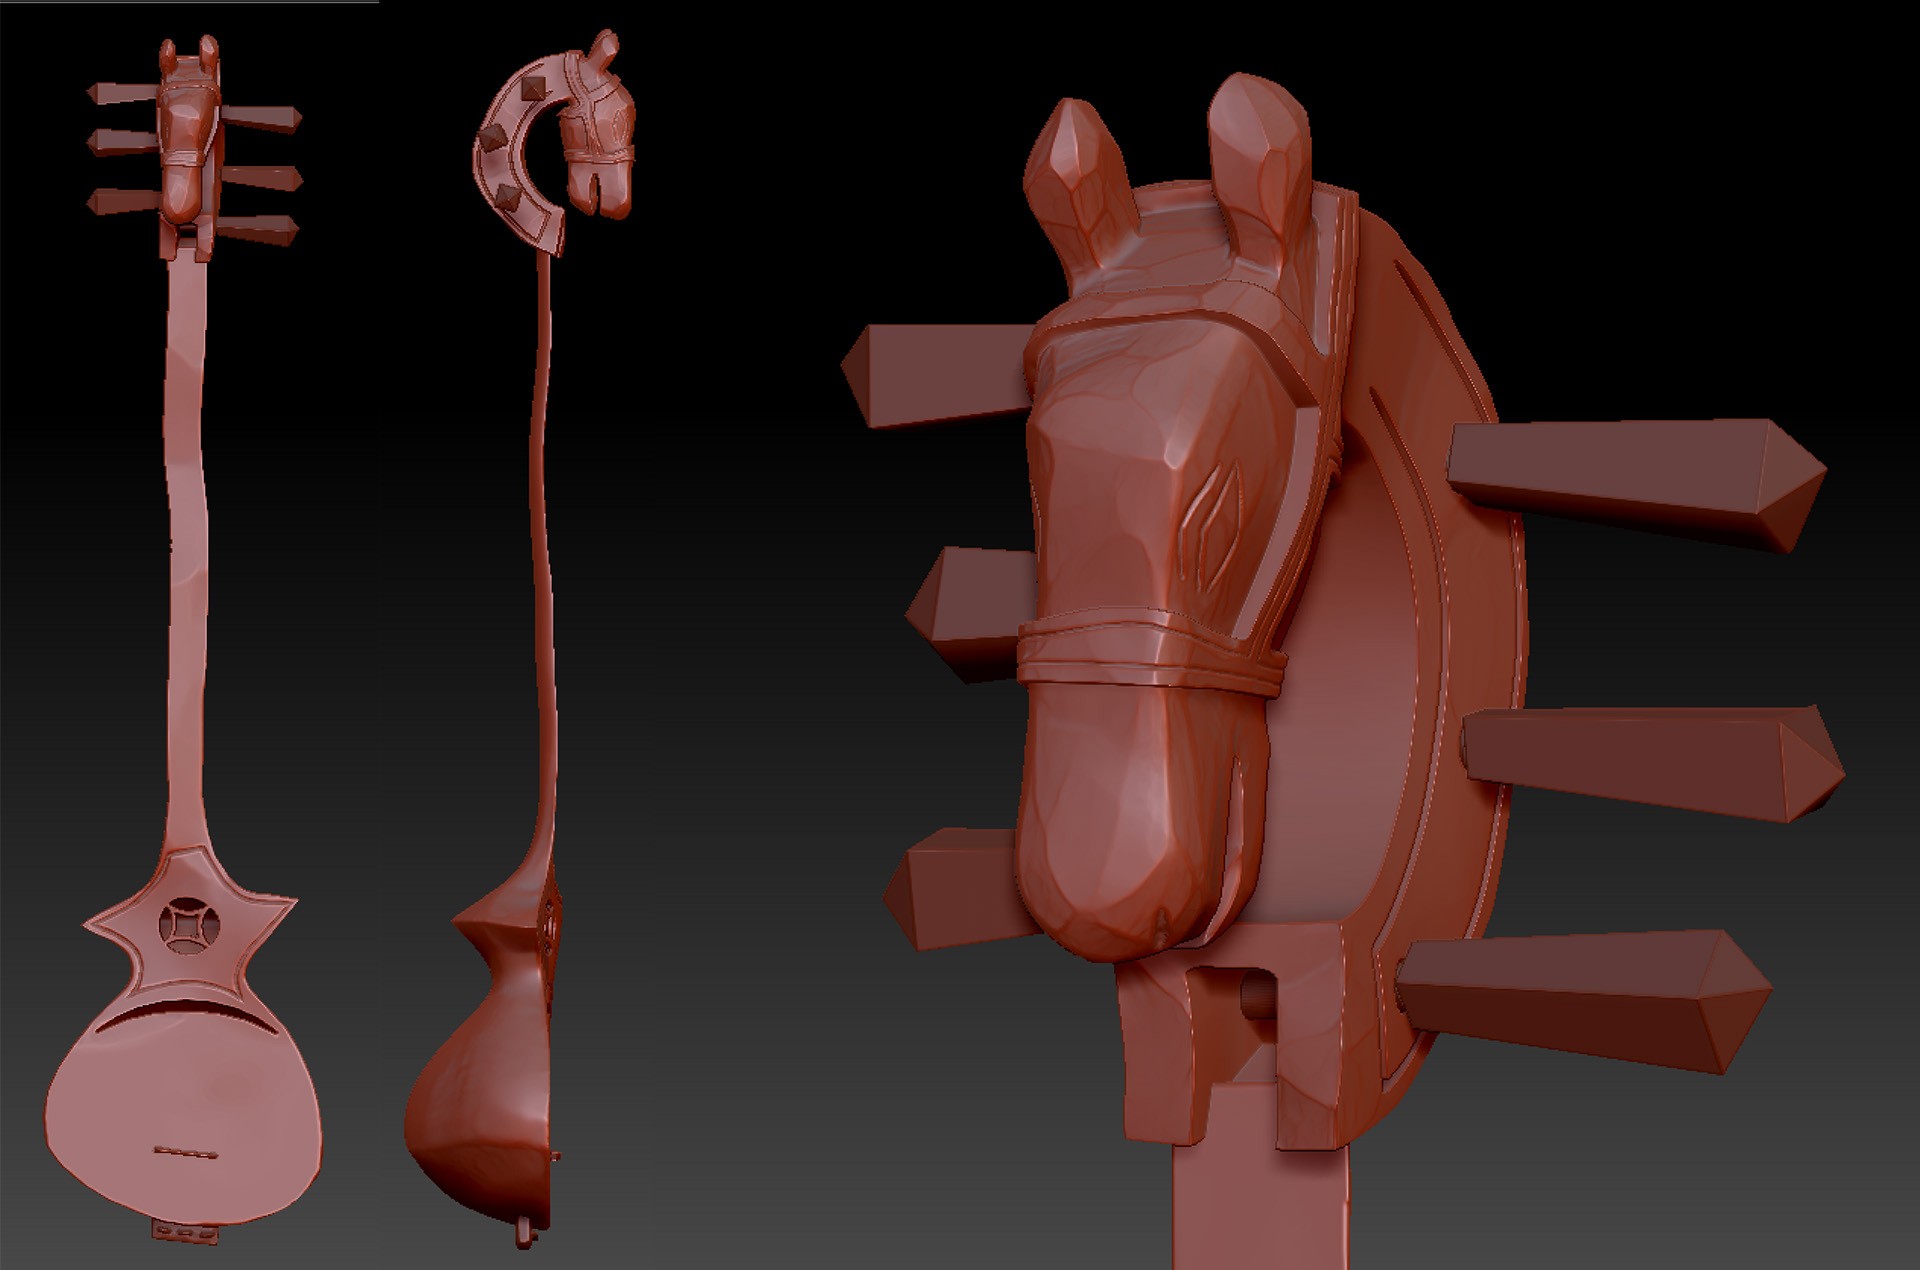
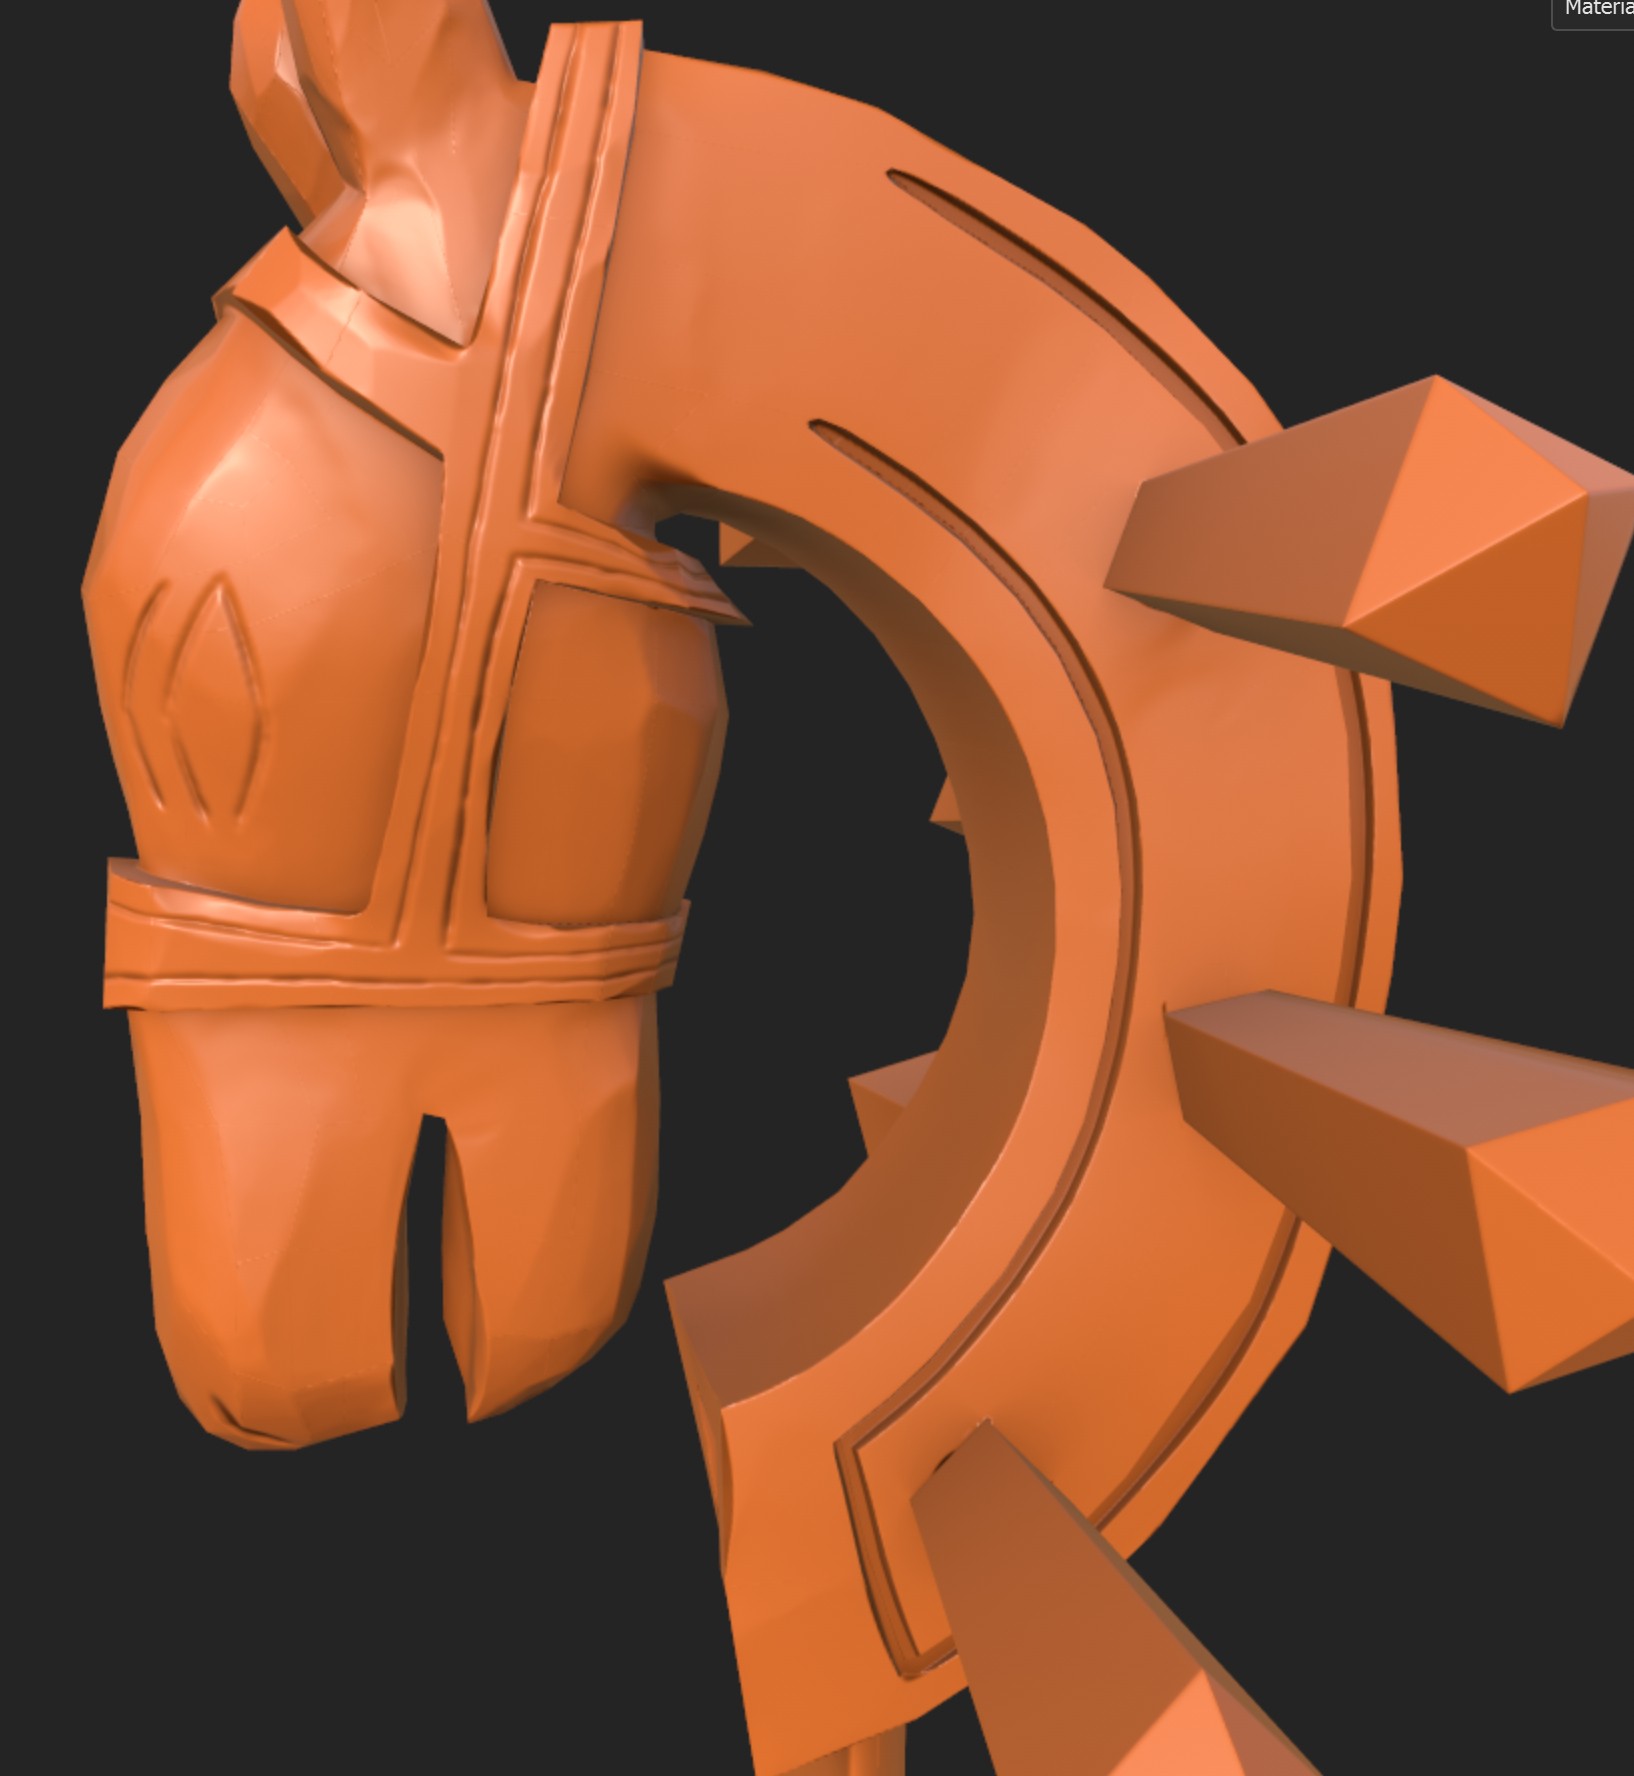
Then I take this sculpt and deform it, exaggerating shapes, adding asymmetry, and adding visible facets. I also added in the other parts of the dramyin (like the bridge) that I forgot in the initial sculpt:
Now it's onto retopologizing and UVs!
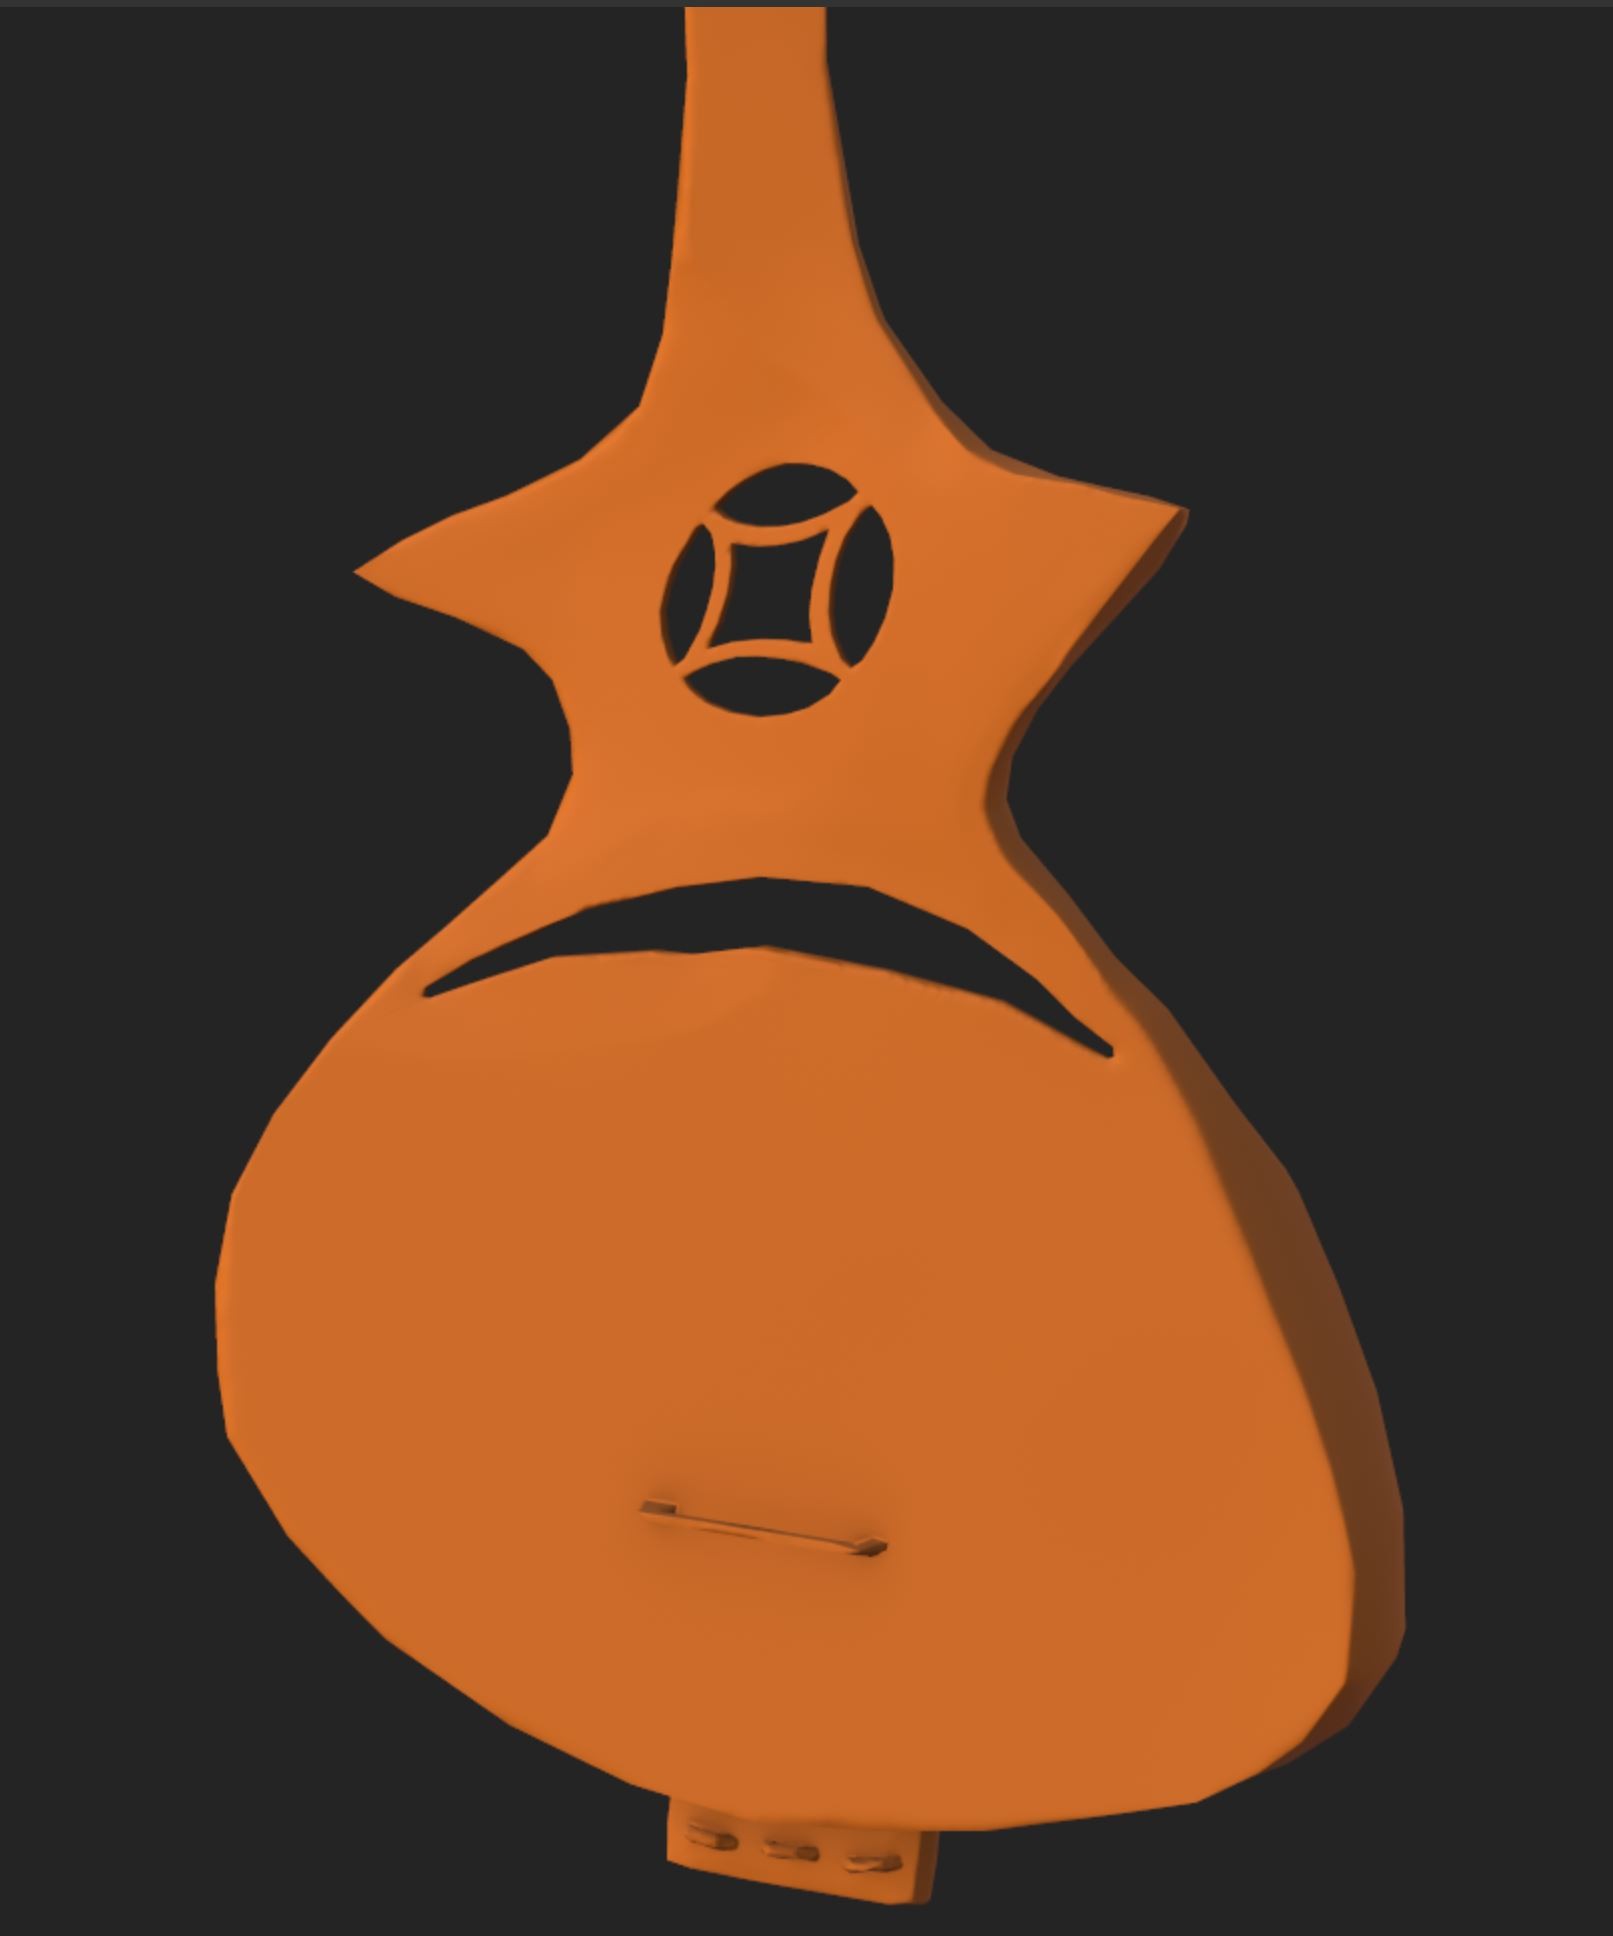
This is my initial blockout of the instrument that I made in blender. From here I plan to bring it into Zbrush for sculpting
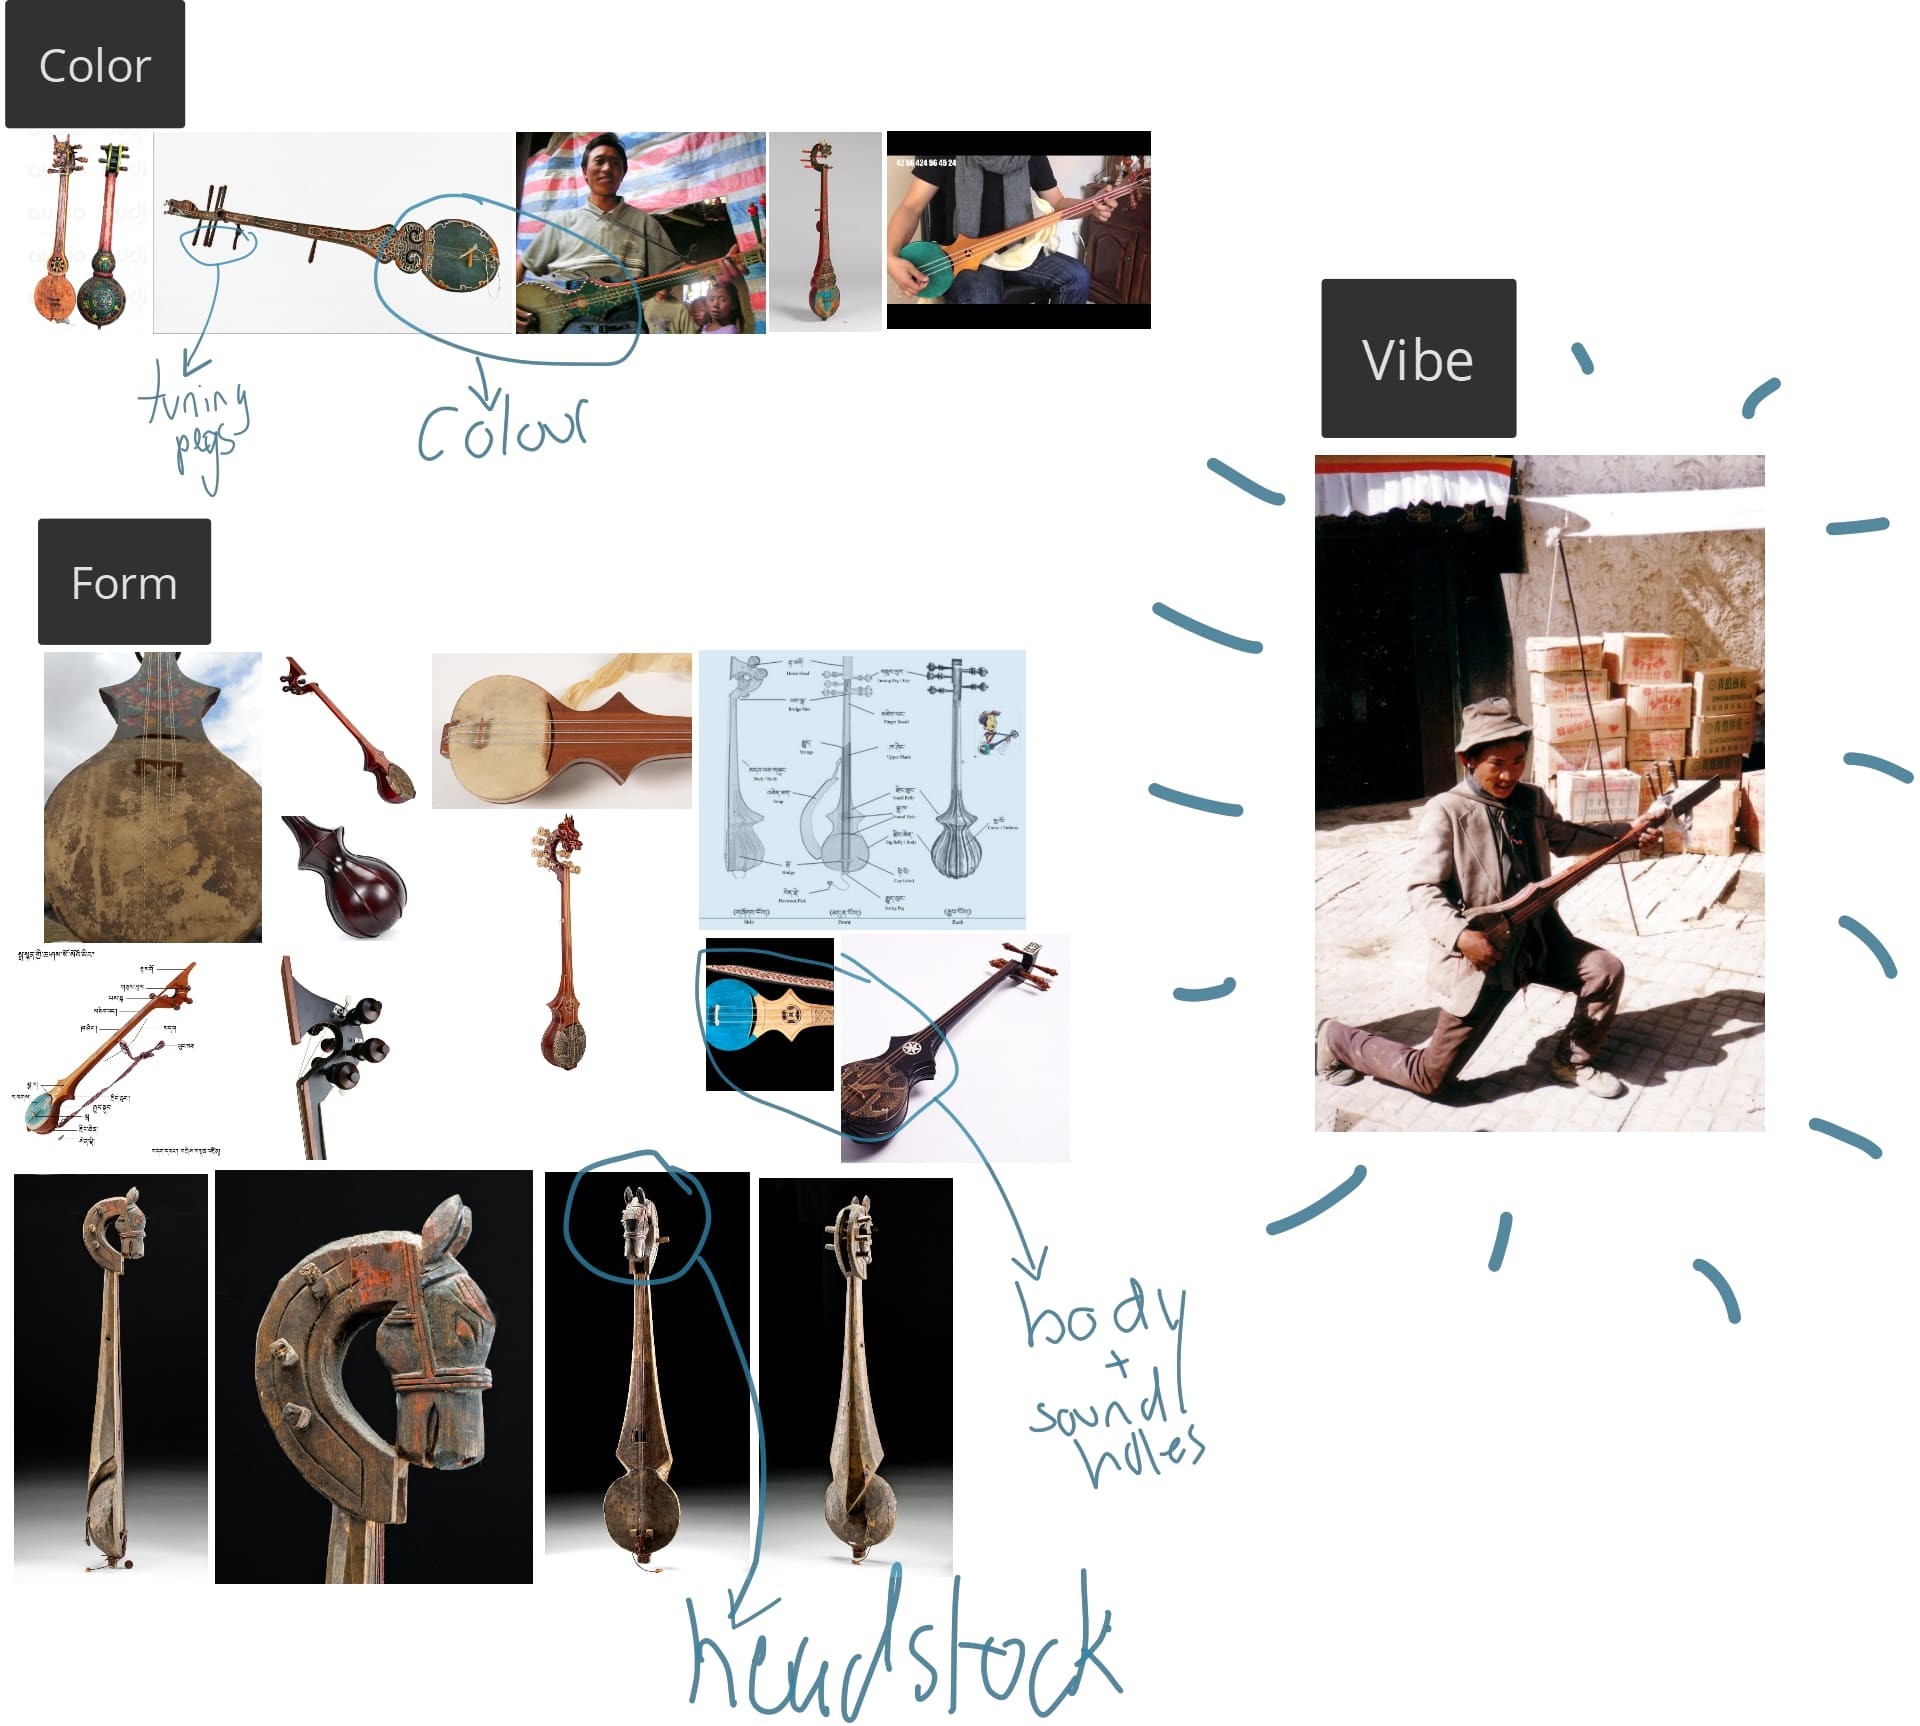
Here's a collection of references for my artifact. I already have some experience modeling instruments so I thought it'd be fun to tackle one native to the region. As you can see I marked out which parts from the various references I wanted to bring into my own model.
Name: Jonathan Labao
Country: Canada
I have read the terms and conditions and and am eligible for prizes